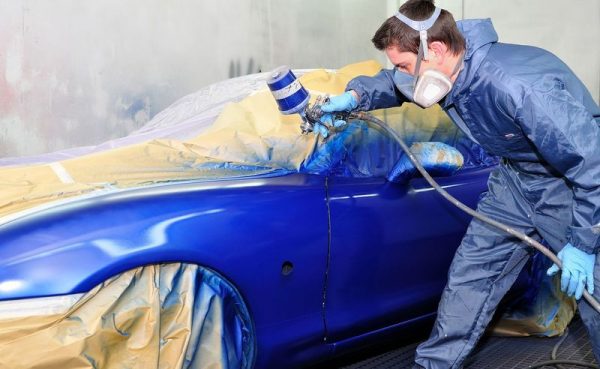
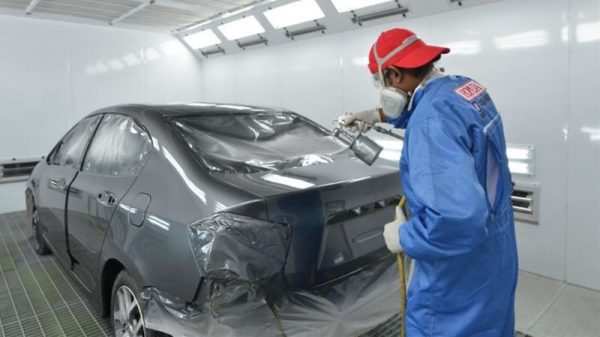
Painting a vehicle is a complex process that requires precise knowledge and strict adherence to technology. The slightest violation of the rules at any stage of the work entails defects in the painting of the car, and some of them cannot be eliminated with minimal cost - you will have to do it all over again.
- Coating deformations
- Bubble
- Boiling paint
- Craters, or Fisheye
- Smudges and sag
- Dust coating
- Surface grain
- Chips
- Cereals
- Coating Structure Problems
- Surface porosity after painting
- Shagreen
- Puckering
- Cracking and microcracking
- Lamination of paintwork
- Color Disorders
- Dull or cloudy surface
- Bullishness and stripes
- Color loss
- Color mismatch
- Chalking
- Bloody sunset
- Fading
- Yellowing varnish
- Color spread
- Master's negligence
- Dust and debris during painting
- Traces of grinding tools
- Squirrel and other insects
- Other types of defects
- Adhesion disorder
- Dry spray
- Paint sagging
- Lacquer waving
- Solvent bulging
- Poor hardening

Coating deformations
Such defects occur more often than others. If they are single, then elimination will require a minimum of time and costs, but with serious depth or coverage of increased labor costs can not be avoided.
Bubble
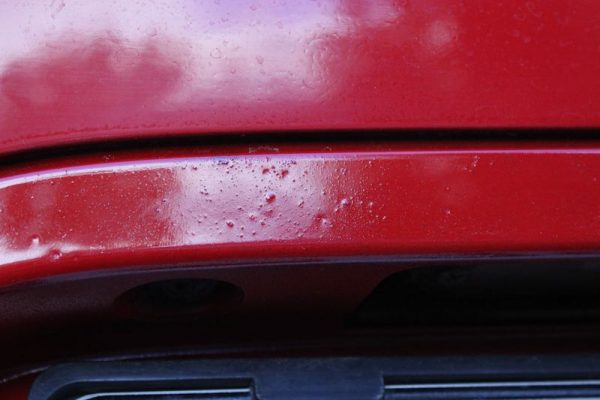
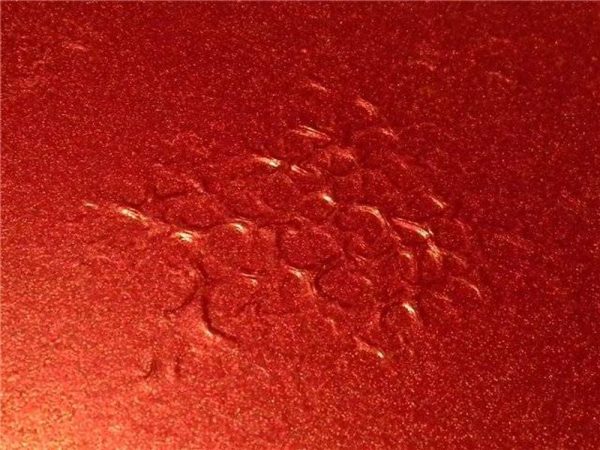
If the car is correctly painted, it has a perfectly smooth body. Bubbles of different sizes and thicknesses appear when there is a violation of the painting technology and for a number of other reasons:
- a sharp change in temperature or humidity;
- air or water droplets getting under the enamel layer;
- the appearance of small contaminants under putty, primer or paint;
- use of poor solvent for paintwork;
- the presence of spots or particles of fat, oil, salt on equipment, hands, bodywork;
- too short drying time for each individual coat of paint;
- Excessive primer consumption.
Most often, the bubbles do not become noticeable immediately, but in the winter during operation of the machine. They can be eliminated only by repainting the body part with full preliminary preparation. Only small single bubbles can be carefully cleaned and a defective place tinted with a thin layer of enamel.
to contents ↑Boiling paint
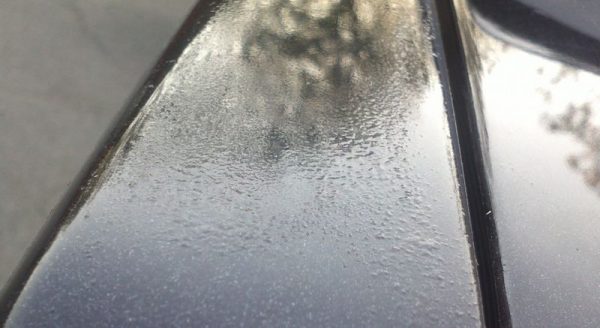
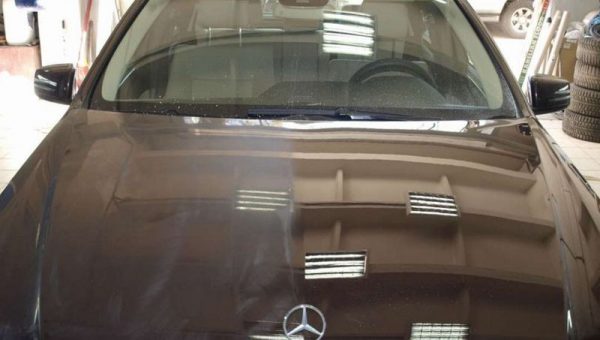
The main difference from ordinary bubbling is that a whole scattering of tiny bubbles with holes at the vertices forms on a dried surface. In appearance, they resemble slightly swollen injections with a needle. Usually, boiling phenomena can be observed at the boundaries of densely coated zones.
The reasons are as follows:
- infusion of a large portion of the solvent;
- use of low quality, expired diluent;
- too thick paint;
- improper adjustment of the spray gun during operation;
- increased viscosity of enamel;
- strong overlapping layers of paint material;
- slow movement of the spray gun during staining;
- turning on the drying equipment immediately after applying the paint.
Small boiling areas can be sanded and repainted. It is important to apply the top coat only after the rest has completely dried.
to contents ↑Craters, or Fisheye
These are funnel-shaped holes that appear already during the painting of the machine or immediately after the completion of the process. Their formation is associated with the adherence of silicone particles, which are in some types of paints, waxes, polishes. This usually happens when:
- insufficient body cleaning;
- the use of unsuitable detergents;
- the presence of oil particles in the paint equipment;
- silicone clinging to grains of sand, dust, villi.
You can remove the crater by polishing the damaged area, thoroughly degreasing and applying new paint.
to contents ↑Smudges and sag
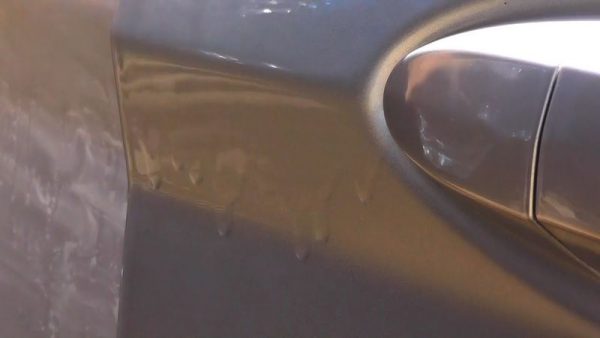
After drying, drops sometimes drip on the paintwork, drips of different sizes. Usually this happens on inclined and vertical surfaces, it immediately catches your eye and outwardly looks like ugly thickenings. The main causes of this problem are:
- too strong spray jet;
- applying too thick a layer of paintwork;
- slow evaporation of the solvent;
- non-observance of the drying time of individual layers;
- supply of paint from too close a distance.
Significant drips in volume cannot be removed without a trace - you have to re-clean and repaint a specific part of the machine. Minor bumps can be sanded with an emery cloth, then polish the base and apply a coat of varnish.
to contents ↑Dust coating
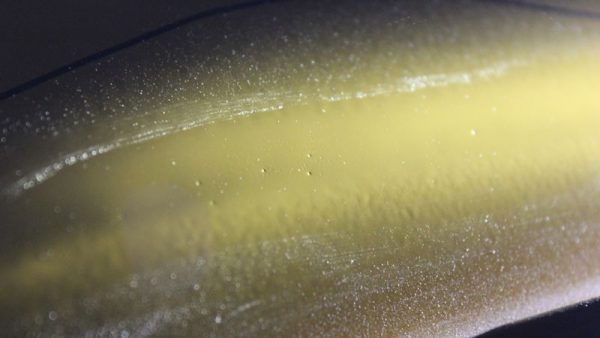
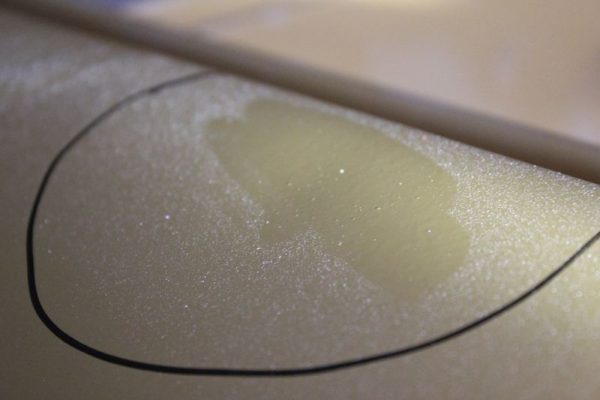
Externally, this defect resembles a scattering of dry or not completely dried paint droplets that form a coating on the metal. It appears when:
- incorrect adjustment of the spray gun used;
- too much air pressure;
- erroneous spraying of paint into ready-made zones adjacent to the processed ones;
- use too quickly evaporating solvent;
- applying paint drying for an excessively small period of time.
To remove plaque formed by topcoat, you can simply gently sand it. If the defect comes from drops on the enamel itself, you will have to do a “wet smoothing” followed by applying another coat of paint.
to contents ↑Surface grain
In such a situation, “grains” are visible on the surface of the part or its separate section — uniformly distributed particles of approximately the same structure and size. The main causes of grit are:
- the use of contaminated paint;
- dust in the paintwork;
- applying too thin a layer.
After grinding the defective area, it will have to be covered with a new coat of paint.
to contents ↑Chips
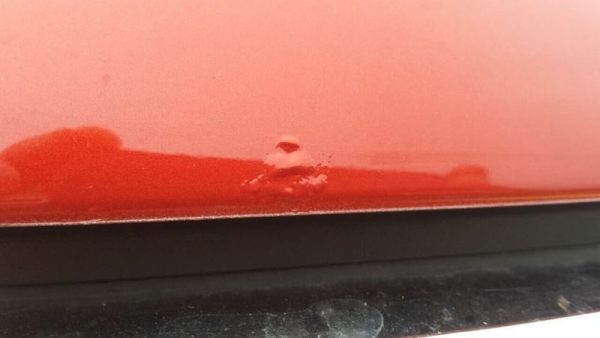
As a rule, such a problem occurs already during the operation of the machine, when the paint is subjected to the impact of pebbles and other solid objects. When considering the coating, you can notice chipped enamel pieces with damage to some or all layers of the paintwork.
The causes of the problem are:
- too thick paint;
- poor adhesion of the paintwork material with the base, primer, putty.
Small chips should be immediately primed and tinted, until the process of metal rusting has begun. With a large number of chips, the machine will have to be repainted.
to contents ↑Cereals
Flakes, unlike granularity, can be single and multiple, appear evenly or randomly. The reason for their formation is a violation of the technique of mixing the paint, the use of a poor solvent, as a result of which the material in some areas is lumpy. It is better to correct the situation by repainting the part.
Coating Structure Problems
If the paintwork changes shape, structure, then in most cases you have to do all the work again.
Surface porosity after painting
The enlarged pores on the paint layer, when viewed closely, look like grouped micro-holes. They appear for the following reasons:
- Violation of the operation of paint equipment. If the parameters of the gun are set incorrectly or it is brought too close to the metal during painting, the surface may turn out to be porous.
- Poor foundation preparation.If paint is applied to a non-degreased part or to a surface with dirt, pores may appear on it.
- Too thick paint. When the coating is heavy, and besides, it is not sufficiently dried, various defects can be detected on it after drying.
Also, enlarged pores are able to form with an excessive amount of solvent in the paint, too dry air in the room or the penetration of air under the paint layer. You can fix the problem by ironing the part with fine-grained sandpaper and reapplying the paint. The main thing is to remove the paintwork to the depth of the appearance of porosity, otherwise it will again become noticeable on the surface.
to contents ↑Shagreen
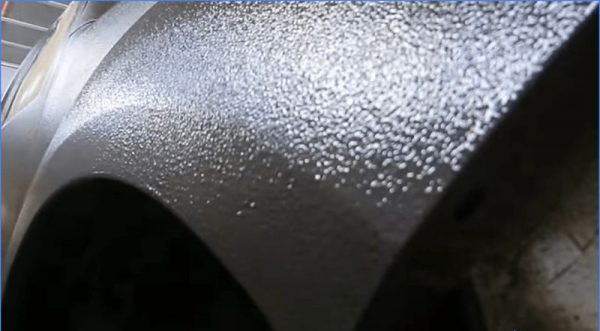
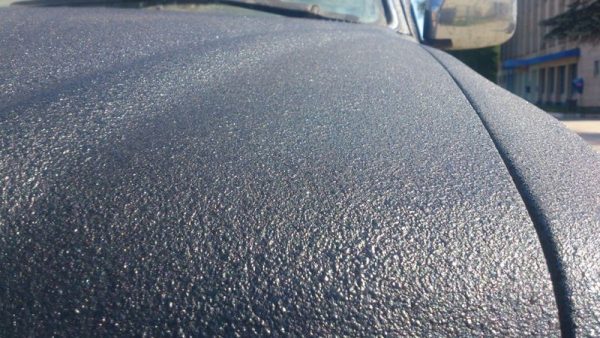
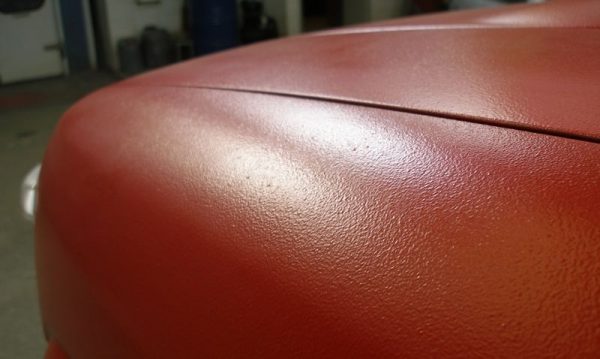
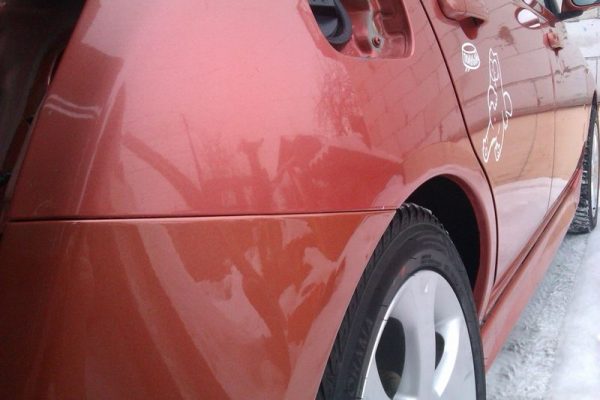
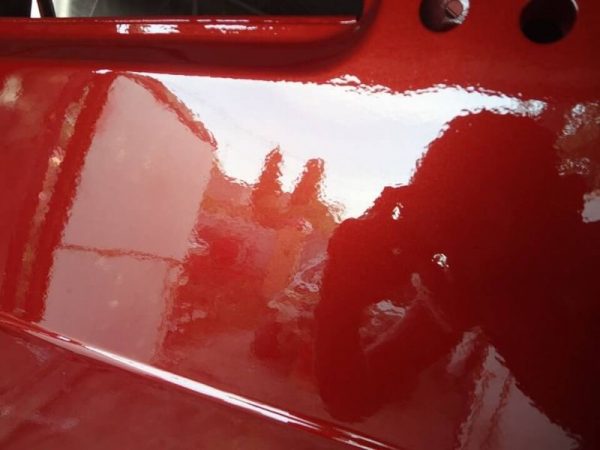
This is a special kind of unevenness of the paint, which resembles the peel of an orange. Most often, shagreen leather occurs when the droplets of paint on the metal merge poorly, when they do not spread, but remain where they fell when they left the paint equipment. Provoke such problems can:
- violation of the staining technique, the use of an unregulated gun;
- excessively high or low air pressure;
- increasing the distance from the tip of the equipment to the body;
- low flow of paint;
- excessively wide stream of enamel;
- too high room temperature, causing accelerated evaporation of the solvent;
- poor mixing of paint;
- too thin coat of paint;
- increased viscosity of the paint.
The defective area will have to be cleaned, treated with the finest emery cloth, then stained and glossed by polishing.
to contents ↑Puckering
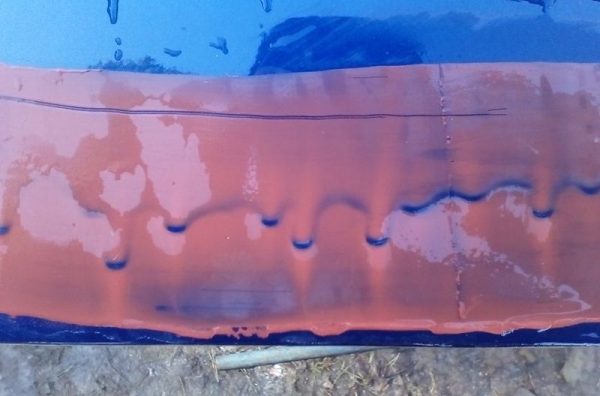
In this case, instead of a smooth, radiant coating, the user notes wrinkled areas that feel like a sandy structure to the touch. The use of incompatible materials, for example, “conflict” of solvents, when a new paint is applied directly to an old one, can cause such a nuisance. Excessively thick layers or the application of coatings on a poorly dried substrate, which is highly swollen, also become the cause of wrinkling.
Shrinkage can be prevented by thoroughly degreasing and sanding the base with all old paint removed. It is imperative to comply with the recommended layer thickness and drying time. With the appearance of a slightly noticeable defect, it can be subjected to intensive drying and polishing. With strong wrinkling, the area is repainted again.
to contents ↑Cracking and microcracking
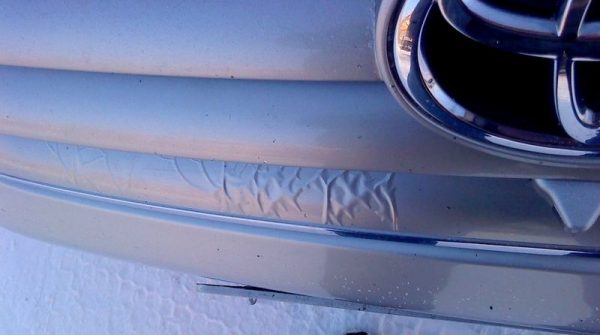
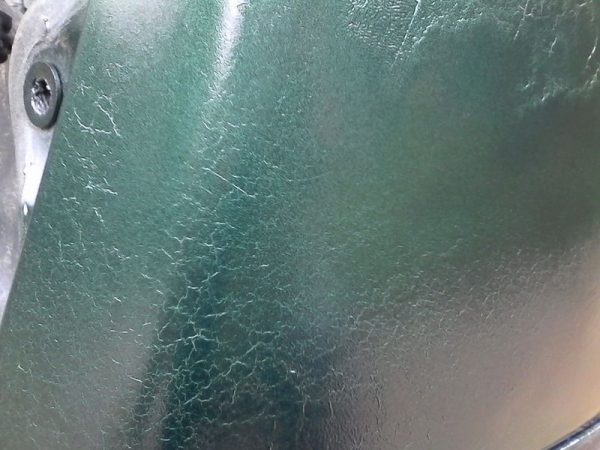
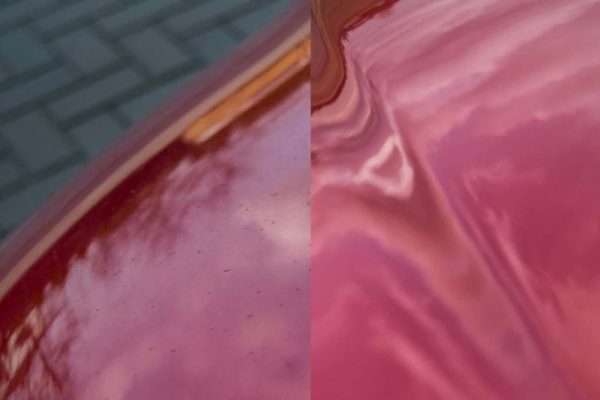
It occurs when the paint layer is weakened by environmental factors. Larger cracks are visible to the naked eye, small ones - only under a magnifying glass, and without magnification look like dull spots with no gloss. Some cracking may take the form of three-pointed stars or resemble burnt mud on a dried puddle.
The deepest defects penetrate through the top layer of paint or penetrate into the ground, putty. On the contrary, there are special "hair" cracks - they are the smallest, in thickness - no more than a human hair, are not interconnected. Such defects without urgent measures to eliminate them tend to spread over large areas.
Modern high-quality paints rarely crack, but only with the exact observance of staining technology. If the trouble happened, the reasons are:
- too thick paint, which increases stress and causes deformation;
- short drying time of individual layers;
- poor mixing of paint, its delamination.
Damaged areas will have to be cleaned to metal and paint is applied again.
to contents ↑Lamination of paintwork
A similar problem occurs when repainting the metal, and sometimes with its initial color. One of the layers of paint peels off during application from the previous coating; as a result, uniform coloring is not possible.
The causes of the defect are as follows:
- poor-quality degreasing of the base, staining of grease, technical oils;
- the presence of dust, water on the paint or primer;
- excessively high air temperature in the room during painting or priming;
- insufficient interlayer polishing of the paint;
- incompatibility of different types of enamel among themselves, as well as with soil, solvent, and other materials.
To eliminate the deficiency, sand the paint to the base layer and cover the car parts.
to contents ↑
Color Disorders
Often the structure and smoothness of the paintwork remain normal, and yet it has to be redone: all the fault is the change in shade, the appearance of spots and other color defects.
Dull or cloudy surface
Outwardly, the defect looks like a stain of milky white “fog” on the painted part. Turbidity can form on any of the paint layers and even on the primer. In the future, without action, it will remain unchanged or become a bubble. The causes of dull spots or the appearance of areas of turbidity are as follows:
- small thickness of individual layers of paint;
- work at low temperature or high humidity;
- the use of low-quality solvent or its large amount;
- drafts, excessive air circulation in the room.
to contents ↑Slight clouding is well eliminated by polishing, re-smoothing and applying paint. Also, minor defects can be treated with a special wash, and then spray the paint.
Bullishness and stripes
Such phenomena often occur on metallic coatings. They are expressed in the presence of darker or lighter areas on the paint in the form of spots, stripes, which appear immediately after staining. The causes of the defect are as follows:
- the use of a slowly evaporating solvent;
- the nozzle diameter is too large;
- short drying time of the layers;
- application of a topcoat at excessively high pressure.
To get rid of the problem, you will have to repaint the part - other methods cannot fix it. It is necessary to observe the correct technology for applying paint, withstand the required drying time of the layers, apply a high-quality spray gun with an optimum size nozzle.
to contents ↑Color loss
At times, a newly applied coating becomes discolored. The lower layers of enamel give pigment to the primer, the color from the upper layers is absorbed by the deeper paint. With polyester coatings, this also occurs with the introduction of too much hardener. Also, the reasons may be as follows:
- incompatibility of bitumen or anticorrosion coating with paint;
- poor mixing of enamel with a solvent or hardener;
- insufficient insulation of the new paint from the old coating.
Before work, it is important to accurately measure the volume of hardener, solvent, mix the components well. It is better to remove the old coating completely, or to test a new stain in an inconspicuous area.
to contents ↑Color mismatch
In this case, the newly applied paint color is very different from the old shade in which the body was painted. The reasons are as follows:
- poor or too thin coating;
- wrong color mixing technique, wrong tinting and choice of pigments;
- application of paintwork materials from too close or far distance;
- poor hiding power;
- violation of the proportions of enamel and solvent, hardener.
To restore, it is necessary to grind the part, degrease and prime with subsequent staining.
to contents ↑Chalking
Chalking occurs when particles of chalk are detected on the enamel surface, which leads to erosion and loss of gloss. This can happen during the operation of an old car, when the paint loses its properties over time. Other reasons:
- accelerated atmospheric aging of paintwork;
- use of a bad hardener, solvent;
- destruction of the protective layer of enamel with ultraviolet light.
You can restore the coating only by completely replacing it. Partial restoration of paint occasionally helps.
to contents ↑Bloody sunset
Previous paintwork may show through the top coat of new enamel, resulting in a serious discoloration. The reasons are as follows:
- the solvent action of the diluent, spoiling the coloring pigment with it;
- insufficient drying of individual layers;
- infusion of too much hardener;
- poor mix of putty;
- poor hiding power of enamel.
To prevent such a situation, it is necessary to test the quality of enamel in a hidden part of the body in advance, apply a new coat of paintwork only after the previous one dries, carefully mix the materials and observe the proportions.
to contents ↑Fading
Often the bright color of a new coating burns out in the sun. The main cause of enamel blanching is exposure to ultraviolet radiation. There are other prerequisites:
- low-quality varnish, enamel;
- prolonged exposure to an aggressive environment;
- use of low grade solvent.
To improve the appearance of the body should be sanded and painted again. To prevent fading, only high-quality materials that are not afraid of UV radiation should be used.
to contents ↑Yellowing varnish
With such a defect, the varnish acquires a yellowish tint, which is especially noticeable in bright daylight. The problem arises from the use of expired or poor-quality varnish or solvent, the use of a contaminated spray gun, or as a result of ongoing corrosion processes.
To work, you need to buy only new high-quality materials, strictly follow breeding standards. To restore, you can remove the top layer of varnish and apply it again after polishing.
to contents ↑
Color spread
Such a defect looks like a change in color, coupled with the appearance of darker or lighter zones. The reason most often is poor mixing of the color or improper distribution of pigment in the paint. Other prerequisites for the appearance of the problem:
- the introduction of a diluent with poor solubility;
- too thin enamel;
- holding the spray gun at the wrong angle during operation;
- the appearance of foreign gases at the place of application of enamel (ammonia and carbon dioxide).
To restore the attractiveness of the coating, let it dry completely and apply a new coat with exact adherence to the technology.
to contents ↑
Master's negligence
In some cases, problems with the finished coating arise due to insufficient attention to technology or work conditions.
Dust and debris during painting
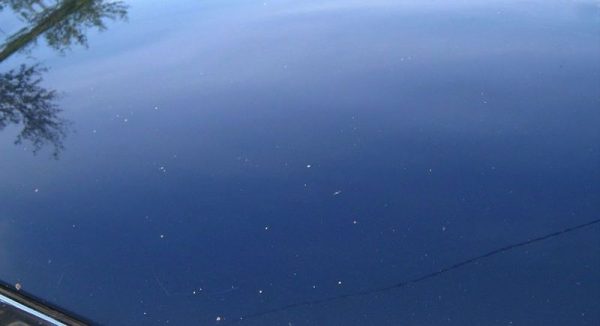
If debris gets on the paint, this always causes the appearance of bulges, swelling of various sizes directly on the finished coating.
Particles of contaminants can sit on the body before painting or after its completion, and the main reason for this phenomenon is the non-observance of cleanliness by the master:
- Dirty paint or solvent may appear. In new, just opened containers, this is almost impossible, but when you print an old, dusty can, garbage can get inside.
- After applying a primer layer and drying it, it is imperative to remove dust. If this step is omitted, foreign particles may settle on the surface of the body during drying.
- During the drying period, dust often settles on the enamel from the air surrounding the machine. If paintwork has a long drying time, the room should be perfectly clean.
- In the nozzle or sleeve of the spray gun can also be debris, and of different sizes. Most often there are pieces of old dried paint. If the equipment is not properly treated before painting, there is a risk of spoiling the whole result.
It will be practically impossible to restore the shine of glossy paint after getting dirt. To get rid of the problem, you should clean the part to an intact layer and re-paint.
to contents ↑Traces of grinding tools
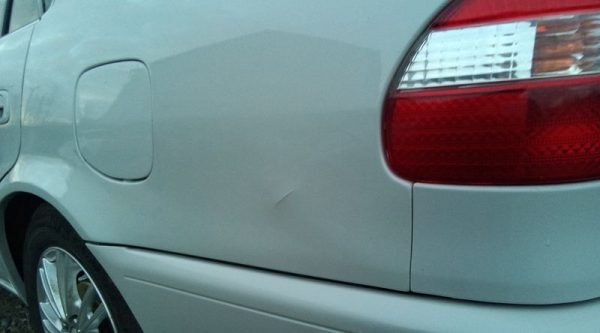
In addition to obvious scratches, chips and other defects, insufficient gloss of the paintwork may be observed.The reasons are improper operation and negligence of the auto painter, too thin a layer, the use of sandpaper with coarse grain for grinding. In most cases, removal of the coating, thorough preparation of the base and the application of new paint will be required.
Squirrel and other insects
When painting a car in a garage in the summer, midges, mosquitoes and other small insects often stick to the coating, which literally flock to the smell of fresh paint, tightly sticking to it. Similarly, insects adhere to the top coat of varnish. To remove the defect, you need to take a long needle, gently pick up the insect, pull it out until the coating has frozen. With multiple defects, partial or complete removal of enamel with further polishing will help.
to contents ↑Other types of defects
It is worth considering additional problems that a novice can expect on the way to creating a beautiful car paintwork.
to contents ↑Adhesion disorder
The appearance of the paintwork can greatly deteriorate from poor adhesion of the paint to the metal. For those who have no experience or who ignore the rules for surface preparation, the new paint can literally separate from the part. Most often this happens during operation of the machine in protruding areas that are most susceptible to shock or other mechanical stress (for example, the paint may snap off during washing). In some cases, LCP disconnects immediately after removing the masking tape.
The main causes of adhesion to the paint are as follows:
- the presence of residues of the old coating, oil, grease, oil products on the metal;
- poor priming of the part, the use of inappropriate primer;
- poor mixing of paint, its delamination;
- use of base solvent;
- “Dry” spraying (violation of staining technology);
- long exposure to high temperatures during the drying process.
The problem can be eliminated only by removing the coating, thoroughly grinding the metal with a sandblast or grinder and re-applying the paint.
to contents ↑Dry spray
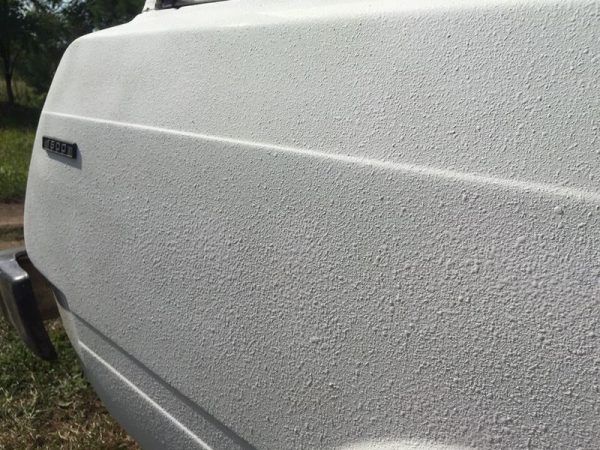
In appearance, a defect formed due to dry spraying is a too coarse surface with unevenly stained spots. The reasons for this phenomenon are as follows:
- poor primer or ignoring the implementation of the primer layer;
- strong air pressure, elevated temperature or long spray distance;
- excessive fluidity of the paint;
- reduced air humidity.
Fine areas are ground, painted with a new layer, varnished. Large defects mean the need for a complete repainting of the part.
to contents ↑Paint sagging
Typically, this defect occurs when the machine is partially painted, when an edge from the lower layer of the substrate becomes visible around the new paint. Also, the problem can be expressed by traces of grinding on the border between the old and new coatings. If you do not take measures, the damaged area will stand out ugly on the car body, and soon the coating will begin to collapse, cracks will appear on it.
The causes of the phenomenon are as follows:
- incompatibility of the substrate with the selected putty;
- unpreparedness of the substrate before applying putty (poor degreasing, poor grinding, the use of too fine abrasive for grinding);
- insufficient alignment of the putty area;
- Putty directly on old paint.
To prevent the problem, only suitable putties should be used, applying them to bare metal. Before performing the LCP layer, it is important to degrease the base, to sand it with not too fine sandpaper. If sagging of the paint already takes place, you will have to remove the coating to the base and perform the work again.
to contents ↑Lacquer waving
In some cases, the varnish applied to the car body begins to curl - peeling off, peeling off. The main reason is non-compliance with the staining technology, namely:
- Drawing too thick coat of enamel. The top of the paint dries up, and the bottom layer remains slightly damp, while the coating deteriorates.
- Poor drying of varnish.This happens when using the wrong diluent, at too low a temperature and high humidity in the room.
- A significant layer of putty. In this case, the varnish is curled exactly in the places where the putty was applied.
To return the details to their normal appearance, you will have to carefully grind the varnish and perform it again.
to contents ↑Solvent bulging
Swollen paint bubbles alternating with bursting can occur on any part of the machine. This is due to a violation of technology during the solvent addition phase. If it is too large, the adhesion of the paint between the individual layers decreases, a scattering of small air bubbles appears, which burst when they reach the surface. Especially often this happens when working on wet, hot days.
Bulging can happen when replacing the recommended solvent with improvised means - gasoline, acetone, in which there are particles of water. Moisture after entering the enamel layer begins to come out in the form of bubbles. Also, similar phenomena are observed with:
- using a quick-drying solvent;
- applying too viscous paint;
- sudden heating of the coating during drying.
To restore the attractive appearance of the part is possible only by removing the coat of paintwork and applying a new one.
to contents ↑
Poor hardening
Occasionally, the paint does not solidify for a long time, remaining wet or sticky. Usually this happens when the solvent is improperly selected and its quantity is excessive, a too thick coat of paint is applied, and the room temperature is low. Also among the reasons are spraying paint on a cold base and insufficient drying time of individual layers of material.
To fix the problem, it is necessary to dry the body at the temperature recommended by the manufacturer of enamel. If there is no effect, you need to remove the dried material with a solvent and sandpaper, apply the paint again.
The causes of problems with painting a car can be many. Most often, they arise when the inexperience of the master or ignoring the painting technology. The conclusion is this: if dexterity, practice and knowledge are not enough, it is better to apply for a body upgrade to professionals who will perform the job efficiently and without complaints.

