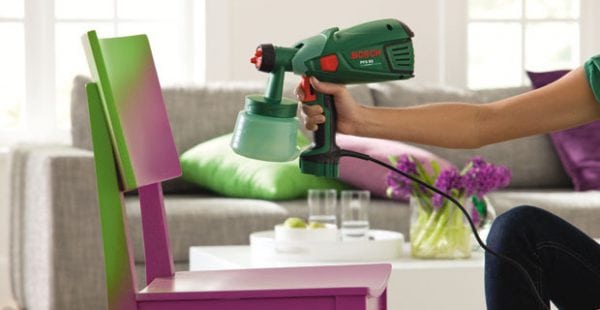
By choosing the right paint for the spray gun, you can paint surfaces of any area without much labor. Painting on wood with a spray gun allows you to get a perfectly flat surface without ugly drips, cracking, uneven staining and other defects. But you can get such a result if you choose the right viscosity for this paint.
Only after this can a significant saving of time and paint be used compared to conventional brush painting. For a spray gun, it is worth using only paintwork materials of the required viscosity, since without this the resulting coating will turn out to be of poor quality. Most often, the required viscosity has already been indicated by the manufacturer on the package, but you can not always focus on this figure.
to contents ↑Viscosity control
Any paint will lie flat on the wall only if the temperature declared by the manufacturer coincides with the recommended ambient temperature. If this does not happen, the paint itself becomes too thick or liquid. In both cases, the mixture can no longer be sprayed out of the electric atomizer in small drops, uniformly distributed over the surface.
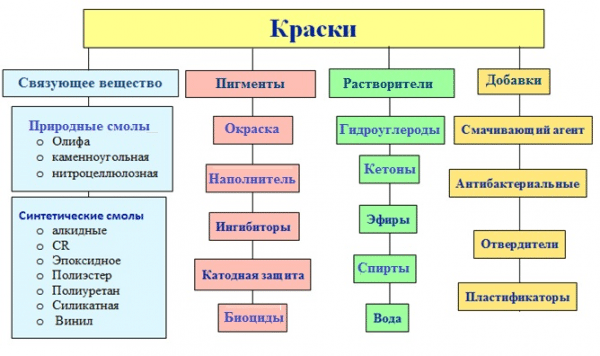
What happens if the paint becomes too thick or, conversely, liquid? This is bad in both cases, because too liquid will spread, and too thick will lie unevenly. The use of such paints for a spray gun can lead to trouble:
- the formation of sagging, "water marks";
- spatter;
- loss of glossy surface;
- puckering;
- reduction or complete loss of adhesion;
- the formation of color, lumps, chips;
- unwanted "shrinkage";
- heterogeneity of application;
- cracking;
- swelling.
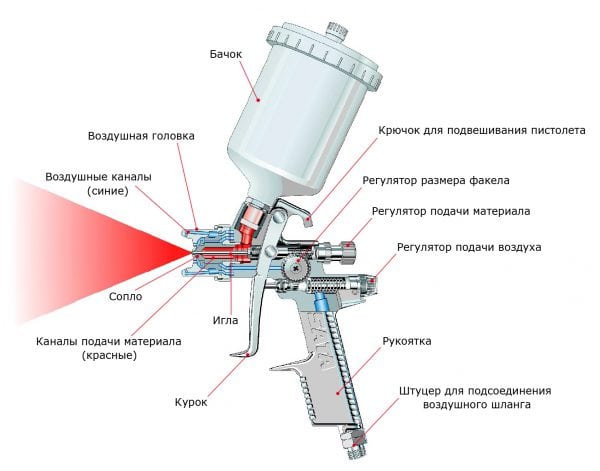
You can avoid all these problems if you properly prepare not only the surface of the wood, but also the paintwork mixture itself before application. To do this, you must immediately select the mixture of the desired consistency or dilute it yourself to the desired density.
to contents ↑Permissible viscosity measurement
To measure viscosity it is best to use a special a device called a viscometer. Its use allows you to accurately control the quality of the mixture in order to avoid unpleasant surprises in the future. The design is extremely simple, because it consists of:
- conical measuring container with a hole of different diameters below;
- bracket holder.
Depending on the task and the required measurement accuracy, you can choose a viscometer with a hole of 4, 6 or 8 mm. Preparation for determining the thickness of the paint will not require additional financial costs or complex manipulations, because, in addition to a viscometer, you only need a stopwatch and a container for dripping varnish or enamel into it. To determine the density you need:
- pour the mixture into the capacity of the viscometer;
- turn on the stopwatch, drain until single drops appear;
- turn off the stopwatch.
The resulting time (for example, 20 seconds) is the viscosity index. At a temperature of 20 ° C it should be:
- for putties - 30 seconds;
- for varnishes and acrylic enamels - up to 20 seconds;
- for basic enamels - up to 17 seconds.
The obtained index allows us to determine the available viscosity and whether additional dilution is necessary in this case. If the density is normal, the preparation of the material for pouring into an electric spray gun is completed. If the leakage time at the temperature recommended by most manufacturers is more or less than optimal, then the paintwork is too liquid or thick.
In the first case, the only way out of the situation is to choose the enamel of the desired consistency. But a thicker material can be easily prepared for use, diluting it to the desired consistency.
to contents ↑Correct breeding
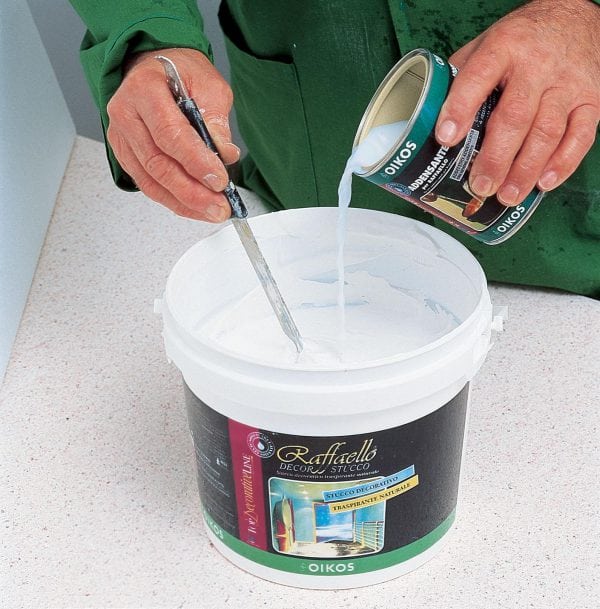
To dilute any paint material to the desired density you will need:
- special measured capacity (or the graduated plastic glass);
- solvent;
- hardener.
To correctly determine the components for the preparation of finished enamel or varnish, you need to choose the type of paint mixture. All such formulations are divided into:
- one-component (alkides or base enamels);
- two-component (acrylic enamels, primers, varnishes).
Only one solvent is sufficient to dilute the one-component composition. But two-component require additional use of a special hardener, which is poured into the prepared composition first.
to contents ↑In this case, there are no universal proportions of mixing, since they are different for each material. Recommendations of the manufacturer will help you choose the best ratio.
How to filter
The last stage in the preparation of the composition of the desired consistency is its filtration from accidentally ingested impurities. This must be done so that impurity particles do not get on the surface to be painted, ruining the finished coating. The easiest way to solve this problem is if you choose a spray gun with a built-in filter.
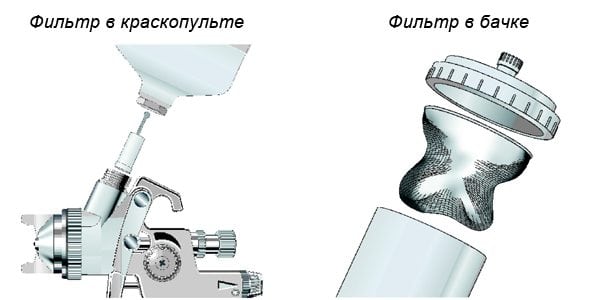
The filtered mixture will save you from problems such as:
- clogged nozzle in the spray gun;
- lump formation;
- the effect of "weed";
- sedimentation.
If there is no built-in filter, the prepared composition must be pre-filtered before pouring into the tank of the spray gun. Of course, for this you can use homemade filters made from improvised materials, such as filter paper. But this method is quite laborious and requires additional financial investments.
It is best for this purpose to choose special disposable funnels having a convenient strainer. The algorithm of actions in this case is extremely simple:
- Install a disposable filter on the neck of the tank in the spray gun.
- Pour prepared enamel into the tank.
The finished surface will be smooth and shiny, and the coating will lie in a uniform layer, further smoothing out the slightest bumps.

