So that the wooden surface after varnishing resembles glass, and you can look into it like in a mirror, polishing is carried out. Normal varnish coating does not give the expected effect. All the villi of the tree, which were smoothed by polishing, from the varnish rise and violate the appearance of the product. Before the viewer is a brilliant, but uneven canvas.
- Preparatory work
- Wax coating
- Waxing Technology
- Surface varnishing
- DIY Workflow
- Oil varnishing
- Polishing
- Work order
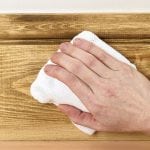
There are several options for how to make your wooden surface look glossy. The most famous of them:
- waxing;
- varnishing;
- actually the polishing process.
Consider all the processes in detail.
to contents ↑Preparatory work
Do-it-yourself polishing work begins only after coating the product with several layers of varnish, when it has already dried out well.
The process requires abrasive materials and the polishing compound itself, which is called a polish. After processing, depending on the polish, coatings of the following type are obtained:
- when using nitro lacquers or shellacs, a surface with a glossy sheen is obtained;
- the coating becomes semi-matt after water, pentaphthalic or polyurethane varnishes;
- opaque gloss give oil or oil-varnish compositions.
Wax coating
The process is not difficult and can be done with your own hands at home. When processing with wax mastic, the natural texture of wood is more clearly manifested, visually the surface becomes soft and velvety. The method has proven itself on hard wood - such as ash, walnut, oak. Soft breeds such as birch, alder and linden are pre-tinted for greater effect.
The process consists in carefully filling the distances between the villi of the wood with wax until a smooth surface is obtained, followed by applying varnish.
to contents ↑Waxing Technology
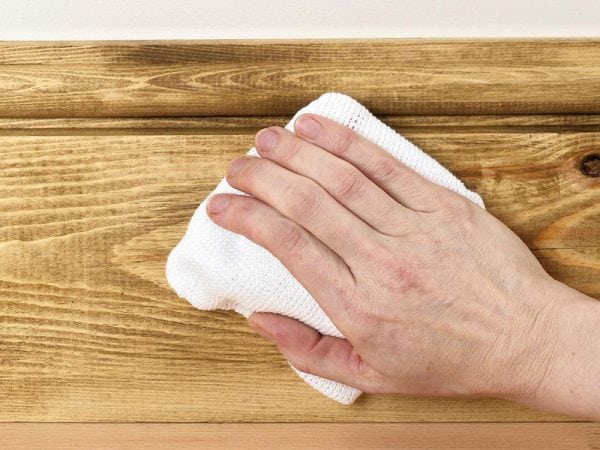
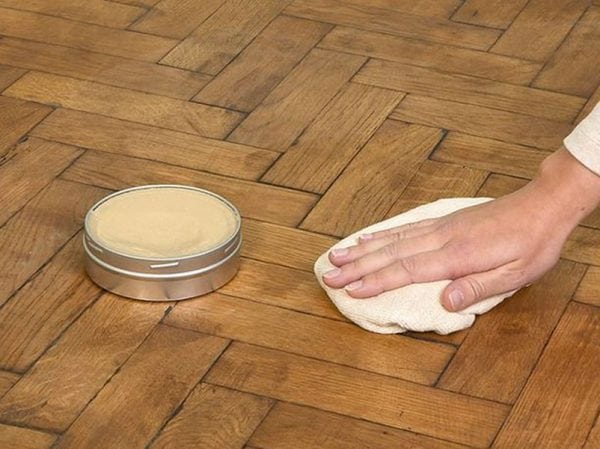
- Wood, which was previously cleaned from lint by grinding, is covered with a thin layer of mastic. At the end of drying, the surface is wiped against the fibers with a soft rag. After applying the first layer, all the irregularities in the form of pores and cracks must be filled with wax. The surface becomes smooth.
- Maintain the product or floor for two hours in warmth.
- Applying the second layer with your own hands is done with a soft rag. When applying mastic, the pressure on the surface is gradually increased. As a result of processing, a smooth matte surface should be obtained.
- A finally polished look is obtained by applying a thin layer of shellac-based furniture varnish.
This method has disadvantages. Waxing is not resistant to moisture - even a small drop leaves its mark.
to contents ↑Surface varnishing
The process is to fill all micropores with varnish and prevent a new pile from forming. The result is a film resistant to water and dust, a surface with a deeper and more juicy pattern. Processing is carried out with a cotton swab, which was previously wrapped in a clean cloth made of canvas that does not leave a lint on the treated surface.
DIY Workflow
- Generously apply the varnish in two layers. When processing, all irregularities must be filled with varnish.
- Remove all varnish from the surface using grinding materials. Only varnish remains in cracks and pores.
- Apply a second coat. These two layers are considered a pre-made primer.
- After secondary coating, dust is thoroughly removed.
- A third, very thin layer is applied and left in a closed box or room for a couple of days. During this period, no dust should fall on the product.
- Apply the topcoat once or twice.
All resulting smudges subsequently form spots. To avoid this, the surface is covered with a very thin layer of varnish, while they try not to destroy the film formed during the previous movement. They do everything evenly, efficiently and quickly, without stopping. It is better to rehearse on a control copy. Work can be done as shellac and oil.
to contents ↑Oil varnishing
When working with your own hands, you must consider that oil varnish it dries for a long time. For the primer, a solution of 200 g of varnish per 1 liter of water is used.
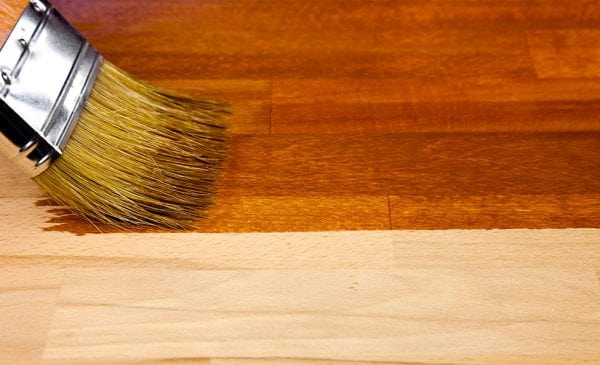
The dried and sanded surface is covered with a thick brush with a liquid varnish. If the solution becomes thick, turpentine can be added. The brush is moved evenly, without sudden movements, the excess is removed. Do not allow the formation of bubbles during brush movement.
to contents ↑Polishing
This technology gives the most beautiful texture, well preserving the wood pattern. It turns out a surface resembling a mirror. The main thing is to do it simply and with your own hands. Not all materials lend themselves well to such processing.
Coarse wood does not tolerate polishing well.
Work order
- Primer the surface with varnish in three layers. After the first layer, grind and carefully remove the dust. Then put two layers of varnish on the dried surface.
- The polishing is carried out with a swab, the varnish is applied with a thin layer. Dry and grind with abrasive materials or grinder. The process is very long, it is better to use the technique. After each application of the varnish, the surface is dried and ground again. As a result, gloss begins to appear on the surface. To prevent sticking of the tampon during operation, add a couple of drops of oil.
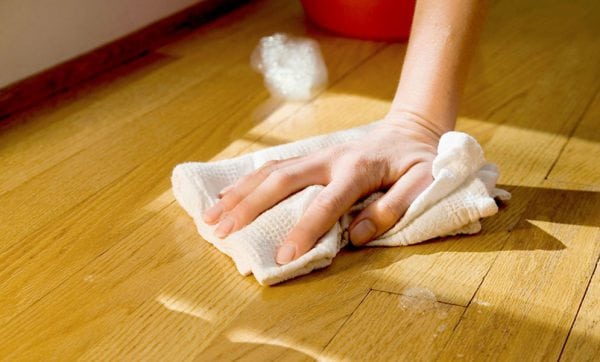
- Polishing is carried out with a varnish with the addition of a small amount of oil. Rub the surface with a swab until the desired gloss is obtained. In order not to dissolve the previous layers, the oil is added in an amount of only 1-2 drops per 10 cm². Repeat the work several times. Between the treatment of the layers, the coating is wiped with a rag soaked in a solution of varnish with water.
Failure to comply with the technology and sequence of work or insufficient number of layers will affect the result. The first do-it-yourself work is best done on a test plate. The above recommendations will help give the varnish a mirror shine, create an even smooth surface.

