Real wood is one of the most popular types of raw materials for interior decoration. However, the cost of many coatings is quite high and is not a budget option. There are various techniques with which you can turn metal, plastic and other surfaces into wood. Imitation wood allows you to convey the depth of color and luxurious patterns that valuable wood species possess.
- Why mimic a tree
- Drawing Tools
- How to make a spatula under a tree with your own hands
- Stucco wood texture
- Which plaster is suitable
- Necessary tools
- The procedure for creating a wood texture
- Imitation wood with polymer clay
- Sequencing
- Wood imitation with paints
- Tools for work
- Shades for the first layer
- Glaze Shades
- Work order
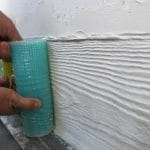
Why mimic a tree
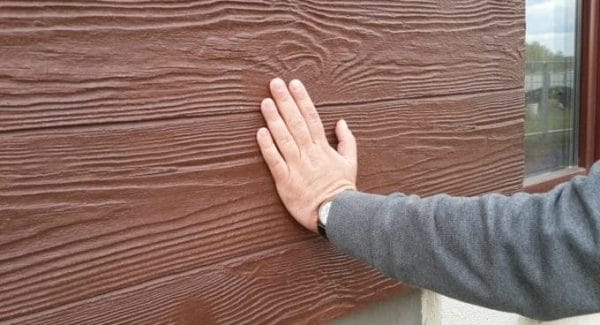
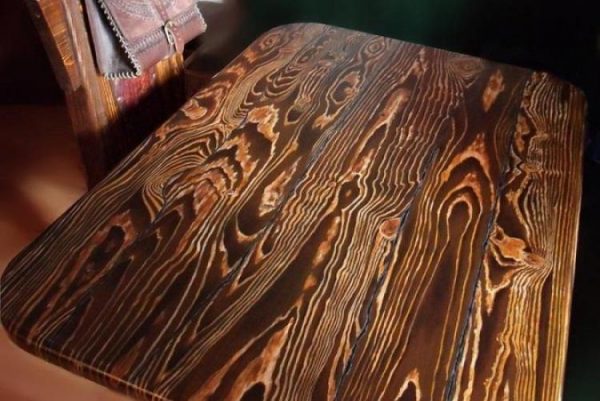
Imitation allows you to create a variety of wood textures, saw cuts in longitudinal and transverse sections, the structure of the old petrified breed or eaten by insects, as well as make spectacular stylistic variations. After all, the use of natural varieties of wood in many cases is impractical and unjustified.
to contents ↑Drawing Tools
You can apply the selected material to the wall with a spatula or trowel. The following tools are required for drawing design:
- palette knife;
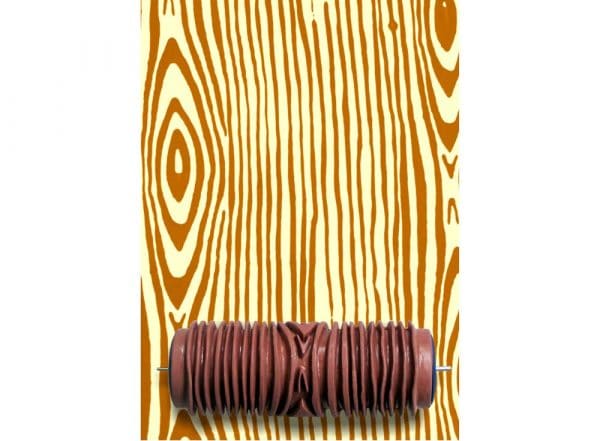
- textured roller;
- a video with a picture of a wood cut;
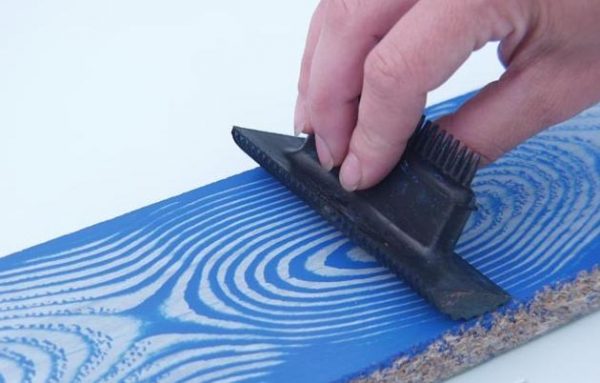
- rubber spatula with a pattern;
- various models of spatulas;
- stencil.
How to make a spatula under a tree with your own hands
It’s not necessary to buy an expensive spatula. It can be cut from ordinary plastic packaging from building or other materials. First draw a form, and then cut it with well-sharpened scissors and form nicks. The following types of spatulas will be needed:
- wide with large cloves;
- medium with rare notches;
- small smooth.
Stucco wood texture
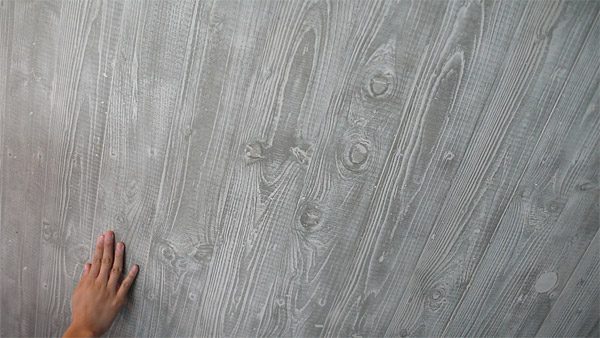
One of the inexpensive and proven ways to obtain a spectacular wood look is decorative plaster. Species imitating the texture of trees such as oak, ash, cherry, walnut are sold. Plaster has significant advantages over other materials:
- suitable for most surfaces;
- it is possible to cover both small pieces and the entire area;
- withstands adverse conditions, temperature extremes, and therefore suitable for outdoor use;
- non-flammable;
- the damaged area can be easily and quickly repaired.
to contents ↑The main disadvantage is that the imitation looks good only from a long distance. In addition, unlike real wood, strength and wear resistance are several times less.
Which plaster is suitable
The choice of material depends on further surface conditions. For example, the facade of a building is made of putty. Plaster on cement lays well on concrete. Indoors, materials on gypsum, acrylic or silicone substrates can be preferred. Bark or wormholes made by bugs are well conveyed by a relief structural plaster with coarse granules. Ready-made mixtures of acrylic and silicone are practical.They do not harden instantly and allow you to adjust the process.
to contents ↑Necessary tools
The range of devices is determined after selecting the breed to be created. You may need:
- spatulas-rakli with different notches;
- various spatulas (metal, rubber, flexible and others);
- embossed rollers;
- hard brushes;
- trowel.
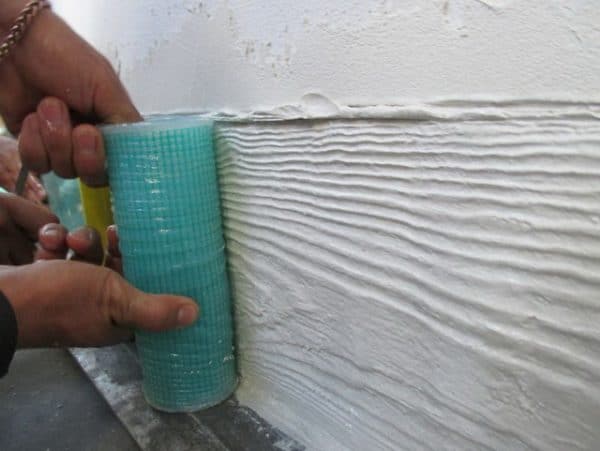
to contents ↑It is advisable to purchase expensive equipment only for large volumes of work or their implementation to order. In most, you can do with improvised means. So, it is easy to add textures to a regular paint roller by wrapping it with tape, thread or film.
The procedure for creating a wood texture
At first glance, the work may seem quite painstaking, but understanding the technology will not be difficult. Before you begin to work, it is worth practicing on a piece of cardboard. Follow these steps:
- Treat a small area with putty and smooth it to a thickness of 6 mm. Smooth the surface thoroughly with a spatula.
- Then apply wavy grooves in the vertical, horizontal direction or at an angle. After each passage, the tool is cleaned.
- Then on the wall we form a glossy base with a hard spatula.
- The plaster should dry for 30 minutes.
- Using a brush, the primer is distributed over the surface. It is important that she hit all the holes.
- Then the surface is covered with paint, dried and, if necessary, smoothed.
Imitation wood with polymer clay
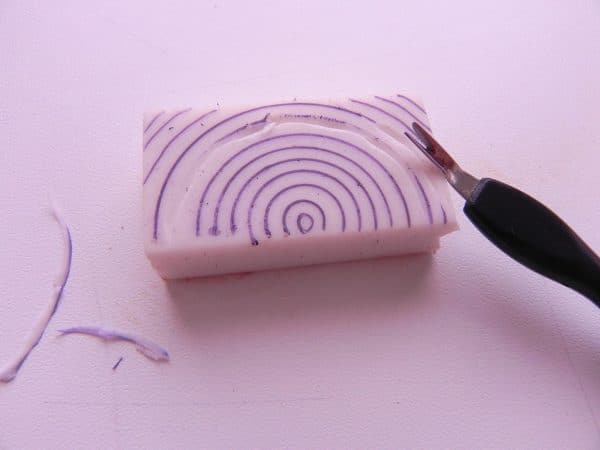
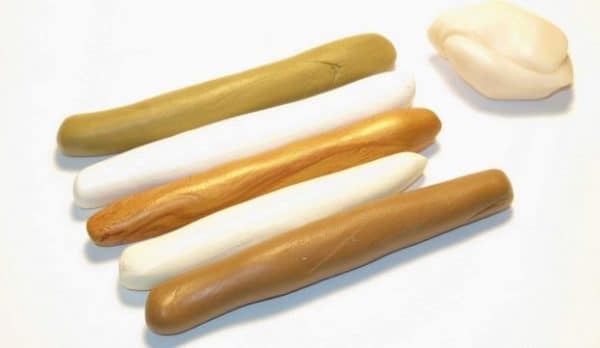
The clay texture in appearance resembles plasticine. Due to the variety of shades and an affordable price, it is gaining its popularity as a universal finishing material. Sold in small pieces of a rectangular shape. The advantage of the method is the ability to obtain the desired structure without the use of coloring compounds.
Sequencing
The priority for working with clay is as follows:
- First you need to take several types of material and cut off from each one the same piece.
- Each piece is kneaded and a sausage is formed from it.
- Next, the sausages are divided into several slices and mixed with each other.
- Several different pieces (4-5 pieces) are joined together and get balls of a uniform shade.
- Balls are rolled into thin plates and stacked in a bundle.
- At the resulting pile, the edges are trimmed and cut into two parts.
- Two halves are laid on top of each other and rolled. This procedure must be done several times.
- The resulting layer is cut into strips with a thickness of 3 mm and connected to each other.
- The strips are laid out sliced up and rolled to obtain the desired simulation.
Wood imitation with paints
The use of paints and varnishes is practiced by many designers and artists. The most popular method of sequentially applying contrasting shades to each other with their further processing with special brushes. This method is more realistic.
Tools for work
For work you will need:
- tools for applying the first layer - brush, sponge or paint roller.
- brush with artificial bristles for glaze;
- rocker to create a pattern;
- soft brush made of natural fibers;
- pencil, ruler, scotch tape;
- tissue cut;
- thickener for acrylic;
- topcoat.
Shades for the first layer
For the base, ordinary white acrylic paint is suitable. In stores you can find special compositions for tinting and by mixing to achieve the desired shade. The easiest way is to use gouache paints. Color experiments are best done on plywood or MDF sheets.It is important that the initial layer is lighter by a couple of tones of glaze. Manufacturers offer a wide range of shades for the base layer:
- red iron oxide;
- burnt umber or sienna;
- natural siena;
- milky beige.
Glaze Shades
The final color will depend on the compatibility of the first layer with the color of the glaze. The composition should include two parts of acrylic or latex paint and one part of a thickener. The following shades can be used as glaze:
- burnt umber and sienna;
- the black;
- red iron oxide.
Work order
Many people note that the method of simulating the texture with paint is the most familiar and understandable. To properly cover, follow these steps:
- First you need to apply a light color with a brush or sponge.
- Wait for the paint to dry.
- Next, mix the glaze to apply a decorative coating.
- An even layer of glaze is applied over the first layer. It is better to work with a small area.
- Then slowly rocker through the wet glaze, creating rows.
- To achieve the best effect, periodically remove dirt on the instrument.
- Occasionally, it is possible to conduct along the surface not with the tool itself, but with a comb or grooves.
- Before drying, the layer is treated with a soft brush along the direction of the wood fibers.
- Wait until the surface has completely dried and use it as intended.
It is advisable to test the technique on a cardboard sheet of medium configuration. Only after achieving the desired effect, you can begin to work on a real surface. It is also worth a try and the finish coating, so that in the future there are no unexpected nuances.
Thus, there are proven ways to create realistic tree simulations. Using the recommendations proposed in this article, you can make unique material under the tree with your own hands and without the help of specialists. The main thing is to prepare the necessary tools in advance and choose a more understandable way.

