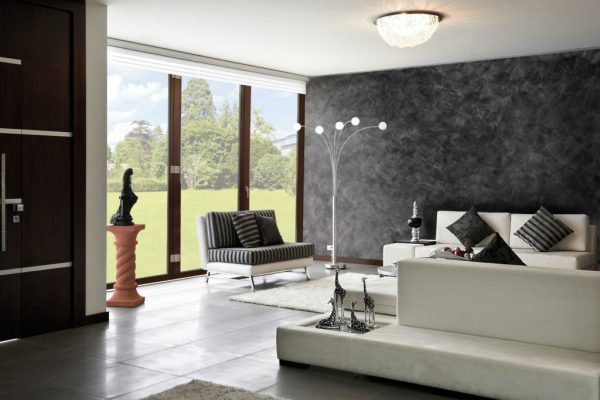
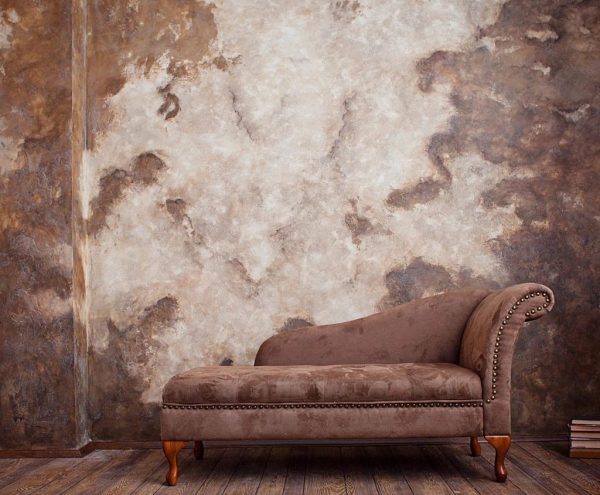
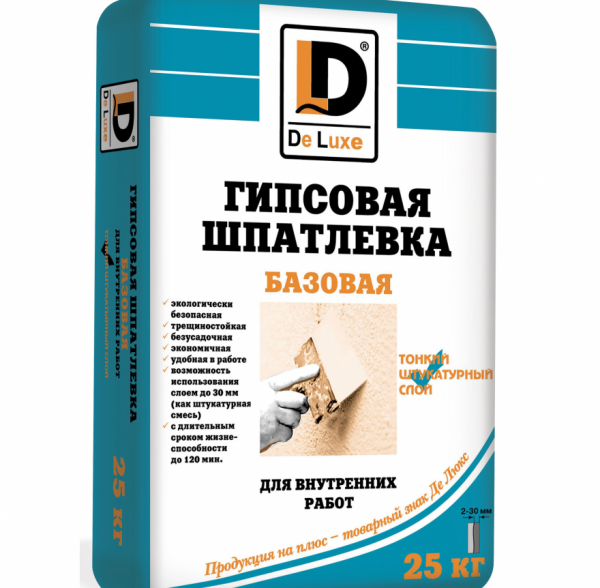
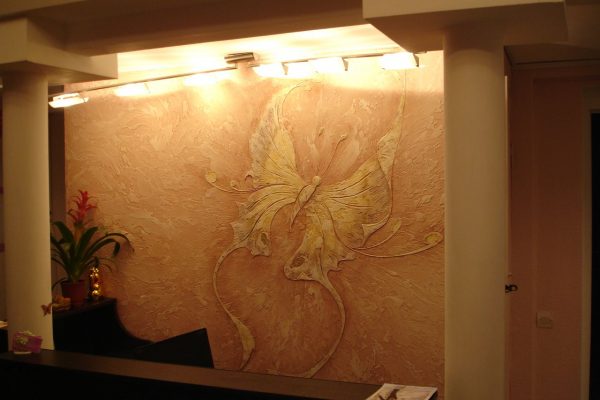
Every person who has at least once encountered a facelift or browsed through all sorts of finishing options on the Internet is probably familiar with decorative plaster. It allows you to create a stunningly beautiful and pleasant to the touch surface, but at the same time it has one significant drawback - high cost.
- The benefits of homemade plaster
- What putty is decorative plaster made of?
- Types of decorative plaster based on putty
- Manufacturing Recipes
- With PVA glue
- With primer
- Gypsum based
- With marble chips
- Venetian
- Versailles
- How to apply your own decoration: simple instructions
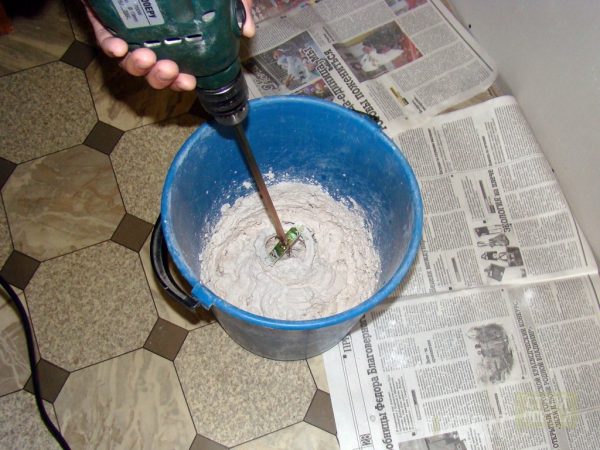
- Putty mixing
- Base coat application
- Creating a decorative surface
- Patterns, embossments, textures with a roller
- Roller
- Spatula
- Other options
- Hand tools for creating relief
If you decide to recreate a beautiful fresco at home and decorate the walls with style and taste, then you will need decorative stucco with your own hands from ordinary putty. We have selected the most popular recipes for preparing this mixture, as well as tips for applying it to the wall.
to contents ↑The benefits of homemade plaster
The main advantage is low cost. Such mixtures are inexpensive and are sold everywhere. They are much cheaper than decorative plaster and also quite easy to knead and apply. There are many ways to ennoble the usual putty and give it a luxurious look.
Other benefits include:
- long term of operation;
- ample opportunities for choosing proportions (the convenience in applying the solution directly depends on this);
- environmental friendliness, as the putty does not contain harmful and particularly corrosive components;
- antibacterial properties;
- It has excellent thermal insulation, which is especially important for residents of cold regions;
- It is characterized by sound-absorbing properties, for which many people value it;
- properly prepared solution greatly facilitates the facing of surfaces, which increases the pace of work;
- the ability to create an original and attractive picture on the wall.
What putty is decorative plaster made of?
To prepare this solution, it is recommended to take the starting putty. It is great for pre-processing the coating, making it even and grainy, providing excellent adhesion to subsequent layers.
to contents ↑When it comes to decor, it is recommended to use a finishing plaster designed for walls and ceilings. It has a pleasant plastic consistency, is perfectly diluted with various additives and is also very easy to apply.
Types of decorative plaster based on putty
Now we move on to the most interesting part: what exactly can be done with this mixture and what result should you expect? Today, there are a large number of variations of decorative plaster. It is curious that a mixture prepared on the basis of finishing putty can repeat almost every one of them.
Among the most famous types, it is worth highlighting such options as:
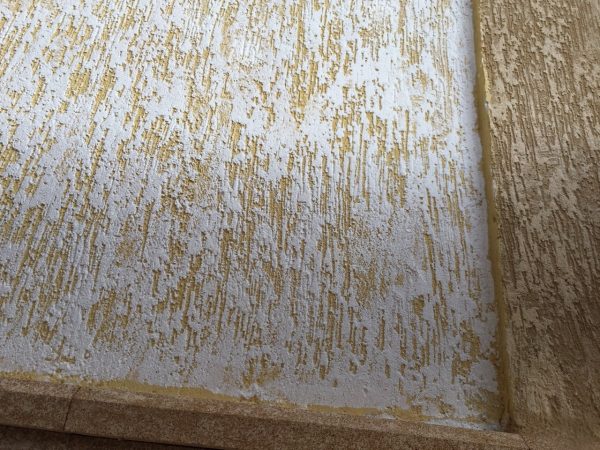
- bark beetle - imitates a wood surface eaten by insects (a very interesting wormhole effect is obtained);
- under a stone - applying several layers, competently trimming and smoothing them, you can make characteristic streaks of rocks on the wall;
- hatching - it is characterized by a spectacular intersection of broken lines and is performed with a plastic or metal comb;
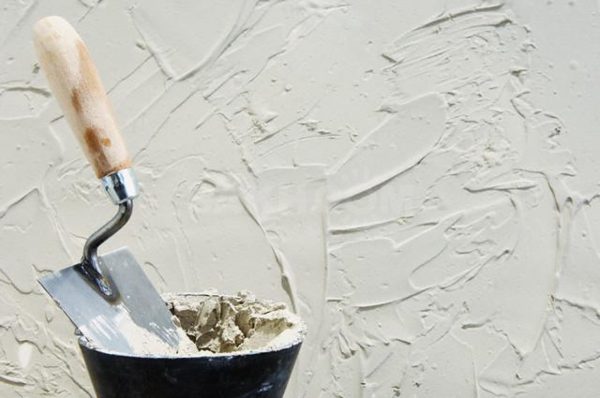
- simple decoration - done with an ordinary trowel and allows you to create fancy geometric patterns and strokes on the surface.
On sale you can find a huge number of stencils - rubber rollers with a ribbed curly surface. With their help, you can give decorative plaster spectacular patterns and an unusual shape.
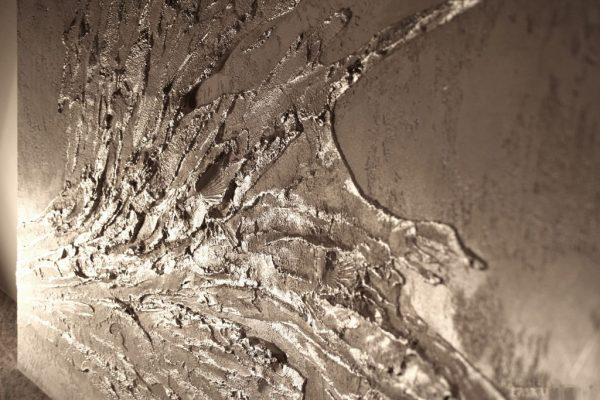
Of course, Venetian and textured plasters are especially popular. They are quite difficult to implement and apply, but they look amazingly beautiful. If you apply the solution to plexiglass or light-transmitting plastic, pre-treated with sandpaper, you can create a stylish backlight.
Putty-based decorative plasters can be polished and painted. It has great potential for decoration, so it is used to implement the most daring design projects.
to contents ↑Manufacturing Recipes
Now let's talk about how to prepare the mixture and what is needed for this. Kneading decorative plaster at home, you can safely use a variety of materials and additives, which opens up a lot of opportunities for experimentation. All the necessary ingredients that will be required during the work are in the hardware or hardware store.
With PVA glue
This is one of the most common recipes. For cooking you need:
- take a deep container with a volume of about 10 liters, rinse thoroughly and dry it;
- pour 6 kg of putty into it;
- add 2 l of water;
- knead the mass;
- pour 0.2 l of ordinary PVA glue.
The resulting solution should be mixed gently until a homogeneous mass is obtained. Alternatively, PVA glue can be replaced with a trowel mixture designed for drywall in proportions of 1: 1.
to contents ↑With primer
This cooking recipe is no less simple and in many ways resembles the scheme described above, but there is one important nuance that should be taken into account. The solution is also prepared from 6 kg of dry mix, which is mixed with a primer. It must be added until the consistency of the solution resembles a homogeneous sour cream.
To make the resulting mass better, it is recommended to add a small amount of grout intended for joints. When preparing the solution, use a standard white primer.
Gypsum based
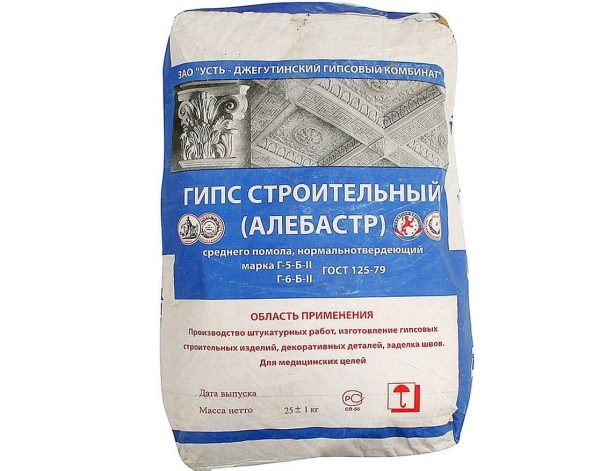
Gypsum powder formulations are also excellent for preparing decorative plasters at home. This will require:
- mix 6 kg of gypsum mixture with 2 liters of water (the liquid must be strictly at room temperature);
- knead the solution to a homogeneous consistency;
- add 0.2 l of PVA (in this case, it acts as an additional adhesive substance, providing a good adhesion of the components).
The resulting solution has a pleasant consistency. It fits perfectly on the walls and opens up great opportunities for layered surface decoration. If desired, color is added to obtain a mixture of a particular color.
to contents ↑With marble chips
This is a very interesting recipe that is popular in professional circles. This mixture is indispensable in cases where you need to make decorative bark beetle plaster.
One part of the crumb is mixed with 4 parts of the finishing putty. After this, water is added until the mass becomes homogeneous and sufficiently viscous, as in the cases above. After drying, you can add the desired dye.
to contents ↑Venetian
One of the favorite options, however, the preparation of this solution is associated with additional difficulties. You need to buy a mixture containing fine-grained chips:
- malachite;
- marble;
- quartz.
In the preparation of the mass, slaked lime and colors of the desired shade are added. Mix the solution to a thick paste (it should not be too liquid).
to contents ↑Versailles
To prepare this mixture, you will need the following components:
- powdery finishing and starting putty;
- acrylic paint;
- aluminum powder.
Dry mixes are kneaded in a ratio of 1: 1. They need to pour water and mix thoroughly, and then leave for a while.
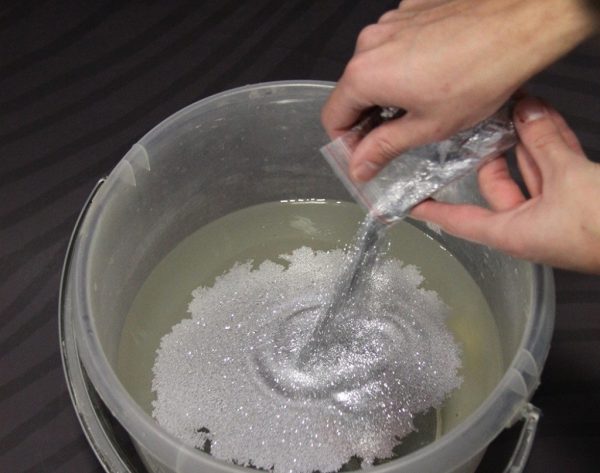
After waiting about 5 minutes, mix the mixture again, after which add color, if necessary, and aluminum powder (it will give the finished coating a special luxury).
to contents ↑How to apply your own decoration: simple instructions
Having learned about the methods of preparing the mixture, you can begin to apply it, and here you need to arm yourself with a few tips and instructions that will help to make an even and beautiful coating with your own hands.
Putty mixing
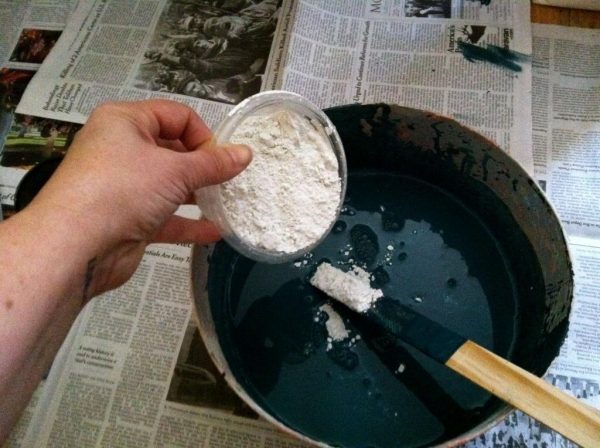
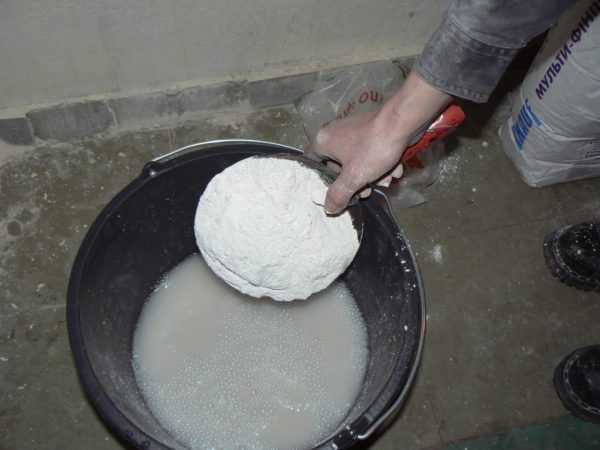
The main thing, remember - dry mixes are first added to the plastic container, which only then are mixed with water, not the other way around. This order is important because it helps to eliminate the formation of lumps (lead to the appearance of knolls later).
When mixing putty, make sure that all components are clean, without any additives or debris. This can ruin the look of the decoration.
It is recommended to prepare in advance the materials that will be required during the work:
- several spatulas;
- rollers;
- stencils and others.
Base coat application
For starter coatings, use mixtures containing quartz chips. The fact is that they have excellent adhesion and good adhesion to the wall surface, so they do not exfoliate and do not lag behind it over time. This will help create an excellent base for subsequent decorative layers.
Adding color or not is up to you. The base layer can be completely left white, since most often it is blocked by the finish. However, keep in mind that each subsequent layer increases the thickness of the finish, as well as its weight and load, so too thick and massive coatings may crack with time. This can be avoided by pre-thinking the concept of decoration and reducing the number of layers of decorative plaster.
to contents ↑Creating a decorative surface
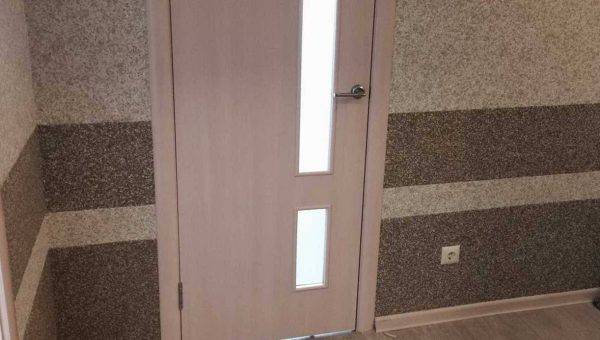
Here you can unleash your imagination. Using mixtures with different components (crumbs, aluminum powders, etc.) and applying them layer by layer, you can achieve a striking effect.
Decorative plastering is good because it allows you to make a luxurious coating, while you do not need to carefully prepare or arrange each layer. On the contrary, careless brush strokes and broken lines will help to create an original and unique pattern on the wall.
to contents ↑
Patterns, embossments, textures with a roller
Now we have moved to the final stage of decorative finishing with stucco, which we have prepared ourselves. At this stage, you have to apply the finish layer and decorate it of your choice. How and how to do this, we will describe further.
Roller
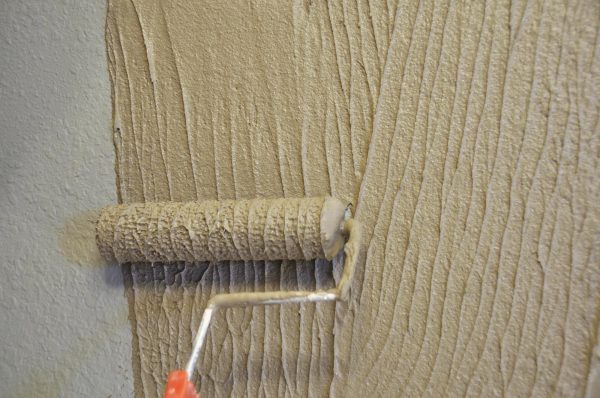
This is an ordinary paint roller. He has a large pile, which naturally presses the plaster, leaving an intricate ornament on it. This is the easiest and most affordable option.
You can buy a special textured roller, on the rubber surface of which there are neat patterns. This option will help to create a beautiful and stylish relief on the wall.
After coating and drying the decorative plaster, you can paint it in the desired color. If you used several layers with different shades, then squeezing the picture in itself will create a stylish effect on the wall surface.
to contents ↑Spatula
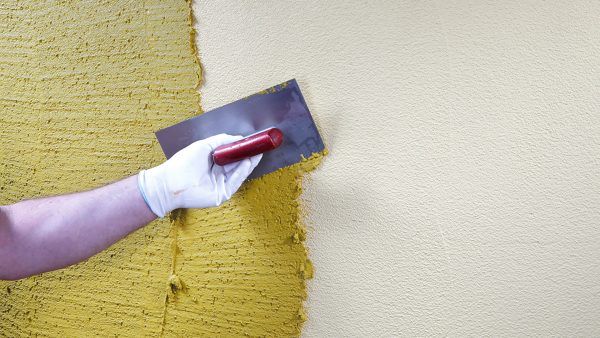
There are no less opportunities to implement a creative idea. If you use a ribbed plastic or rubber spatula, then you can make straight lines, waves and various geometric patterns and transitions. Ever heard of Japanese rock gardens? You can recreate a similar texture on your wall.
to contents ↑An important advantage of a spatula is that it covers a large surface. If desired, you can make an arbitrary ornament by applying small vertical or horizontal strokes.
Other options
There are many other professional tools that will help to make a decorative finish. A trowel is perfect for this. It is much lighter and simpler than a spatula, and thanks to its pointed end it is possible to effectively squeeze out small hollows in the wall surface.
to contents ↑Another interesting option - ready-made rubber molds. They are good in that they help give the surface the appearance of brick or masonry, and at the same time significantly accelerate the work of decorating the surface.
Hand tools for creating relief
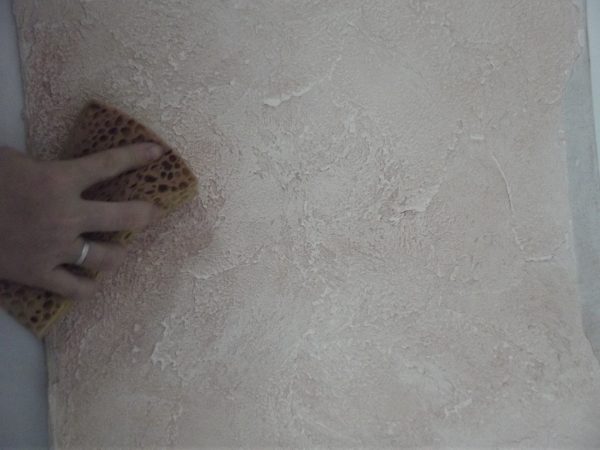
If you are passionate about the creative process, then to decorate the wall with decorative plaster, you can use:
- ordinary kitchen sponge;
- porous washcloth;
- crumpled plastic bag;
- comb;
- with a nail.
As an option, you can put on a rubber household glove and make patterns on the wall with your hands, tracing the thick putty with your fingers. Masters often resort to this method and make an amazing design.
Now you know in detail about all the techniques of interior decoration using decorative plaster made from the usual mixture, which is in every hardware store. This will help to make the amazing repair you have always dreamed about.

