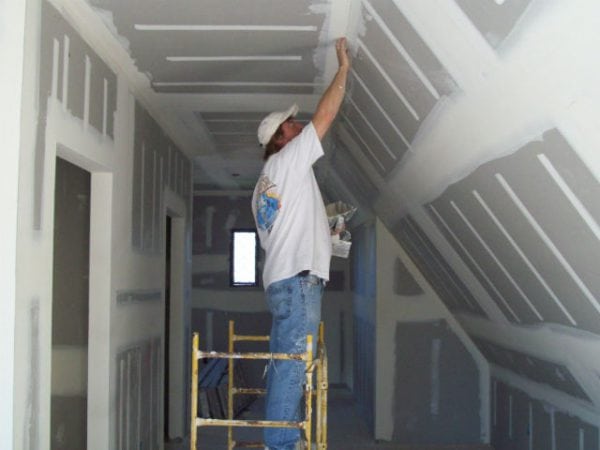
The main task of priming the surface is to ensure high-quality adhesion between the applied material and the substrate. This is especially true in the case of porous substrates, since in places where there are pores, the base does not come into contact with the finishing material. This can be seen if you pay attention to the quality of gluing wallpaper removed from a non-primed wall. For the same reason, soon after repair, the glued joint to the wallpaper joint is peeled off.
- Varieties of primer
- Acrylic Compounds
- Alkyd Compounds
- Glifthal compounds
- Perchlorovinyl compounds
- Adhesive compounds
- Surface preparation for primer
- If the walls had wallpaper
- Painted walls
- Drywall
- Necessary tools
- Surface priming
- Soil application
- Drying
Wall preparation is also carried out for a number of other reasons:
- elimination of surface irregularities;
- preparatory stage before facing with drywall;
- prevention of mold and mildew;
- improved adhesive effect between materials;
- reducing the consumption of adhesive materials by reducing the porosity of the base;
- disavowing due to the white color of the primer, defects such as rust or stains.
to contents ↑Proper preparation of the walls will significantly increase the life of decorative finishes.
Varieties of primer
When choosing a primer composition, the following circumstances should be taken into account:
- The materials must be compatible, so it’s usually better to use a universal primer. However, some finishing materials will require specialized formulations.
- Special operating conditions (for example, high humidity or high room temperature) will require a special primer.
- The toxicity of the composition and the possibility of airing the premises before and after work.
- Primer Consumption. Different types of composition fall unequally on the basis, so their consumption can vary significantly.
Primers are classified according to the variety of binding components:
- acrylic;
- glue;
- glyphthalic;
- perchlorovinyl;
- alkyd;
- polyvinyl acetate.
Acrylic Compounds
They are used for processing a variety of surfaces: from plaster to concrete and plywood substrates. They are distinguished by the absence of a specific smell and drying for 5 hours.
Note! Acrylic compounds are not suitable for the treatment of steel surfaces, as they are not able to protect them from corrosion processes.
Alkyd Compounds
This type of soil is considered particularly suitable for wood processing. The drying time of the surfaces is approximately 15 hours.
Glifthal compounds
Well suited for the preparation of surfaces made of metal and wood. The disadvantage of glyptal primers is incompatibility with high humidity conditions. The drying time of the surface is 24 hours.
to contents ↑Perchlorovinyl compounds
First of all, they are used for processing metal substrates, as well as concrete and brick plastered surfaces. The main advantages of perchlorovinyl soils are resistance to low temperatures and quick drying (about an hour at a temperature of 20 degrees above zero).
to contents ↑Note! The room should be well ventilated, since such compositions have an unpleasant odor that persists until it dries.
Adhesive compounds
Used to prepare surfaces on which inexpensive paper wallpaper will be applied. Differ in low cost.
Surface preparation for primer
Before starting the priming process, you need to prepare the walls for the primer.
If the walls had wallpaper
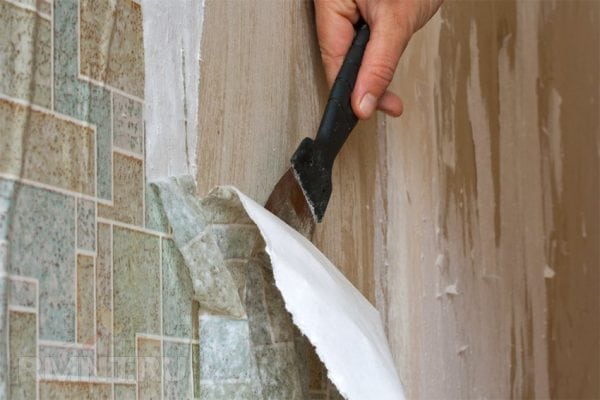
Old wallpapers are dismantled using a spatula or scraper. Before work, the wallpaper is wetted with water or a specially designed liquid for this. To remove paper wallpaper, a soap solution with the addition of wallpaper glue can be used.
If the wallpaper is washable or dense, cuts should be made on them before dismantling. In this case, the solution will fall into the base, which will facilitate the process of removing wallpaper. If we are talking about two-layer wallpaper, the bottom layer of paper can be saved as a base for gluing a new coating. If you can’t remove the wallpaper immediately, you need to wet the surface again and repeat the operation.
An iron can be used to dismantle hard-to-roll bales. To do this, the heating surface is applied to the desired location through a dampened cloth.
After the old wallpaper is removed, the wall is washed, and then finally cleaned with a spatula. Specialized antifungal agents are used to remove mold, mildew and stains. Mold can also be removed with a bleach solution (1 part of bleach is taken in 5 parts of water).
Advice! To stick wallpaper in places where there was mold, you need to use glue containing fungicide.
Whether or not to leave a layer of plaster after removing the wallpaper depends on its condition. The plastered surface should not crumble or have significant cracks.
You can test the quality of the plaster by tapping. Its low-quality part will simply fall off. By the nature of the sound, voids can also be determined, i.e. places where there is a lag of the plaster layer from the wall. In such places, you need to remove the old plaster and apply a new one.
to contents ↑Painted walls
Before cleaning the coating, you need to set the type of paint. For water paint remover used spatula. Previously, the surface is wetted with soapy water.
Enamel and oil paints can be removed only in thoroughly damaged places, that is, where there is a peeling. The painted wall is cleaned with coarse sandpaper.
to contents ↑Drywall
Plasterboard surfaces must always be putty before applying the primer. Moreover, priming is done twice: on a clean base and after puttying.
Note! Preparation for priming ends only after the final drying of the surface.
Before the primer begins, all irregularities and cracks are repaired. Putty is used to eliminate them. After completion of the preparatory work, you can proceed to the priming.
to contents ↑Necessary tools
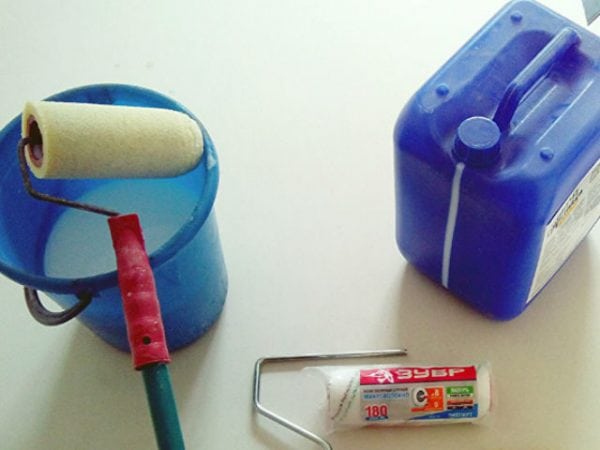
To prime the surface, you need such a tool and materials:
- primer composition;
- capacity under the ground;
- roller;
- tassel.
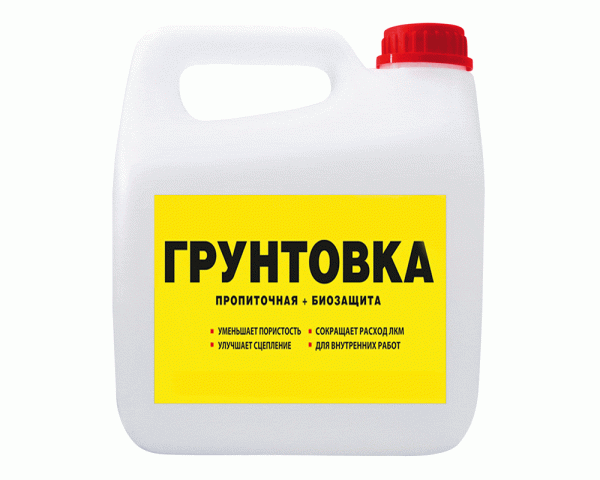
Primers are sold dry or prepared for application. If the composition is dry, it must be diluted in water in accordance with the instructions on the packaging. Soil consumption depends on the number of layers applied.
Surface priming
Soil application
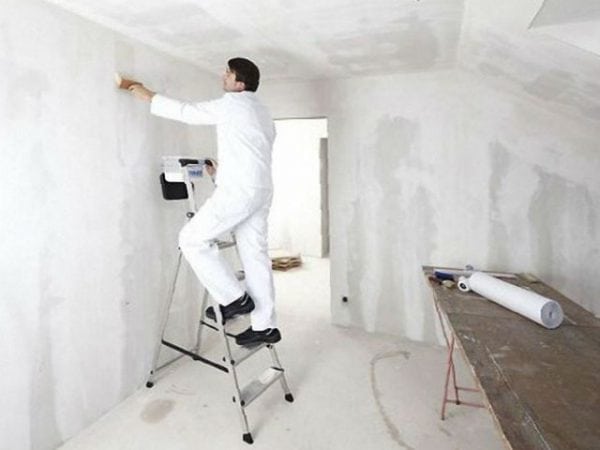
The primer is applied evenly over the entire surface of the substrate. Particular attention should be paid to corner places.
Following the starting primer, puttying and cleaning of the surface with fine-grained sandpaper, abrasive mesh is carried out. Before starting the primer, the surface must be completely dry.
The finishing layer can be applied in one or several layers - it depends on the type of composition, wallpaper (or other finishing material), the characteristics of the base. Sometimes two types of primers are used: for example, one to prevent moldiness, and the other to create good adhesion.
to contents ↑Drying
After priming the base, before gluing the wallpaper or painting the surface, it must be allowed to dry completely. Typically, the drying time is 5-6 hours. Moreover, this applies to each applied layer. The material is applied only to a dry wall.
Check if the surface has dried, in this way:
- cut off a small piece of polyethylene;
- fix it with tape to the wall;
- peel off a piece after a few hours.
If there is a drop of moisture on a piece of polyethylene, you need to wait again. After a day, you can repeat the check.
Priming is an important factor ensuring the quality of finishing work. Therefore, it is recommended not to neglect this technological step, so that in a month or two after the repair it is not necessary to redo the poorly performed work.

