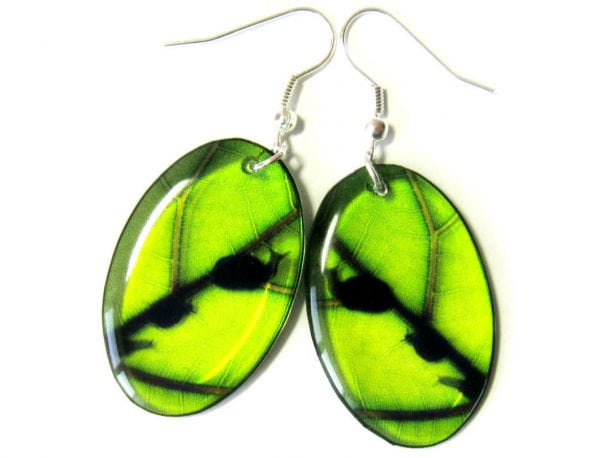
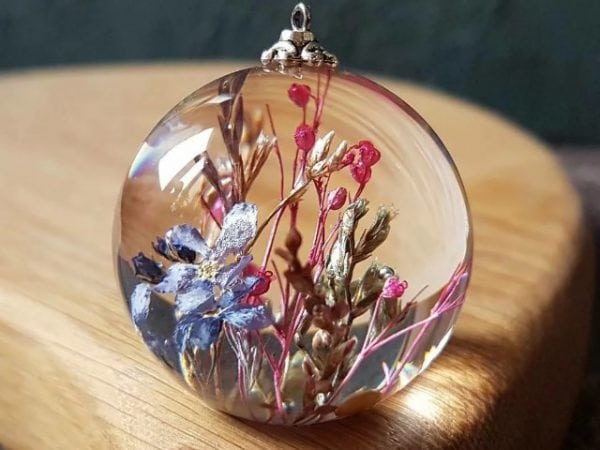
Epoxy resin is very popular among jewelers. This material is great for making brooches and bracelets, pendants and pendants. Transparent plastic mass is ideal for handmade work, and everyone can learn how to make jewelry. Jewelery resin in a finished, frozen form imitates glass, crystals, precious stones, looks elegant and original.
- Description of jewelry resin
- Precautionary measures
- Work with jewelry resin
- Workplace preparation
- Resin preparation
- Pouring
- Polishing
- Master class for making jewelry jewelry
- Make rings
- DIY resin pendants
- Earring Making
- Resin brooches
- Cabochons at home
- Useful Resin Jewelry Tips

Description of jewelry resin
Epoxy resin is a modern polymer material that is actively used for construction, installation works, as well as casting of haberdashery, jewelry, and household products. Epoxy is very popular in needlework, it allows you to create real masterpieces with your own hands.
In appearance, jewelry epoxy resin is a transparent liquid with a rather thick consistency. This is a two-component product, it consists of the resin itself and the hardener. The latter is the most important component initiating the polymerization (curing) reaction. Without a hardener, the resin remains fluid, only this substance gives it certain properties. Here are the main ones:
- resistance to ultraviolet radiation, moisture, household chemicals;
- strength, lack of response to shock, vibration;
- heat resistance.
Prior to polymerization, various dry fillers can be added to the mass - for example, dyes, modifiers, plasticizers, wood chips or cork. They change the properties of the glaze in the right direction. Hardener is added strictly in a certain proportion with resin. Typically, the ratio is 10: 1 or 8: 1, but may be different depending on the particular brand.
You can buy transparent jewelry resin in any store of building materials, goods for repair, creativity and needlework. It is quite budget-priced, easy to operate, and the end result is always pleasing. Domestic brands are cheaper, while they are of excellent quality. Foreign jewelry pitches are most often equipped with additional accessories - gloves, glasses, kneading sticks. Sometimes molds come in the kit - molds for pouring epoxy. It is better to purchase high-quality material, otherwise it may turn yellow, cloud over time.
to contents ↑Precautionary measures
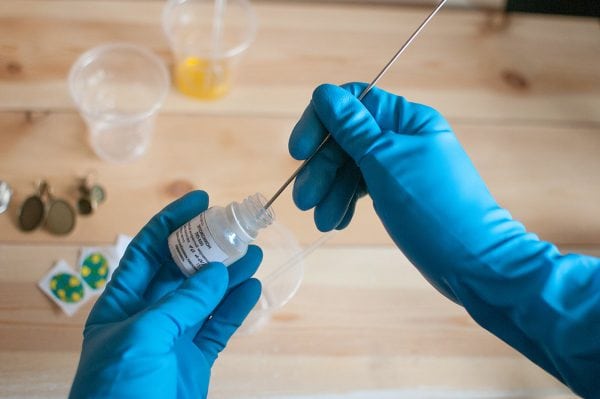
When working with resin, safety precautions should be strictly observed. You need to immediately buy personal protective equipment:
- respirator;
- gloves
- apron;
- protective glasses.
Do not work in an unventilated area. If there is not enough ventilation in it, you will have to breathe fumes, which is harmful to the body. Vapors may cause an allergic reaction, irritate the respiratory tract. A pronounced chemical smell is unpleasant, although some expensive brands of epoxy do not smell so bad. After curing, epoxy is completely safe; various rings and brooches can be given even to children.
If tar or hardener gets on your skin, immediately wash the area with soap and then plenty of warm water.Do not use epoxy for products in contact with food. While polishing, you also need to wear a respirator - so the smallest particles of matter will not get into the respiratory system.
to contents ↑Work with jewelry resin
Costume jewelry is the most popular area of epoxy use among needlewomen. In order to make jewelry, you need to purchase the appropriate molds. So called casting molds, which are made of silicone or other materials. They are convenient to use, the finished product is easily removed from them.
to contents ↑When working with resin, the temperature regime must be strictly observed. The polymerization reaction proceeds with the release of heat, while the epoxy is heated to +60 degrees. When overheated, it irreparably spoils.
Workplace preparation
To work with jewelry resin you will need a flat place - a small table, a tray. The base coating should be glossy, not sticking to the resin. The use of plastic bags is inconvenient, resin drops tightly stick to them. It is best to glue the tray with paper tape with a shiny surface. You can also put on the table ceramic tiles, a sheet of cardboard.
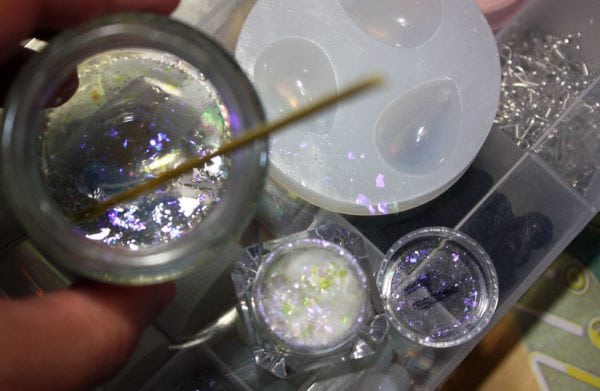
Before work, it is important to prepare all the necessary devices, accessories, decor. Of the basic materials you will need resin and hardener (usually included). Also useful:
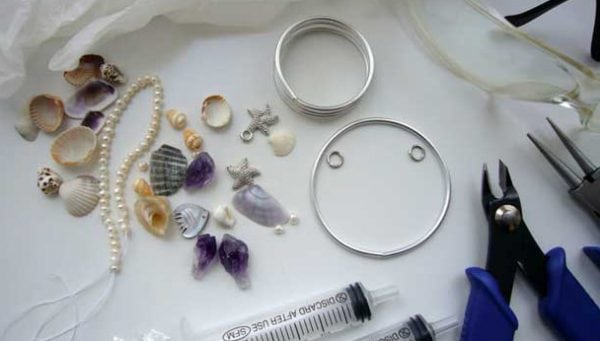
- two syringes (needles are not needed);
- dishes for mixing the resin (you can take a disposable cup);
- wooden stick for mixing the mass;
- mini drill;
- nozzles for mini-drills for grinding, polishing, nozzle-drill, head for turning;
- personal protective equipment;
- sieve;
- vegetable oil or petroleum jelly;
- tweezers.
Fittings are selected depending on the type of jewelry made. It can be the basics, connecting rings, studs, connectors, frames. You can’t save on accessories, otherwise the fasteners and fasteners will quickly deteriorate. Decor for products is chosen independently. These may be such items:
- bumps;
- leaves;
- flowers
- shells;
- dried flower;
- rhinestones;
- beads;
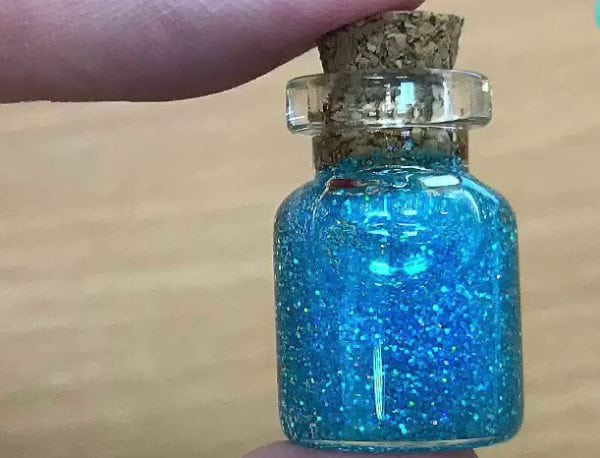
- glitters;
- sequins.
Natural material - plants, flowers - is pre-dried between the pages of the book. It must be prepared in advance, because the drying process can take up to a month. The buds are put on through the legs on a thread with a sewing needle. The resulting "garland" is hung in a dark cabinet, it dries for 3-4 weeks.
to contents ↑Resin preparation
Before you work, it is important to read the instructions for jewelry resin. It will indicate what temperature in the room should be maintained, what are the proportions of the resin and hardener. Typically, the manufacturer advises working at + 25 ... + 30 degrees and low humidity - up to 55%.
Since small portions of resin are used to make jewelry, there will be no strong heating during polymerization. Therefore, the resins of many brands are recommended to be slightly heated - this is done by placing the tube in hot water (60 degrees). After 5-10 minutes, the resin is taken out of the water and mixed with the hardener.
Operating procedure:
- collect epoxy and hardener with different syringes without needles;
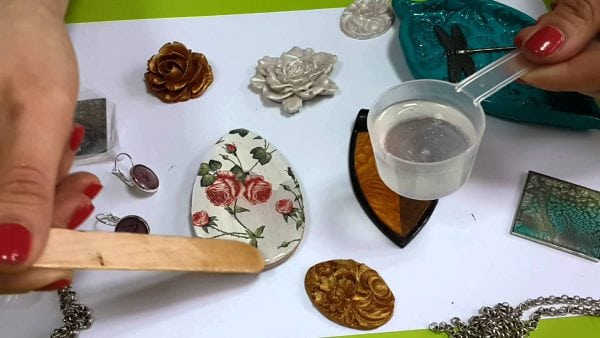
- pour the right amount of resin into a disposable cup;
- add hardener in small portions in the indicated ratio, immediately thoroughly mixing the mass;
- stir the product for 3 minutes, but not too intensively - this will cause the appearance of air bubbles.
Bubbles are the main difficulty newcomers face. To maintain the transparency of the glaze, the mixed resin must be allowed to stand for 10 minutes. Bubbles come to the surface, and they can be pierced with a needle. The finished mass should have a thick honey consistency.
If required, fillers are added to the agent at this stage. They do everything quickly until the resin has entered the polymerization stage. Usually add wood shavings, sawdust, chips, cork. It should be noted that they immediately go down, so you need to distribute them carefully.
to contents ↑The total mass of the filler should not exceed 50%. The more foreign substances in the jewelry epoxy, the more fragile the finished product will turn out.It is better to introduce a little plasticizer into it (a couple of drops of castor oil are suitable).
Pouring
To start the resin pouring process, a fine strainer should be prepared. This method is not suitable if there are fillers in the mass. Pre-form smeared with petroleum jelly, parquet mastic. This is only required for home-made molds from improvised materials. Forms made of silicone and plexiglas do not need lubrication; the finished product is easily removed from them.
Next, the epoxy resin is poured into the mold, its depth should not be more than 30 mm. In the first 60-120 minutes, the composition will remain liquid, but gradually begins to thicken. If you need to enter decor, this is done with tweezers. It is important not to pour too thick a layer, otherwise the glaze will not be able to harden completely. If the decor is large, then ½ mixture is poured, the decoration is laid, then the remaining resin is added. The form must be covered so that dust does not sit on the surface. The drying time of the product is 24 hours.
to contents ↑Polishing
The resulting resin products need polish correctly. To do this, use a mini drill with an emery nozzle. Ornaments are grinded as needed, while the edges are held perpendicular to the drill. Further, the edges can be varnished or the resin is again diluted and the edges greased with a brush. After polishing, holes are drilled to secure the rings, fasteners. The diameter of the drill should not be more than 0.5 mm.
to contents ↑Master class for making jewelry jewelry
How to make various jewelry, jewelry? There are a number of subtleties in the manufacture of rings, earrings, brooches, pendants, they will be described below.
Make rings
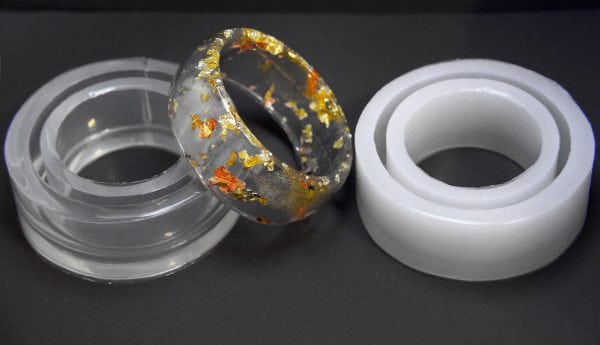
The workshop on creating rings should begin with the preparation of forms and accessories. You need to purchase resin, hardener and a standard set of additional materials, including glitters, other decorative elements.
The work is carried out as follows:
- pour water into a container with a temperature of +60 degrees;
- lower the sealed tube with epoxy (it is important that not a drop gets inside), leave for 10 minutes;
- gaining resin and hardener, mixed with epoxy in the right proportion;
- usually 3 ml of the finished mixture is enough for the ring;
- to remove bubbles, a cup with a well-mixed mass is once again placed in a container of hot water;
- again mix the mass directly in a container with water until all stains, bubbles disappear;
- the remaining bubbles are blown out with a cocktail straw;
- pour the resin into the mold, do it in 2-3 steps to put the right amount of decor in each layer - powders, glitters, spangles, dried flowers, needles;
- layer-by-layer filling is done after 2-3 hours from the previous one, therefore, each time a new portion of resin is brought in;
- leave to freeze the ring near the battery for a day;
- they take the product out of shape by hitting it from the back;
- sharp edges are ground, you can make it a nail file.
to contents ↑The ring of wood and epoxy looks original. To do this, you can take chopsticks for sushi or any trimmings of wooden furniture, cut them. Trees are laid at the bottom of the mold, poured with finished resin. You can pre-paint the material with special pigments, they are introduced before the use of hardener.
DIY resin pendants
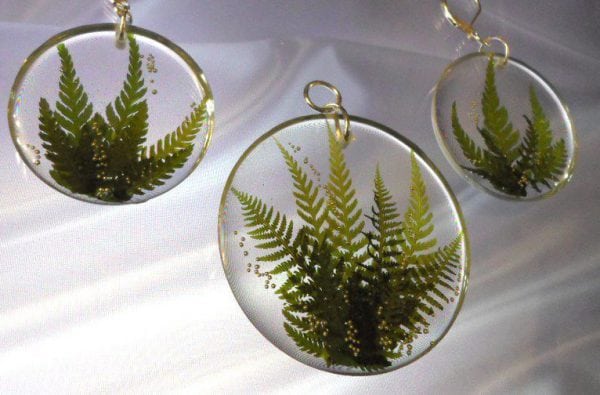
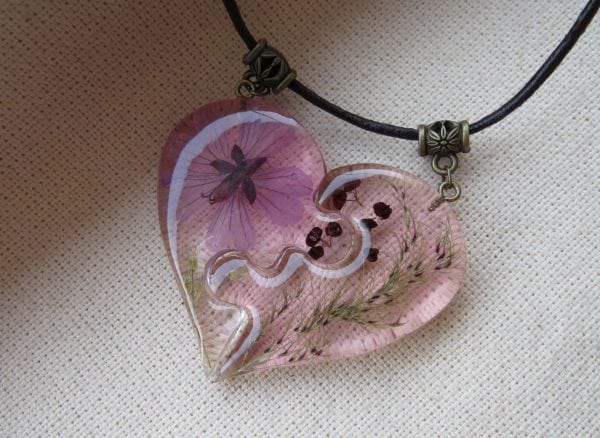
Artificial amber can be made of resin, very beautiful pendants are obtained. You can also make other crafts with the addition of paint of any shade, sparkles or other decorative elements. For pendants, a wire is necessarily prepared. Usual darkens over time, so apply a material with a special coating. A soft but not thin wire made of aluminum with a diameter of 1.5 mm is suitable. To fasten a chain or cord, you need to roll up a wire ring and cut off its tail close to the junction.
The ring itself is glued to a double-sided wide adhesive tape, which is glued with the other side to a flat surface (tile, cardboard). After the decor is laid out in the mold, fill with finished epoxy resin with a hardener is made, the epoxy is pre-conditioned for 20 minutes. One layer is poured into the “lenses” to create a bottom and fix the pattern.Leave the product for 8 hours, then make another layer, then the third. A ring coiled from a wire is carefully immersed in the latter. Final drying lasts 24 hours. You can also drill a hole in the finished pendant and simply insert a wire ring there, the effect will be the same.
to contents ↑Earring Making
The technology for making earrings can be even simpler; you don’t even need special molds. It is only important to buy high-quality resin and good hooks, clasps, as well as get a dried flower, twigs, any decor.
The work is as follows:
- prepare the epoxy resin, knead it, leave for 2 hours to gain viscosity;
- draw stencils on paper oval, round or other shape;
- cover the working area with oilcloth or rinse and wipe dry, lay out stencils, cover them with clerical multifors;
- start pouring the thickened resin directly onto the multifora, carefully distributing it on the stencil with a toothpick;
- the height of the workpiece should be no more than 1 cm;
- cover the blanks with dust domes from above, leave for a day;
- after hardening, give the earrings the desired shape with a nail file;
- Knead another portion of the resin, stand for 2 hours;
- put decor on the blanks, drip a little resin, let it dry slightly;
- then perform a few more layers with a brush, each should dry for 2 hours;
- at the end of the work, allow the earrings to dry for 24 hours, then polish and drill holes for the hooks.
Resin brooches
To create brooches, you may additionally need acrylic dyes. After the resin and hardener are combined, the mass is allowed to infuse for 2-3 hours, then it is poured into special forms for brooches. Previously, the edges of the forms can be coated with a mixture of PVA and dyes, then the products will take on their original appearance. The composition of dried flowers looks beautiful inside the brooches. So that they do not float to the surface, perform the first layer of pouring, let it dry for 2 hours, and then glue the decor with PVA. The products are finally dried for at least a day.
to contents ↑Cabochons at home
Under cabochons understand the method of processing stones, in which they find a smooth convex surface without faces. Cabochons are flat on one side and look like a lens on the other. The easiest way is to fill them in special forms, spreading the epoxy according to the instructions. She smear the walls of the mold with a thin layer, and after solidification they take out the workpiece. Now any decor can be put in it, then it is filled to the base. After drying, the medallion is ground to perfect smoothness.
to contents ↑Useful Resin Jewelry Tips
If there is no time to wait for a long drying of the jewelry, the process can be accelerated. For this, the product is heated in the oven at a temperature of up to + 50 ... + 60 degrees. Many craftsmen, if the drill is not available, insert a cord into the product while the decoration is still soft. This will help to avoid drilling.
When pouring, be sure to ensure that the form is absolutely smooth. In this case, you do not have to grind jewelry for a long time. Do not wipe the finished product with alcohol, this will ruin the glossy surface. Careful handling will allow you to wear rings, earrings or pendants for a long time without complaints.

