Carrying out repairs in the apartment, one may encounter a problem: the entrance or interior doors do not correspond to the direction of the new interior. It also happens that the doors lose their attractiveness: paint peels off them, the veneered coating spoils. If the functionality of the product is saved, you can save and not buy a new one. It is enough to choose the appropriate method, how to update the old door, and put it into practice.
- The meaning of door restoration
- Preparatory stage
- How to update wooden interior doors: instructions
- Staining, varnishing and staining
- Veneering
- Self-adhesive film
- Wall mural or vinyl
- Wallpaper with moldings
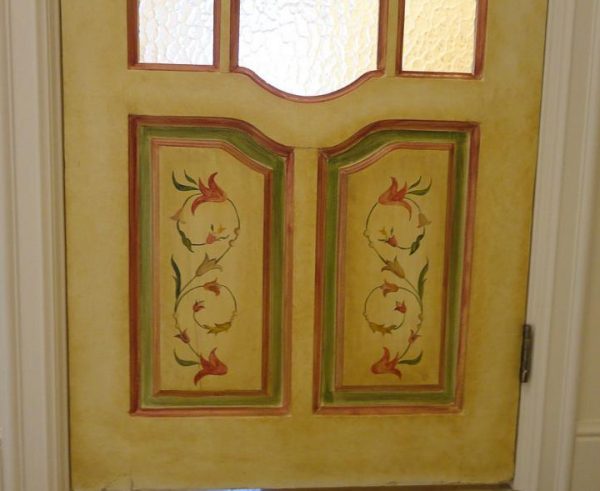
- Drawings and murals
- Decorating doors using decoupage technique
- Antique decoration
- Stencil Decor
- Art painting
- Create an unusual texture
- Patchwork for doors
- Door lamination
- Glass inserts
- Textile
- Features of the restoration of modern doors from hardboard
- Opening and slope update
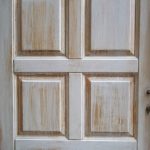
The meaning of door restoration
Why restore old doors when you can buy and install new ones? If you think about it, there are a lot of reasons for the restoration of doors:
- Expenses. Wooden, veneered and especially metal doors are quite expensive. For little money you can buy only a box of MDF, which will last a short time and will not look very aesthetically pleasing.
- Change of style. It happens that the style of the room or its color scheme completely changes, and the door ceases to fit into the interior.
- The importance of the product. Some doors are expensive or are of artistic, historical value, are antiques. They can be completely restored.
- The ability to do an exclusive thing. After restoration, the door can become a real center of the room, attracting attention.
- Timelessness of the door. If the product has long been outdated, you can not throw it away, but update it at home.
- Hobby. Woodwork is an exciting and rewarding activity, which sometimes even brings additional income.
If you wish, you can do any door renovation yourself. Nevertheless, professionals usually do not take up products with serious damage, destruction, which have already rotted or they have large chips, holes. In such a situation, it is easier to buy a new door leaf with jambs, platbands, than to spend time and energy on restoration.
to contents ↑Preparatory stage
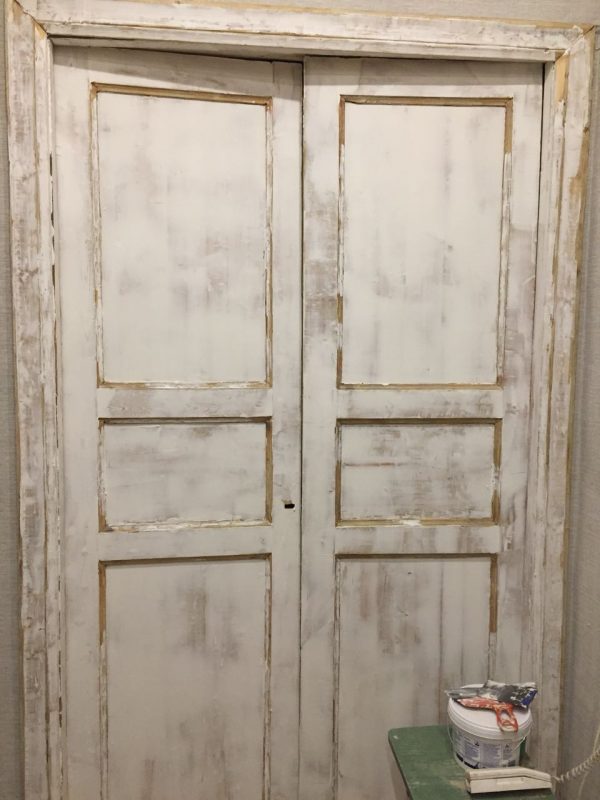
Before painting the door or performing other manipulations to restore it, it is important to prepare the surface qualitatively. Some old doors are already varnished, others are painted, and others are veneered. Under a layer of paint, varnish is a natural or artificial material that needs to be completely exposed, otherwise the quality of restoration work will be low.
To clean the door leaf from the old coating you need to prepare:
- building hair dryer;
- grinding machine;
- emery paper (sheets with different grit);
- metal spatula;
- solvent (washing off);
- a brush;
- rags.
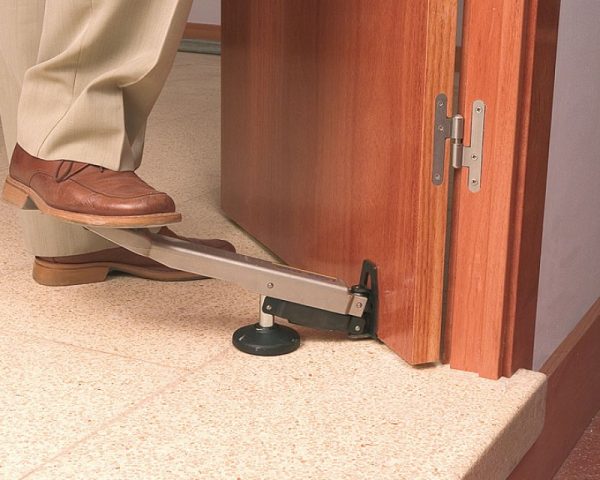
First you need to remove the door from the hinges to make it convenient to work.It is necessary to remove the accessories - hinges, handles, locks, and parts that are outdated or not suitable for the new look will have to be replaced. For convenience, the door is laid horizontally on two mounted stools. It is important to carefully remove the glass and set it aside for a while, otherwise it may break during grinding.
There are several methods for removing varnish, paint from the door leaf:
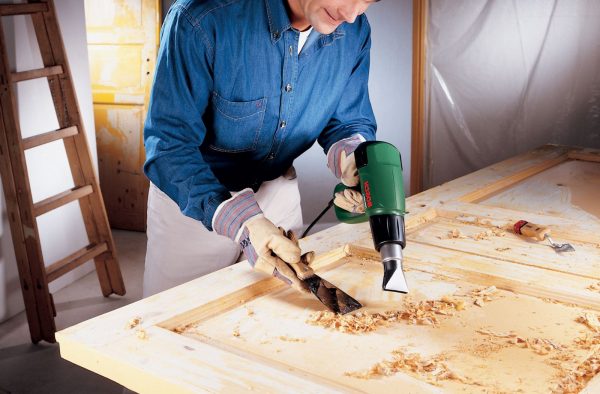
- Warm the base with a hairdryer. This will help the coating soften, after which it can be wiped with a rag, scraped off with a spatula. It is important to drive the hair dryer evenly across the canvas without lingering on any areas, otherwise the paintwork will catch fire. Due to the risk of toxic vapors being released during heating, all work must be carried out using personal protective equipment and in a ventilated area.
- Apply a universal washer suitable for wood to the door. Such tools are based on acids, alkalis, organic solvents. They are applied with a brush, and after a period of time the paint is cleaned and the base washed.
- Wipe the paint with sandpaper, scrape off with a spatula. Such methods can be produced if the paint or varnish has already begun to exfoliate in pieces. Work will require accuracy (it is important not to scratch the door) and the presence of a large amount of free time.
- Clean the door with a grinder. This is the method used by professionals. Using a special tool, you can quickly and efficiently clean the door leaf from any old coatings, as well as give it smoothness.
After eliminating unnecessary pollution, you can proceed to the next stage of work. It is important to get rid of all cracks, cracks that appear on the old product. The door must be carefully treated in the area of any defects with the help of special putty on wood of a certain color. For this purpose pencils, putties are suitable, in the presence of shallow cracks - furniture wax. The latter must be melted before application to soften. You can apply a home-made putty made according to the following recipe:
- take wood dust, which was obtained by grinding the top layer of wood;
- dilute the dust with furniture varnish to the desired density.
You can also connect equal parts of sand, alabaster, cement, and apply the resulting product to the defective areas of the door. After drying, excess grouting materials should be sanded with sandpaper. For this purpose, it is advisable to use a grinder, especially if the treated area is large in size. It is impossible to press the machine strongly, this can leave dented strips. In extreme cases, you can apply sandpaper with the smallest grain. After the preparatory measures are completed, you must:
- wash the door thoroughly;
- dry the product;
- apply drying oil or stain (when required).
If in the future the door will be treated with white, other light paint, an artistic painting will be performed on it, only a colorless stain should be used.
to contents ↑How to update wooden interior doors: instructions
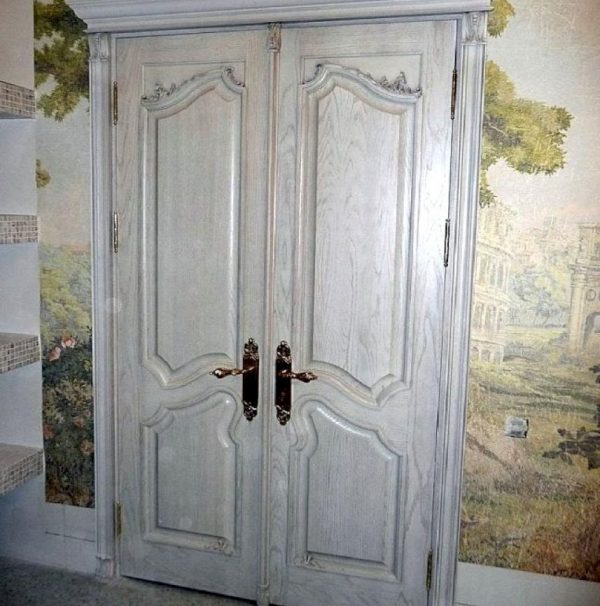
To begin with, you need to think carefully about the design of the future door: it should be well suited to the general style of the room, combined with furniture, floor, decor. There are many easy ways to update the door: stick a film, veneer or apply paint, stain. If you wish, you can apply more complex techniques that turn the old door into a work of art.
Staining, varnishing and staining
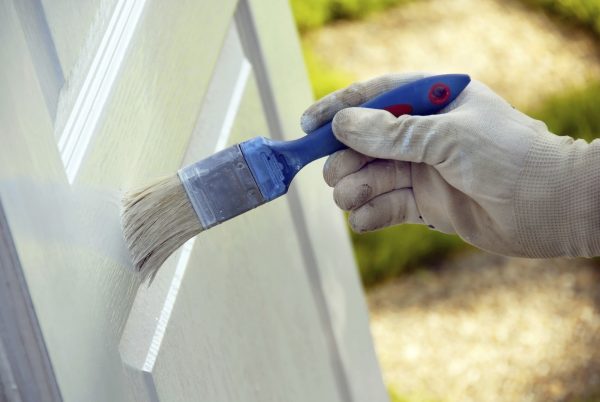
The easiest way to update doors without changing them is to paint a new color. It is only important to choose a high-quality and suitable color paint. This can be done by photo in the catalogs of manufacturers under the shade of the floor, furniture. Most often, the doors are painted with nitro enamel, acrylic or alkyd enamel. Acrylic paints are considered completely safe, and the rest emit a pungent odor that disappears only as the layer dries. Coloring is preferably carried out in the fresh air.
Acrylic paints have a rich palette of shades, give a noble matte finish, do not smell. The second layer after the acrylic product is recommended to apply a special furniture varnish, which has protective properties and increases the life of the paint. Application is carried out by roller or brush. So that the brushes do not leave villi, they are pre-soaked in water for several hours, and then combed out. Before any paint, it is recommended to cover the door with a primer on wood, so the paintwork material will lie evenly, without drips and stains.
In addition to painting, you can cover the door with varnish. You should choose a suitable tool from these varieties:
- acrylic;
- alkyd;
- polyurethane;
- nitro-lacquers.
Before applying varnish, a primer is also used, adding to it an antiseptic from rotting, mold. So that the transitions of the varnish smears are invisible, the product is applied with rapid movements in a cross direction.
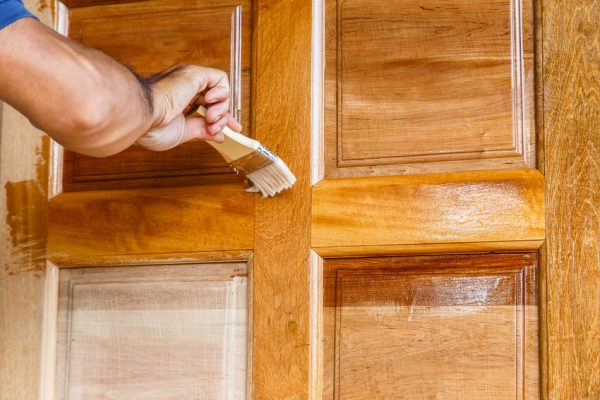
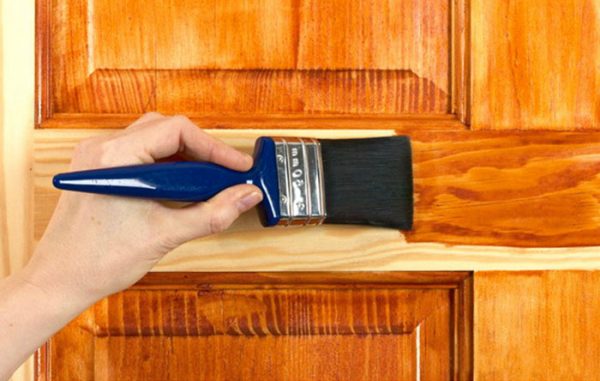
Stain is another option for an inexpensive and very beautiful cover for an old door. It is absorbed into the deep layers of wood, giving it a pleasant color and beautifully highlighting the structure of the material. After stain, it is also recommended to perform 1-2 layers of varnish on wood.
to contents ↑Veneering
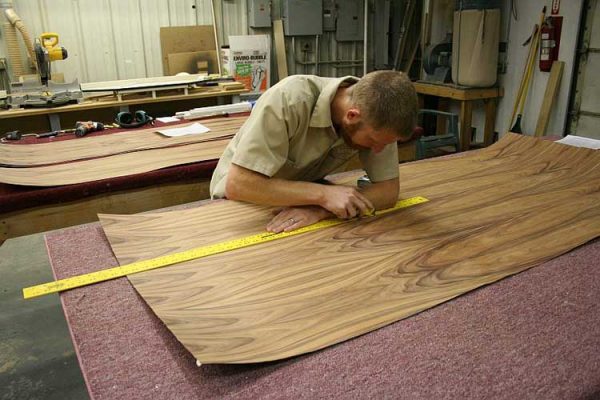
To completely renew the door and give it an expensive, elegant look, natural veneer is used. With it, you can refine even cheap paintings made from pressed wood sawdust. The procedure for working with veneer:
- lay the door horizontally on stools;
- start facing the canvas from the middle, moving to the edges;
- grease a small area with special glue, apply finishing material, press;
- roll well;
- it is advisable to heat the surface with a building hairdryer, and then carefully roll the veneer again - this will make the connection between the finish and the canvas itself more reliable.
After gluing the entire door, let it dry completely, then apply a protective varnish or wax.
to contents ↑Self-adhesive film
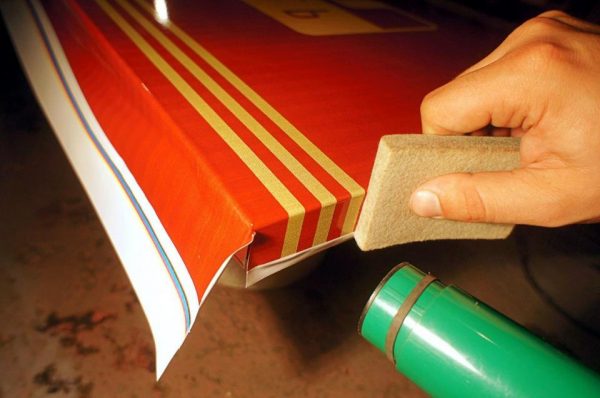
There are many options for sale that imitate wood in color. It is easily glued, hides foundation defects, gives a more noble and beautiful appearance to the canvas. The procedure is as follows:
- cut the film according to the desired size with a sharp knife;
- remove the protective layer from the wrong side, but not from the whole cut, but only 3-4 cm from the top;
- attach the film to the door, smooth it with a rubber spatula (you can use a regular rag instead);
- proceed to tear off the rest of the protective layer, not forgetting to immediately expel air bubbles from under the film;
- cut the film in the corners;
- install fittings.
Wall mural or vinyl
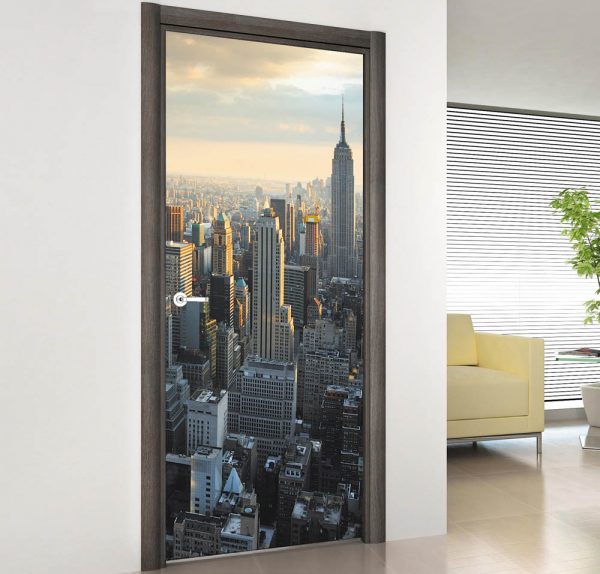
A cut of vinyl with photo printing made in an advertising company, or photo wallpaper of the required size will also help decorate the door, giving it a completely new look. It is important to purchase only washable photo wallpaper, because the door leaf can be dirty, and you will have to wash it regularly.
to contents ↑For gluing photo wallpaper, you can use high-quality PVA (it is better to take a carpentry compound). It is necessary to carefully lubricate the door with glue, press the finishing material well, smooth and level it. Of course, you first need to try on dry wallpaper or vinyl to make sure that their dimensions correspond to the dimensions of the door.
Wallpaper with moldings
Such an unusual version of the decor is often offered by designers when designing a room in a classic style. Using vinyl or non-woven wallpaper and polyurethane moldings, you can create a bright accent in the room and strengthen the stylistic focus of the design. The background can be plain, with a pattern, saturated or pastel shade - at the request of the customer.
First you need to measure the necessary piece of wallpaper. Then, PVA carpentry glue is applied to the prepared, aligned door, finishing material is applied, its surface is leveled with a rubber roller or rag. Bubbles of air are immediately expelled with a plastic spatula from the center to the edges. It is advisable to buy wide wallpapers so as not to make joints. If there are joints, two sheets will have to be carefully adjusted to each other. The edges of the wallpaper are trimmed immediately before they get wet. Drying time - a day, then you can deal with gluing moldings:
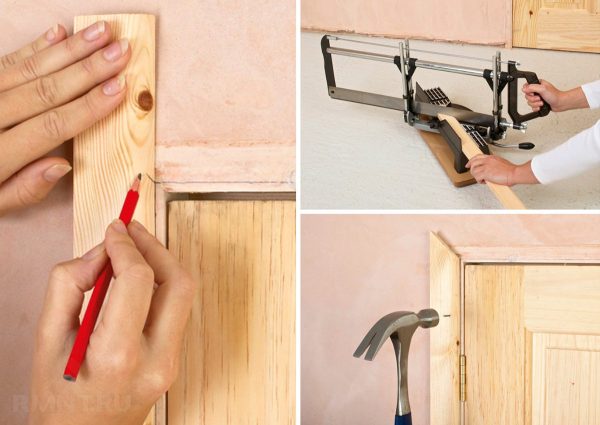
- make markings for platbands on the wall with a simple pencil;
- cut the moldings of the desired length (3 pieces should come out);
- cut the moldings at an angle of 45 degrees - these will be the corners at the top of the door;
- Grease the back surface of the pieces with PVA or liquid nails, stick them in place according to the marking.
Drawings and murals
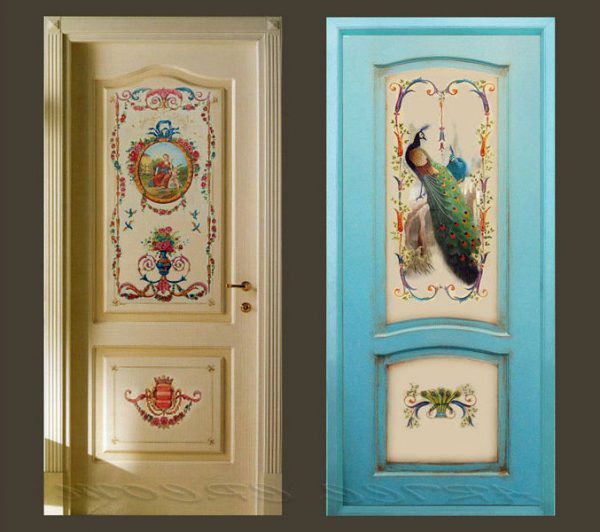
Drawing on the door surface has many advantages over other finishing methods. The look of the finished door will be unusual, exclusive, it can be “fit” into absolutely any style of interior. Other advantages of painting on the door leaf:
- simplicity of execution;
- the ability to apply stencils if there is no artistic ability;
- large selection of colors and materials.
The prepared door should be well degreased with alcohol. Then, in a 2 coat, a primer is applied to the wood, which will allow the paint to lie evenly, without spots and stains. Then you need to make markings and apply an ornament or pattern. The door must be divided into zones so that the drawing was done accurately and correctly. As soon as ready, paint over individual elements of the picture in the desired colors with acrylic paints. Perform at least 2 coats of paint. To give a vintage look, the contours of the picture are outlined in contrasting tones.
to contents ↑Decorating doors using decoupage technique
To make a decoupage, the door does not need to be removed from the jambs. If it does not have an old coating, it is enough to simply wash and dry the product, prime it in 1-2 layers. The opening should be sealed with construction tape. The decoupage card must be soaked in water for 12 minutes, removed, brush off excess moisture with a rag. Remove the protection strips, attach the picture to the pre-greased PVA door.
As in the case of wallpaper, the image should be ironed carefully, expelled air bubbles, remove all folds: otherwise it will be uneven, ugly. After complete drying, the door surface is varnished on an acrylic base in several layers.
to contents ↑Antique decoration
In the styles of vintage, retro and a number of other areas, various items, souvenirs, antique decoration are very popular. In stores, ready-made aged decor is not common, but you can do it yourself. To give the door an original look, the craquelure technique is applied - two-layer application of varnish.
First you need to choose the right materials. Two varnishes with different composition and drying time are purchased. One of them should be a special wood varnish for craquelure, even a beginner can work with it, in addition, the package has detailed instructions. The second varnish is bitumen, on which there is a mark “giving the effect of antiquity”.
The procedure is as follows:
- apply craquelure varnish to a prepared door (white or other light shade is used);
- after drying, a layer of bitumen varnish of a darker color is performed, which will enhance the contrast.
In the craquelure technique, you can also use a dark basic varnish, but then, with the second layer, instead of bitumen, acrylic paint of the required shade is used. After drying, the craquelure varnish is covered with a network of cracks, which gives the door a vintage look.
to contents ↑Stencil Decor
This technique is used for doors that have glass inserts. On paper, a sketch of a picture or pattern is performed, cut out along the contours. The glass is degreased, cleaned, a drawing rests against it, and is encircled with a marker on the back side. Then you can start drawing the image with acrylic paints, but from the front side. After you need to let the picture dry completely.
Art painting
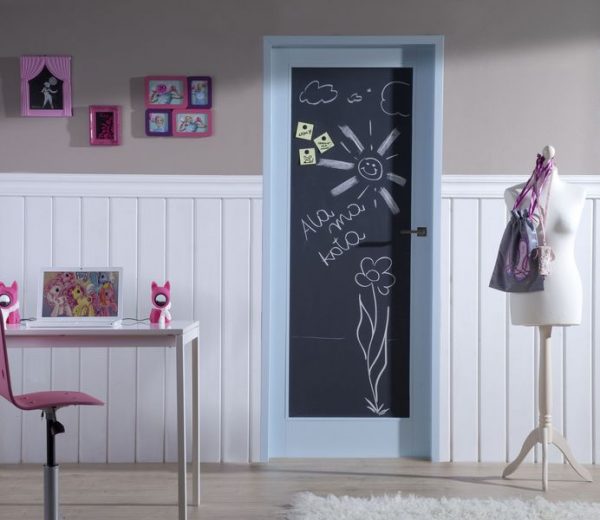
Drawing on the door may involve the use of different artistic techniques.For example, first complete staining of the canvas is made, and only then drawing on it with contrasting shades is performed. Also, the picture can go beyond the door and continue along the walls: it will look unusual and very impressive. It is possible to apply paint to the door using a sponge, from a spray can, with strokes. It is allowed to use interesting techniques - glazing, multi-layer strokes.
to contents ↑Create an unusual texture
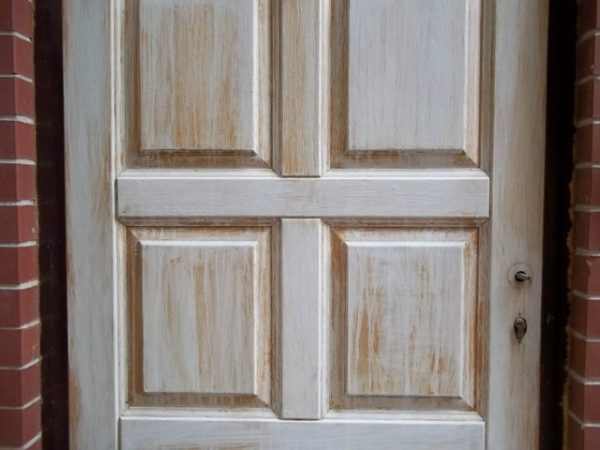
An original way to restore a door is to give it an interesting texture. In addition to the effect of artificial aging, which is obtained using craquelure varnish, you can use other techniques. A lighter shade of paint is applied to the base, then a second layer is performed with a soft sponge by neat blotting. Using this simple technique, spotted surfaces or bases of the “steel wool” type are obtained. There are special paints on sale, thanks to which you can create the appearance of a canvas, slate from an ordinary door.
to contents ↑Patchwork for doors
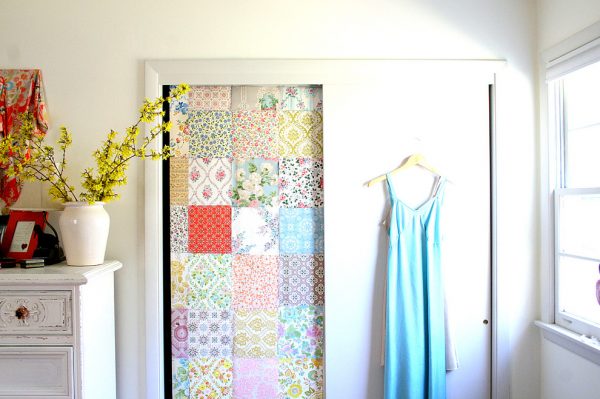
The door made in this technique will successfully fit into any interior. Shreds of fabric, clippings from newspapers, magazines, photographs, pieces of leather, and other items that work well together are useful for decorating it. For a bathroom or other wet room, it is better not to apply the technique - the collage will quickly turn yellow, it will begin to mold. Perfect patchwork for interior doors in the bedroom, living room.
As for the patchwork fabric, it must necessarily be dense, not crumbling around the edges, if necessary, have a small repeating ornament. Cuts can be overlocked, although this is optional. Too light fabrics and lace should not be glued in the area of the door handle - they will soon get dirty. Also, PVA, a furniture stapler, and staples are required for operation. The procedure is simple:
- primed door;
- apply PVA glue to the door;
- attach rags and other materials, making up the picture;
- press well, roll with a roller;
- let the collage dry well;
- attach heavy elements to the door with a stapler;
- the finished object can be varnished with furniture.
Door lamination
For lamination a special self-adhesive film is used. Unlike factory lamination, the home one has a shorter service life due to the lack of the necessary press equipment. Outwardly, the result will not be worse than that of professionals.
First you need to buy a special film, which is sold in furniture stores. Finishing material is glued onto a flat, smooth, fat-free door after removing the protective coating (at first only its upper edge is removed by 3-5 cm). After pasting the entire surface and expelling the air bubbles with a plastic spatula, the film is heated with a construction hair dryer and rolled well. This will help the glue adhere more securely to the surface. After the glue dries, the product will be ready for use.
to contents ↑Glass inserts
To update the look of the old door, you can change the glass yourself or change the decor of the old one. Particularly interesting effect is provided by stained glass technology. For its implementation, special stained-glass paints, marker, brushes, ready-made sketch will be required.
You need to work this way:
- remove the glass or the entire door, lay horizontally;
- on the back of the glass draw the contours of the future stained glass window and all its sections;
- draw contour lines on the front side with paints;
- after drying, fill in the empty spaces with the desired shades;
- if desired, glue the decor on still-frozen paint: rhinestones, pebbles, pieces of colored glass (after they can be circled with a black marker);
- wait for the final drying of the paint;
- set the glass in place.
Stained glass technique is used on the canvas itself. It is allowed to create the effect of stained glass with paints, as well as cut holes in the doors and insert pieces of colored glass into them, as a result, you get a beautiful exclusive composition.
to contents ↑Textile
Textile decoration is used infrequently, and in vain. This is a unique and simple way to radically change the appearance of an old door, which does not require large expenses. It is necessary to buy fabric, prepare from it a cut of the right size. A piece of fabric must be glued to the door using double-sided self-adhesive tape. It is important to remove all folds immediately, because after peeling off the tape it will be very difficult.
to contents ↑It is better to avoid light colors in textiles: they quickly get dirty. For a children's room, fabric with the image of cartoon characters and fairy tales is ideal. If desired, the decoration can be replaced with a new fabric of your choice or more suitable for the basic style of the room.
Features of the restoration of modern doors from hardboard
Repair of doors, the main material of which is hardboard, is carried out using a self-adhesive film. You need to buy a piece of film to fit the door, remove the latter from the hinges and carefully prepare. Accurately measured and cut workpiece must be carefully glued over the entire area of the restored surface. The film should be smoothed with a towel from the center to the edges. If the bubbles still remain, they must be carefully punctured with a needle.
to contents ↑Opening and slope update
The doorway can also have an old, unpresentable appearance, after updating the door it will inevitably have to lead to the appropriate appearance. First, you need to process the supporting guides: for example, paint them in the color of the canvas or apply a stain, varnish. With severe deterioration, plasterboard structures will have to be mounted on them and only then painted.
For the installation of platbands, special clamps are used, and you can also attach them with self-tapping screws. For finishing slopes, MDF strips are usually used. It is allowed to use drywall, which is fixed on glue or on perforated corners.
A more time-consuming process is plastering slopes or installing pearlitic platbands, which are expensive, but give the most durable result. Restoration of the slopes and the opening must be paid close attention, otherwise the repair of the door itself will be incomplete.

