Painting is the easiest and most affordable way to finish a concrete wall. So that the result of the work does not disappoint, you need to thoroughly approach the process, taking into account all the nuances: from the choice of composition to the correct surface preparation and application of paint. How to paint a concrete wall will be discussed in this article.
- Paint selection
- Paint color
- Type of paint
- Impregnation for concrete
- Preparatory work
- Surface preparation
- Puttying the walls
- Wall painting
Paint selection
Paint color
When choosing a color, you need to keep in mind that light tones visually increase space, and dark ones reduce it. Accordingly, for small rooms, light colors are better suited, and for large ones - dark. Colors are divided into cold and warm. The first include blue and green, the second - yellow, red, purple.
Type of paint
Alkyd and oil paints are not suitable for concrete coatings. It will be necessary to apply several layers of such paints, but even in this case it will not be possible to achieve high-quality coloring for the long term. Very soon you will have to repaint the surface again.
For painting concrete walls are suitable:
- Epoxy paints. They are highly resistant to moisture and wear. However, such coatings require good ventilation.
- Latex and acrylic based paints. Resistant to temperature extremes and low toxicity.
- Glossy paints. The advantage is an attractive appearance. The disadvantage is poor resistance to mechanical damage. In terms of quality and environmental standards, the best choice is US products.
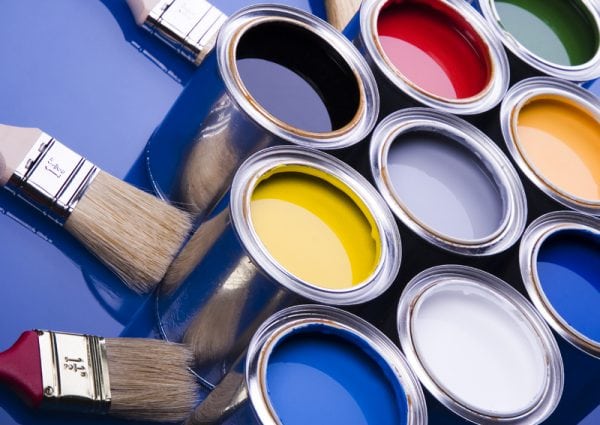
Note! High-quality compositions are ready to use without any additional manipulations (dilution), and you can paint the walls with them even in cold rooms.
When choosing a paint, you need to pay attention to the presence of an antibacterial component in its composition. If available, the surface will be protected from mold and mildew.
to contents ↑Impregnation for concrete
Impregnation for concrete can be used to create a protective layer that protects the surface from moisture, dust and aggressive media. Penetrating deep into the material, impregnation strengthens its structure.
Impregnations are made on the basis of acrylic, polyurethane, epoxy resin and other materials. The surface dries in a few hours after its treatment by impregnation. Impregnation can be both colorless and color.
to contents ↑Preparatory work
Before painting concrete walls, a number of measures must be taken to prepare the surfaces.
Necessary tools and materials:
- primer;
- putty;
- electric drill equipped with a special nozzle;
- paint;
- roller;
- masking tape;
- small and medium brushes;
- paint tray or net;
- ladder;
- coarse emery (you can use a grinder);
- fine emery (for finishing work).
Surface preparation
Sequencing:
- The first thing to do is to check the moisture content of the coating to be treated. Do not paint the walls if less than a month has passed since the manufacture of the concrete structure. To check the humidity, you need to glue a sheet of plastic film on the concrete surface with adhesive tape (size meter per meter). If during the day traces of condensate appear on the polyethylene, the humidity is increased.
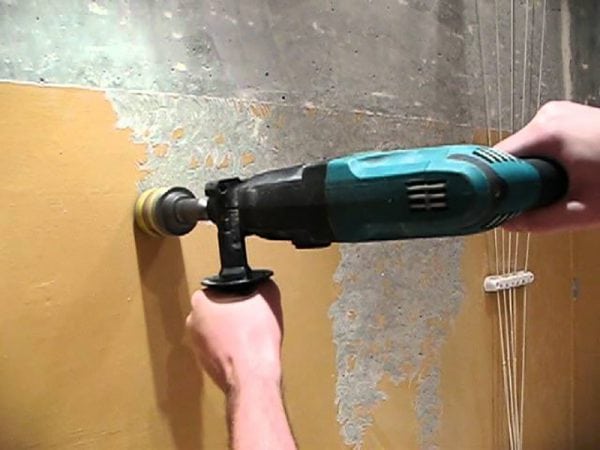
- If the wall was previously painted, old layer needs to be removed. To do this, you can use a spatula, chemicals (for example, alkali). Sandblasting is also effective.
- The wall must be thoroughly washed from dust, soot and dirt. Dirt and dust are washed off with plain water. Soot will help soda ash solution. Rust can be removed with a 15% solution of copper sulfate. If the spots are large, it is recommended to process them with rosin varnish.
- Small irregularities and roughnesses on the wall must be leveled with a piece of pumice or emery.
- To strengthen the top layer of concrete, an acid-salt solution (fluate) should be used.
Puttying the walls
Before painting the walls, they need to be putty. Putty is applied in a couple of layers. The starting layer smoothes out the basic irregularities, and the finish layer finishes off small roughnesses. The second layer should be especially smooth.
The selection of putty is carried out depending on the humidity of the room. For dry rooms, dry gypsum mixtures are suitable. If the room is wet, the use of dry cement mixes is recommended.
Putty Production Instructions:
- fill the tank with water;
- we pour the necessary amount of dry mixture into the container (we find out the exact proportion by reading the recommendations on the package);
- mix well with water using an electric drill.
Please note: it is necessary to make the putty in the specified order - first water, then a dry mixture, otherwise a sediment of the solution forms at the bottom.
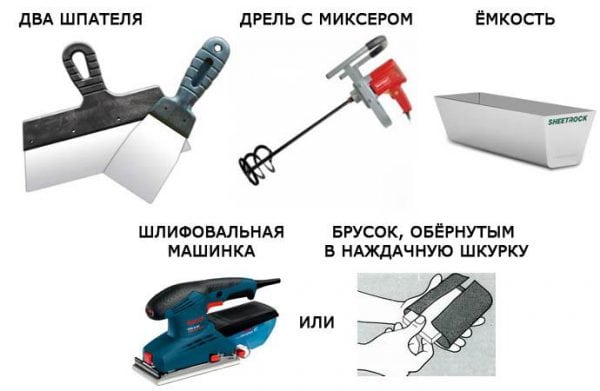
After applying the first layer of putty, you need to take a break, waiting for it to completely dry. The waiting time can be found in the instructions, since different formulations dry differently.
Next, we grind the putty surface with sandpaper and apply the final layer of putty. We wait for the surface to dry and process the finish layer with fine-grained emery paper.
The next step is a surface primer. We use 2-3 layers of primer. Moreover, the composition for concrete walls should penetrate as deep as possible into the structure of the material. The primer is applied with a brush or roller.
to contents ↑Wall painting
- We use masking tape. It isolates adjacent surfaces (floor, ceiling) from accidental paint.
- Before staining, we remove dust that has accumulated on the walls with a damp cloth.
- We use safety glasses to prevent paint from getting into the eyes.
- Pour the composition into a clean container and stir until the paint is uniform.
- We dip the brushes so that the layer of paint on it is as uniform as possible. If we use a roller, then a special painting bath or mesh is useful. With their help, excess paint is removed from the roller. If we use a brush, then every time we expect a flow of excess paint into the container.
- It is best to paint with a roller, and use the brush where the main tool is missing.
- Before painting, the roller and brush should be lightly tattered and rinsed under running water. You also need to make sure that the tool does not come off bristles.
- Dip the roller in the paint. Then spread the layer over the paint tray.
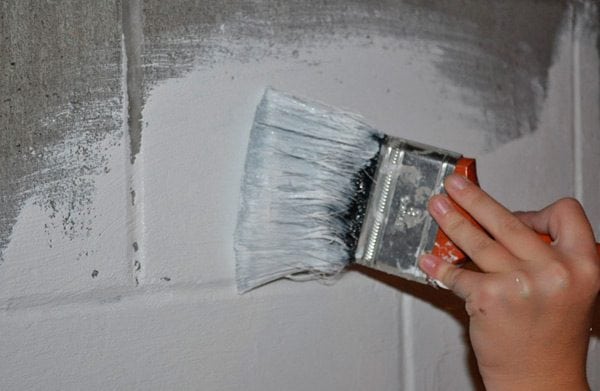
- We distribute the paint gently and evenly over the surface. A failed layer is recommended to be covered with one more.
- You need to start painting on top of the wall, heading down. The trajectory of movement should repeat the letter W. If the surface is rough, the starting layer is applied in the form of the letter M, and the finishing layer is applied from top to bottom.
- Re-use of the roller is possible only after a 2-day stay of the tool in a container with clean water.
- After removing the masking tape, using a thin brush, carefully align the borders of the painted surface.
Painting a wall of concrete will not be very difficult. However, care and diligence, as well as careful observance of the requirements of the instructions will be required.


