Any lute - a person making musical instruments - knows well the features of finishing coatings, is familiar with the varieties of varnishes and paints that are suitable for this purpose. Over time, any material loses adhesion to the surface and may crack. Painting a guitar or other instruments made of wood is possible at home, the main thing is to choose a high-quality varnish and comply with all stages of repair.
- DIY guitar painting: instructions
- Preparation for painting the guitar
- Dismantling
- The use of industrial hair dryers and sandpaper
- Guitar painting
- A selection of varnishes and finishes for guitars
- Oil and wax coating
- Alcohol varnishes
- Nitrocellulose varnishes
- Polyurethane varnishes
- Polyester varnishes
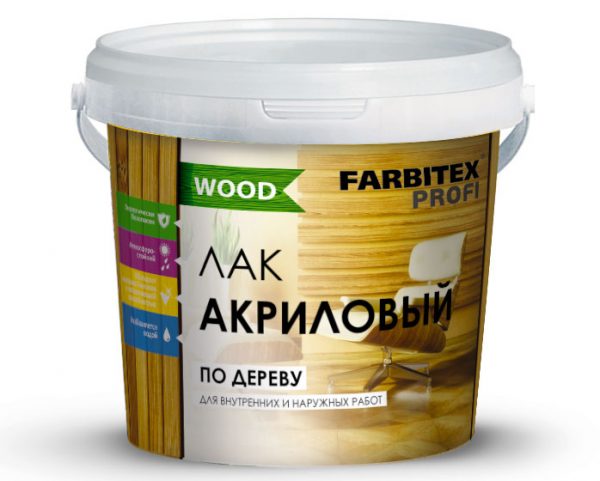
- Acrylic Varnishes
- Water polishes
- Tips & Tricks
DIY guitar painting: instructions
For work, you need to select a ventilated room, as clean as possible, so that dust does not settle on the applied coating. It should establish a convenient table, close it with newspapers, and also prepare tools and materials:
- respirator, gloves, goggles;
- boxes for guitar parts;
- soldering iron;
- screwdrivers;
- building hair dryer;
- sandpaper with different grit;
- rags;
- grinding machine;
- soil on wood;
- varnish.
Preparation for painting the guitar
It is recommended to practice on an old guitar, which is not of great value. This will help to acquire the necessary skills and more accurately produce work with an expensive tool in the future. As a preparation, you need to dismantle the guitar: disassemble it so that it can be easily restored.
Dismantling
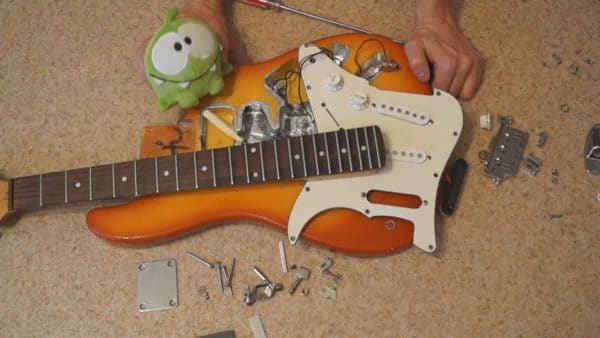
For this process, you need a set of screwdrivers of different calibres. They remove the strings, having previously unscrewed the choppers, then remove the rest of the regulators, screws. They are placed in small boxes, signed if necessary. After unscrewing the bolts at the back of the tool connecting the bar and the body. The fingerboard is removed, as are the timbral block, and the cover of the output jack.
Most often, the wires holding the volume and tone controls with the output jack are routed through the hole in the guitar body, so they are cut from two sides to separate the tone block. It is important to pre-mark the wires with colored stickers and sign, so that then they can easily be soldered to their original place. After that, you can cut off the wires at the place of soldering, so that most of them remain intact.
Usually there are two wires for a guitar, but there may be a third for grounding. It is located between the pickups and the iron bar at the back of the instrument, to which several springs are attached. This wire also needs to be cut, otherwise it will not work to remove the timbral block. Unscrew the plastic cover, get to the ground wire, similarly mark with a sticker and cut closer to the mounting area. The removed sound block must be placed in a dense box to reliably protect from dust. Soldering the wires back is done after the end of all painting work.
to contents ↑The use of industrial hair dryers and sandpaper
Before the next step, you need to wear glasses, gloves, a respirator. They will be needed to ensure personal safety when removing the old cover from the guitar. After they act in this way:
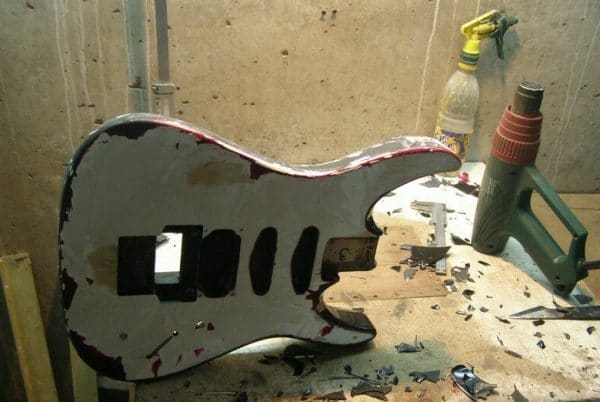
- Fix the wooden tool case on the table. They heat it with a construction hairdryer so that the wood can be cleaned of the old coating. It is impossible to overheat the product, otherwise it will scorch.
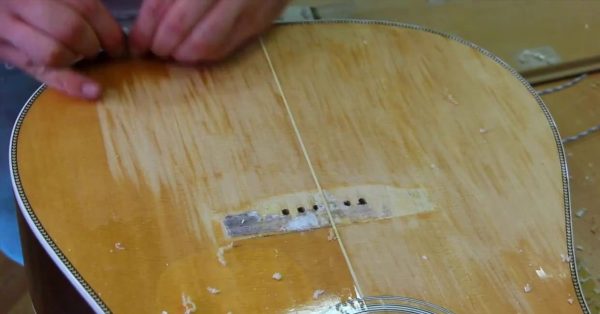
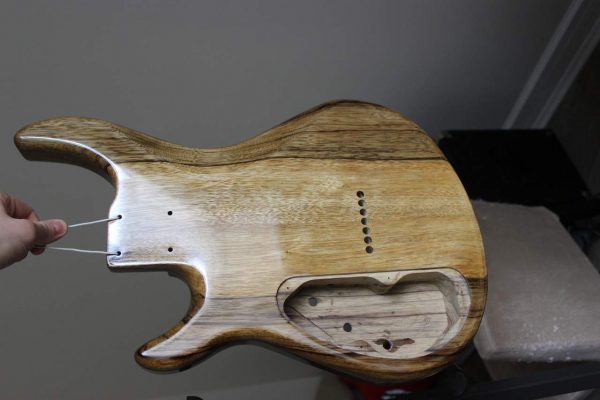
- Take sandpaper sheets of different calibers: for rough, primary, final processing and for "wet" grinding. They process the surface of the case with sandpaper with the largest grain, removing gross defects and the remains of varnish, paint. Well pass on cutouts, hollows. After using the average sandpaper, then the final (the smallest).
- The surface of the wood product at the end of processing should be perfectly smooth. All dust is whisked off, slightly moistened with water. They take a waterproof sandpaper and grind it “wet” once again to remove all grease stains from the fingers. Allow the surface to dry completely.
Guitar painting
After the final preparation, the guitar can be painted or varnished, but first it must be primed. A small layer of soil is applied with a small brush, it is even more convenient to spray the agent from the spray gun. After drying, the primers begin to paint. The selected product is used to treat one side of the guitar, while drying, the same actions are performed for the second side. If it turns out to hang the product by the holes from the bolts, painting will be possible to carry out immediately on both sides.
After the paint has completely dried, the tree is treated with the smallest sandpaper until all the irregularities left by the brush disappear. If varnish, paint was applied with a spray gun, this step can be skipped, since the layer most often turns out to be very even. Usually, two to three layers of paint are required to give the guitar an updated look. So that the paint does not crack, it is also undesirable to produce less than two layers when painting.
to contents ↑
A selection of varnishes and finishes for guitars
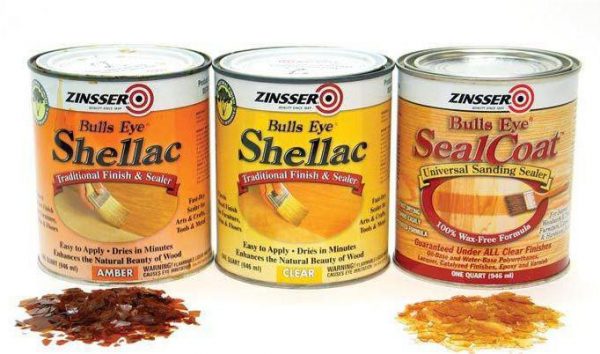
The tactile sensations that occur when touching a particular wood coating after processing are completely different. Different coloring agents are not the same in quality, durability, and appearance. Usually, to preserve the naturalness of the tree, choose wax, oil, for ease of updating the coating - shellac, for a high application speed - nitrolac There are other types of varnishes, which should also be considered in detail.
to contents ↑Oil and wax coating
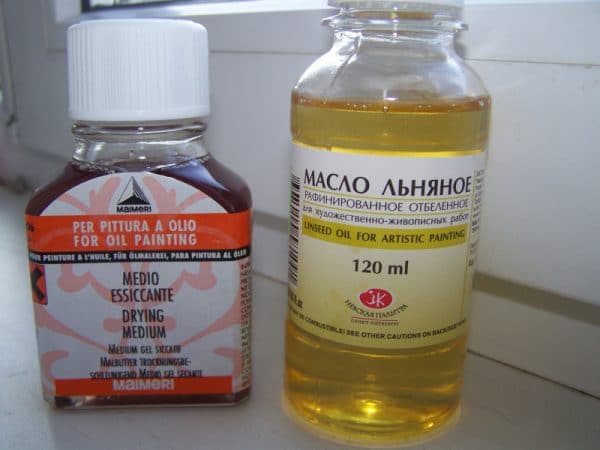
Flaxseed oil mixed with coniferous rosin is a popular tool used to cover musical instruments and furniture. The tradition of creating oil impregnations is quite old, but is actively used today. The only difference was the type of oil that is used by craftsmen today: tung oil showed the best properties, although it is often diluted with linseed to reduce the cost. Masters also highly appreciate the special “Danish oil”, which consists of the following components:
- linseed oil;
- tung oil;
- furniture varnish;
- White Spirit.
After application to the wood, the oil composition polymerizes from exposure to air, and the coating hardens. Usually oil is applied in 3-5 layers with intermediate grinding along the fibers. Large pores on the tree are puttied with a water-based compound before processing.
The waxing of musical instruments by technology is almost no different from that described above. Often, the techniques are combined, and then the coating will become satin to the touch. Painting the guitar with your own hands again will not be difficult, because you do not need to remove the previous coating. The disadvantages of waxes and oils are their low strength and poor moisture protection. Also, oils can be deeply absorbed into the wood and interfere with the sound of acoustic instruments (usually this does not apply to guitars).
to contents ↑Alcohol varnishes
Ethyl or methyl alcohol based varnishes are rosin, mastic, shellac, and sandarak. Shellac is considered the most popular and high-quality, so they should cover simple and electric guitars. This varnish is characterized by such properties:
- beautiful gloss;
- high adhesion to wood;
- lack of toxins;
- ease of application;
- the exclusion of yellowing with time;
- the ability to repair the coating.
The primary drying of the varnish lasts a day, a full one - a week, which is a good indicator compared to other similar compositions for wood. But he also has disadvantages: poor mechanical and chemical resistance, the speed of scratches, softening under the influence of heat. The moisture resistance of the varnish is initially high, but decreases over time.
to contents ↑Before application, the product must be dissolved in alcohol (approximately 300 g of dry shellac powder per liter of alcohol). You can rub the varnish with a brush, a cotton swab - it is very easy. After each layer, the raised fibers must be sanded. In total, 3-4 shellac is required. For the final polishing, a polish is usually applied - a solution of wax in alcohol.
Nitrocellulose varnishes
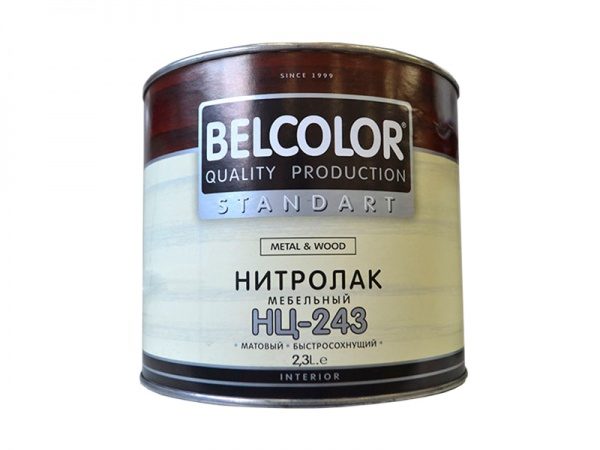
Nitrol varnishes began to be used about 100 years ago and are now very popular in the automotive and furniture industries. They contain nitrocellulose, a cellulose nitrate ester diluted with acetone or other solvents. Here are the advantages of these varnishes:
- ease of application;
- high drying speed;
- lack of shagreen on the film;
- good gloss;
- sufficient weather resistance.
Due to the low dry residue, varnish has to be applied in 5-11 layers with interlayer grinding, so the overall process time can be significant. Also, nitro-lacquers are prone to yellowing, cracking, have a pungent odor, are not too reliably connected to the tree, and therefore require a preliminary preliminary coating of wood with a primer. Caring for a guitar will be difficult, because nitro-lacquers are not chemically resistant. Most often, these funds are used to give the coating a vintage look.
to contents ↑Polyurethane varnishes
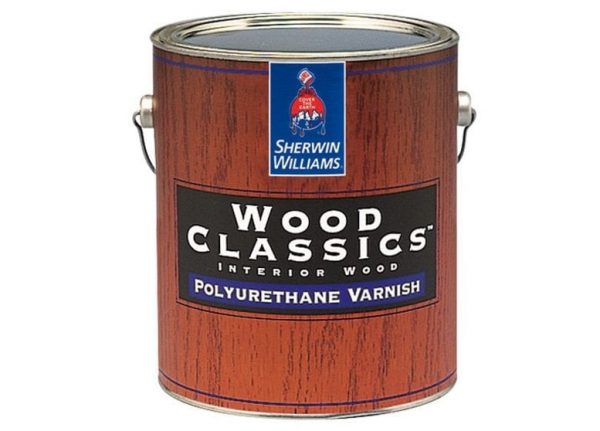
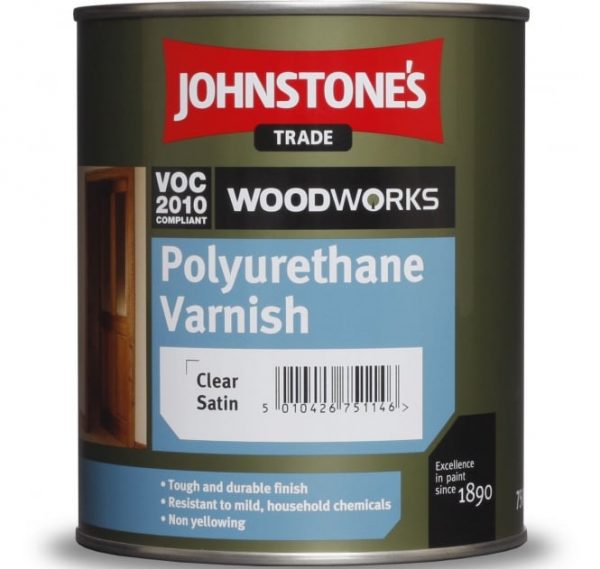
Polyurethanes are understood to mean a group of polymers containing urethane groups - synthetic elastomers. They are widely used for the preparation of two-component varnishes, which can be used in coloring musical instruments. Such tools have almost replaced nitro-lacquers due to improved technical parameters. Here are their properties:
- elasticity, lack of cracking of the film;
- long service life;
- resistance to chemicals and mechanical damage;
- high adhesion to wood;
- variety in appearance - there are matte, glossy, semi-gloss, semi-gloss varnishes.
The disadvantages include a yellowish tint, the difficulty of applying. Such compositions polymerize upon contact with special hardeners, so they must be mixed before work. It is difficult to paint the guitar manually with polyurethane varnish, because bubbles form in the deep layers - you will have to buy a special spray gun. Hardeners of varnishes are very sensitive to light, they should be stored only in the dark.
to contents ↑Polyester varnishes
These varnishes lead in coating strength, resistance to chemicals and density. They allow you to create a thin but strong film that reliably protects guitars and other instruments, characterized by a high degree of gloss and wear resistance. The coating tolerates temperature changes, does not sag, does not crack and does not turn yellow.
Due to the complexity of mixing and the need to maintain an accurate formulation, the need to add a catalyst, diluent and accelerator to the base at home, such varnishes are almost never used. Polyesters have a short lifetime, so it’s almost impossible for a beginner to work with them. Still varnishes have a pungent smell, high toxicity, which also severely limits their use in an ordinary workshop.
to contents ↑Acrylic Varnishes
Such varnishes are one-and two-component. They allow you to get the most flexible film that does not crack with time.The coating will shine beautifully, it is completely transparent and does not change for many years, does not turn yellow from the sun. Acrylic varnish is applied even with a brush, mixes easily, has excellent adhesion to wood. Some tools allow you to get the effect of a wet tree, together with paints they are used for painting, creating vultures, drawings.
to contents ↑The disadvantages of such varnishes are few. They have a long drying time, and for the entire period the product must be well protected from dust. Complete polymerization takes 2 months at all, during which time the composition settles into the wood pores, that is, it shrinks. So that the varnish does not affect the acoustic characteristics of the guitar, it must be applied only with a non-thick layer.
Water polishes
Compositions of this kind are poorly suited for painting the guitar. They have a low degree of gloss, low wear resistance, short service life. Advantages are environmental friendliness and cheapness, but it will be necessary to repeat varnishing quite often.
Tips & Tricks
Most often, the simplest variant of guitar varnishing is used - coating the body with a clear varnish. There are more interesting techniques, for example, applying colored varnish, paint, painting in two layers with different shades, giving the effect of "antiquity."
Some paint the product in one tone, after drying, wrap it with electrical tape and pass in a second color so that bright stripes form on the surface. It is allowed to perform painting, drawings, for which it is most convenient to use stencils. The original design can be invented independently, if desired, the main thing is to perform all the work efficiently and with imagination!

