Many motorists dream of making their car unusual and more attractive in appearance. Camouflage painting is a real way to stand out from the gray mass. This coloring is perfect for both SUVs and smaller cars, emphasizing their brutality and personality.
- Types of camouflage painting
- Traditional camouflage
- Geometric camouflage
- Urban camouflage
- Digital or pixel camouflage
- Forest or hunting camouflage
- Winter camouflage
- White camouflage
- Sand camo
- Camouflage Colors
- Camouflage Stencils
- The choice of colors for camouflage
- Paint Motip Enamel Camouflage
- Raptor painting in camouflage
- Paint for weapons KRYLON Camouflage
- Preparation of paint, materials and surface
- Paint application
- The method of painting in camouflage without a stencil
It is recommended to familiarize yourself in advance with the types of camouflage color, varieties of paints and varnishes, the nuances of technology, and only then get down to business.
to contents ↑Types of camouflage painting
Camouflage is a camouflage method inherent in military uniforms, weapons and equipment. It is for the opportunity to mask the car against the background of the environment that camouflage color is highly respected among hunting and fishing enthusiasts: a car can literally merge with the situation.
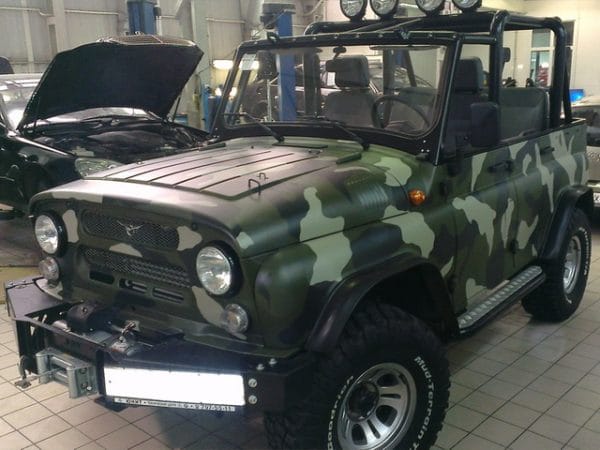
Despite the existence of a traditional brown-green-yellow color, there are other camouflage options - winter, city, forest and many others. They differ in color, type of pattern, method of application.
For the final coating, varnishes with the following effects are used:
- glossy - gives shine to the sun, which eliminates camouflage, more often used to match fashion trends;
- matte - ideal for creating camouflage coatings for trips on hunting, fishing, military purposes.
It is worthwhile to consider in more detail the options for camouflage colors and types of patterns in order to choose the right one for yourself.
to contents ↑Traditional camouflage
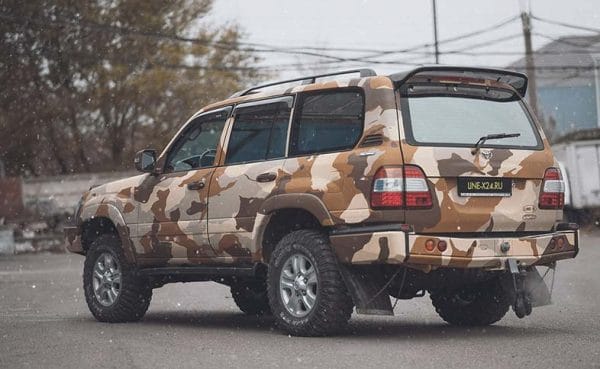
This is a classic khaki style pattern combining non-marking, discreet, dusty, earthy tones with swamp, brown. Gives the car a real military look, ideal for camouflage, but poorly suited for urban conditions, everyday driving.
Geometric camouflage
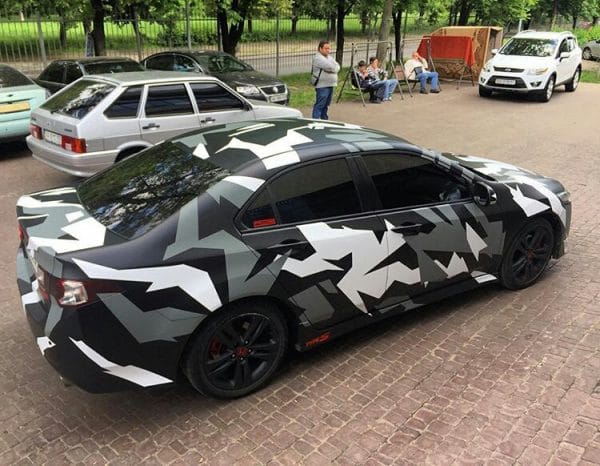
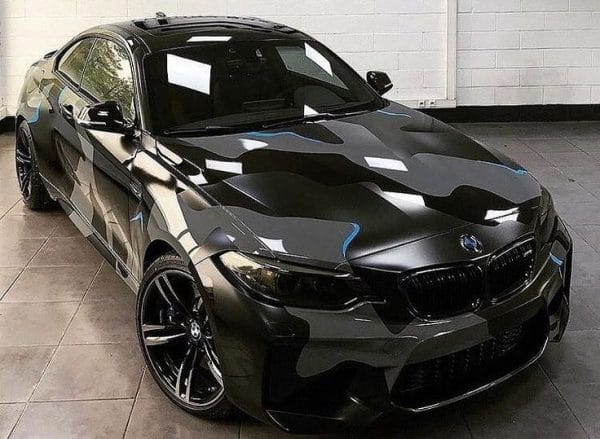
This figure is often called chopped. It provides an original design effect - “crushing” the silhouette of an object into parts. Most often, geometry is used on sports cars with a low landing. Also, a similar color is used by the US Army on fighter jets. Traditionally, gray, black and white colors are used to create the decor, but in unusual versions you can even find pink and purple inserts.
to contents ↑Urban camouflage
Designed for driving in the city, has a number of specific features: the predominance of gray, blue, white, the presence of angles and straight lines.
Digital or pixel camouflage
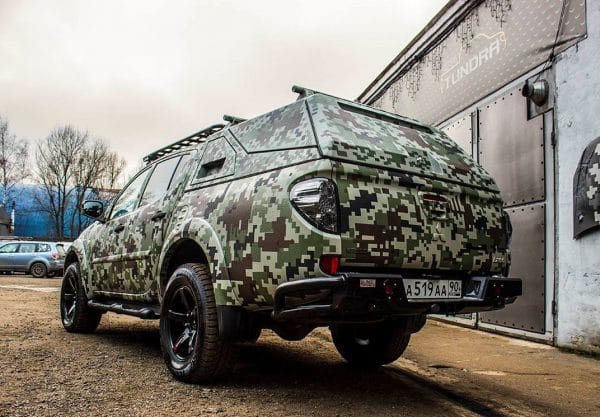
Such a pattern is incredibly stylish, rare, it resembles a combination of small squares that mimic digital pixels, which are noticeable when the monitor screen is enlarged. The appearance of the car will look blurry relative to the terrain, despite the angular outlines of the decor. Color combinations can be similar in tone or contrasting - at the request of the owner.
Forest or hunting camouflage
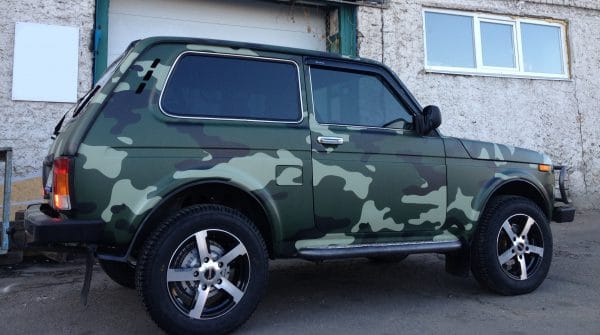
Forest camouflage is a pattern based on dark green, beige, black spots with smooth, soft lines. It is most often chosen by hunters, and it is also used for coloring military equipment. A variety of forest camouflage are images of grass, vines, shrubs, savannahs.
Winter camouflage
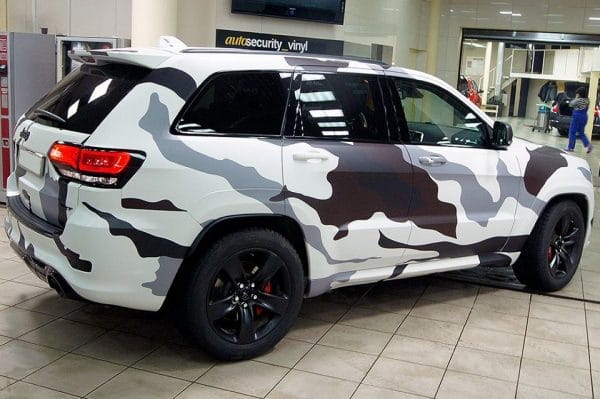
The winter camouflage pattern imitates nature in the cold season. The most popular colors are gray, white, blue in the form of blurry spots on a light background. Corners, faces can also be used, but in a minimal amount.
to contents ↑White camouflage
It is a subspecies of winter camouflage with the difference that white tone prevails here. Usually it is applied by those who hunt in the winter in the taiga forest, as well as for military purposes in the North.
Sand camo
Sandy camouflage is also called a “desert storm”. The main shades here are brown, yellow, beige. The coloring is popular on the prairies, used by the military in the appropriate area. For application, they resort to the technique of spraying layers in different ways, and then make the final finishing of the pattern with an airbrush.
Camouflage Colors
There are seven primary colors that are offered by various camouflage paint manufacturers. It:
- the black;
- brown;
- light green;
- olive;
- sand;
- khaki;
- Gray.
In addition to standard tones, brighter colors are also used in the camouflage technique: white, blue and even pink, although they are intended only to give the car a stylish look, but not to mask it. Usually, three colors are selected from the list for coloring one machine, although there may be more of them at the request of the owner. Also, masters use different shades to give the drawing originality:
- light gray dust;
- beige;
- yellow-olive;
- brown skin;
- bronze green;
- anthracite;
- gray-olive;
- bituminous black;
- dark grey;
- bright gray etc.
Camouflage Stencils
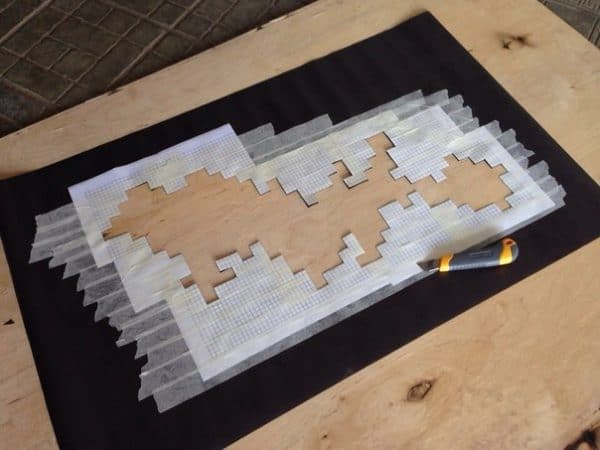
How to paint a car in camouflage with your own hands? For this purpose, it is easiest to use special stencils. No less often, blanks are also used in specialized services, a tuning studio, although the price of professional camouflage painting will be quite high. On the Internet you can find a variety of stencils, print and cut them:
- blurry spots;
- outlines of animals;
- grass;
- branches
- grid;
- cells
- "Blots";
- leaves;
- stripes;
- geometry, etc.
It is better to print several identical stencils so as not to transfer them, but immediately cover a large surface area. You can also create a drawing yourself, then cut it out and apply it in a similar way. In addition to paper, for this technique of painting the machine, you can take a transparent film, which is used by airbrush masters. She is a little sticky, so working with her is very convenient. The necessary figures are cut out of the film, glued to the base, and after applying and drying the paint material is removed.
to contents ↑The choice of colors for camouflage
It is most convenient to use paints in spray cans produced by many companies specializing in car enamels. There are even special series of camouflage colors from which you can choose the right ones. Most paints have a matte finish after drying, although glossy options are also easy to find. The most popular coatings for camouflage are described below.
Paint Motip Enamel Camouflage
The Motip Camouflage aerosol line is sold in 400 ml containers and includes specially designed colors to create a military color on any surface. The paint helps to disguise the car for hunting, fishing, and is also suitable for hunting equipment and accessories with which a person is in the forest. The finished coating is resistant to gasoline, other chemicals and atmospheric factors.
to contents ↑Raptor painting in camouflage
Painting with Raptor, a high-quality polyurethane paint, is widely used among lovers of cross-country riding. This material provides reliable protection of the body from salts, aggressive chemistry, mechanical stress, temperature extremes, UV radiation. The colors of the military give the technique a memorable, but at the same time masking design. The coating will adhere perfectly to plastic, bumpers, mirrors, radiator grilles, and prevent water and dirt from entering the gaps between plastic and metal parts.
to contents ↑
Paint for weapons KRYLON Camouflage
Krylon Camouflage is a matte anti-reflective paint to simulate protective and camouflage colors. It is designed to create coatings on cars, sports, hunting or fishing equipment and inventory. All shades of this harmoniously selected scale are close to nature, therefore they guarantee perfect camouflage.
to contents ↑The paint has excellent adhesion to plastic and metal, even without prior priming. The finished coating will be resistant to water, durable, well tolerating mechanical stress. LKM dries in only 15 minutes, which is very convenient for use outside the workshop. A second coat can be applied after 24 hours. Final polymerization occurs after 7 days.
Preparation of paint, materials and surface
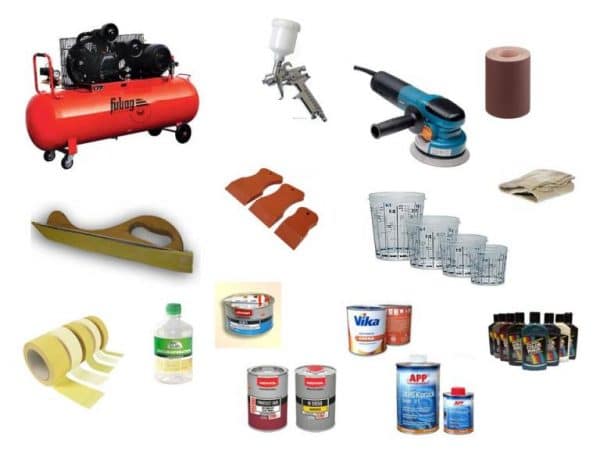
Typically, a camouflage pattern is applied to the factory body coating, which will serve as the base. Paint consumption is 5-6 cylinders per medium-sized car. In addition to paint, it is necessary to prepare such tools and supplies:
- sand paper;
- paint spatula;
- soft rags;
- construction tape;
- solvent, gasoline, alcohol;
- newspapers.
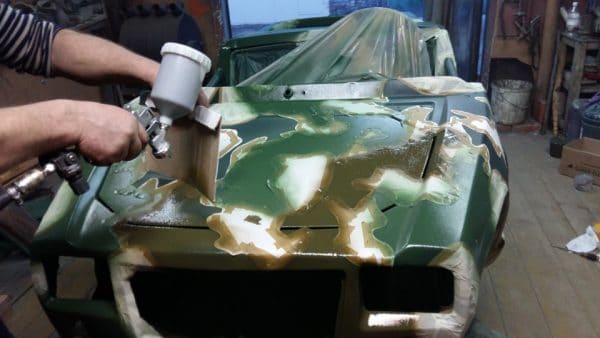
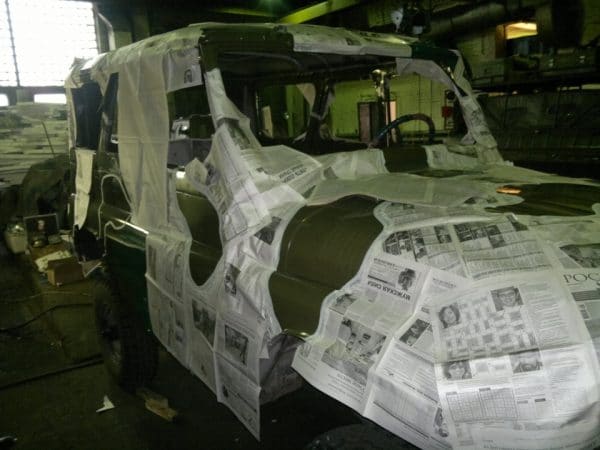
It is best to paint a car in a well-ventilated garage or on the street, and then only on a clear sunny day. As a preparation, they cover with newspapers and cover with masking tape all the elements that are not to be painted - glass, pens, rubber bands, headlights. After that, the surface of the car is degreased with solvents, after making sure of their safety for the existing paint (it is better to use ordinary alcohol or gasoline).
to contents ↑Paint application
Stencil painting is the easiest way to apply camouflage, although in this case all spots, patterns will be exactly the same. There is an option to use different stencils, although this method will increase the time spent on painting. The procedure for painting the machine is as follows:
- stick a stencil on the surface of the car;
- apply paint from an aerosol, placing it 20 cm from the body (movements should be smooth and have a diagonal direction);
- wait until the paint dries;
- remove the stencil, repeat all the manipulations in the following sections.
to contents ↑Masters advise to first apply dark spots, which will serve as the basis for lighter ones. When applying the stencil, it is important to prevent creases, damage to the paper - in this case, the paint will be under the workpiece, and the picture will look untidy. The decor looks original, in which large spots rise from one part of the body to another.
The method of painting in camouflage without a stencil
This method is more complicated, it requires skills and patience from the performer. To begin with, choose a picture and color scheme. After preparing the machine, staining is performed in this way:
- using narrow construction tape to form large spots on the surface of the body, making sure that the strips lie without creases;
- they cover the spots with newspapers, giving the lines smoothness, also glue them with tape;
- apply the darkest color from the balloon, allow the paint to dry;
- remove adhesive tape, newspapers, form spots for the second color (they should overlap the first);
- apply paint in a similar manner;
- repeat the work for the third time, applying the lightest shade.
After staining, the body is varnished. To do this, the varnish is connected to the solvent, cover the body from the sprayer in several layers. After the varnish has dried, you can start the operation of the car, making full use of the masterpiece created by yourself.

