For the New Year, I want to decorate the Christmas tree in a special way. But high-quality and beautiful Christmas balls are expensive, and plain plastic toys do not give originality at all. There is a solution - apply the painting of Christmas balls with acrylic paints. It is not necessary to be an artist for this, it is only important to follow the advice, have a little accuracy and patience.
- Correct painting and selection of balls
- Christmas balls: acrylic painting
- Necessary materials
- The choice of drawing, pattern
- Ways to apply paint
- Additional decor
- Ball painting workshop
Correct painting and selection of balls
Drawing on Christmas balls can be a fascinating hobby. There are various techniques for painting toys: some are suitable for beginners, others are best used with experience. Even with a complete lack of artistic talent, you can get a beautiful picture - just do a bitmap on the ball. It is preliminary recommended to practice on a flat surface in order to paint a convex base was easier.
You can buy a ball for painting in any store, in a supermarket. You can use a regular toy without images.
Note! It is better to take glass balls - the joints are visible in plastic ones, the final result will be worse. The ball must be matte, because acrylic does not adhere well to gloss.
It’s not worth using small toys at the beginning of your career, it’s better to choose a bigger product, it’s easier to work with it. Wooden balls are sold in hobby-goods stores - blanks for painting, they can also be used by the artist. Many give a second life to old monophonic balls, or to toys with minimal decor.
to contents ↑Christmas balls: acrylic painting
The drawing on the balls is done after preparing all the necessary art supplies, choosing a pattern, additional decor, and choosing the right technique.
Necessary materials
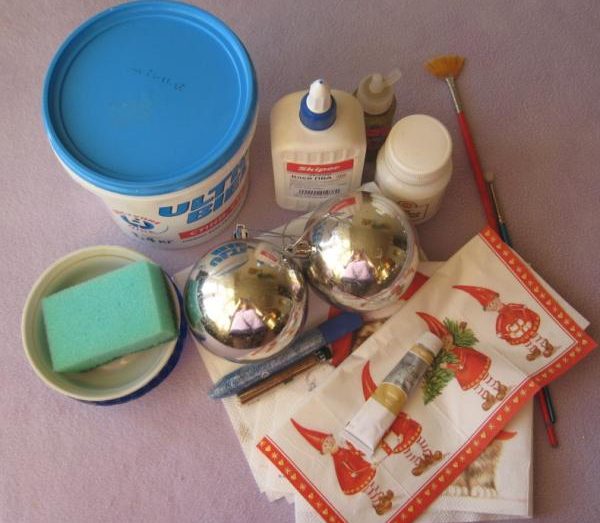
You should buy the right amount of balls of the desired color (dark, light), acrylic paints. Other materials:
- pencil;
- eraser;
- brushes;
- palette;
- jewelry - sparkles (usually white, silver);
- glue (if necessary);
- a can for water;
- rag, cotton pads;
- colorless nail polish.
Pencils should have medium hardness. Synthetic or column brushes are needed: one flat 4-5 mm, the second flat 3-4 mm, the third thin for drawing details. Instead of nail polish, professionals use special transparent varnish in aerosols suitable for glass and plastic.
to contents ↑The choice of drawing, pattern
If the balls are white, they are first coated with plain paint to create a beautiful background. After complete drying, you can begin to conduct a master class on the main painting. You can think of a picture yourself; the option of searching for pictures on the Internet and magazines is also suitable. It is acceptable to prepare templates, carefully draw the contours of the sketches with a pencil to make it easier to work. You can perform decor in the following ways:
- from the center;
- from several centers;
- at the equator;
- in a free way.
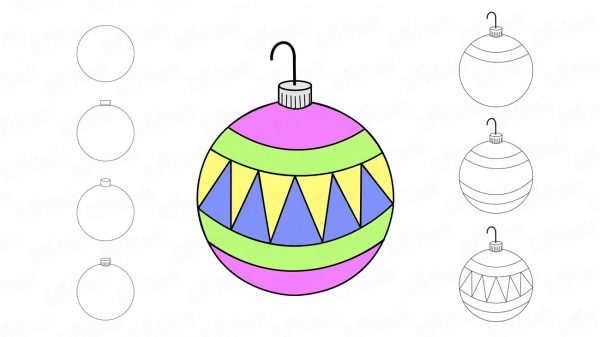
The first ball should be painted in the simplest way. Those who do not have drawing skills at all are advised to make strokes with stripes. Monograms, curls, which first need to be drawn on sample paper, are made more difficult.
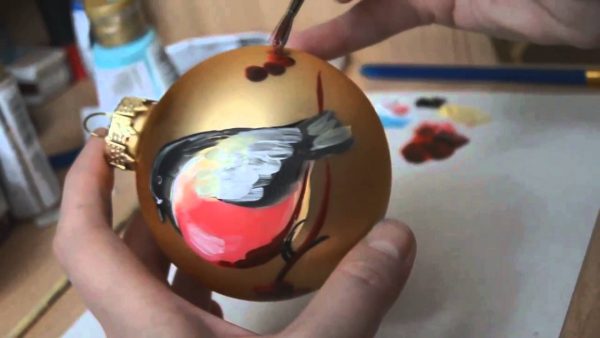
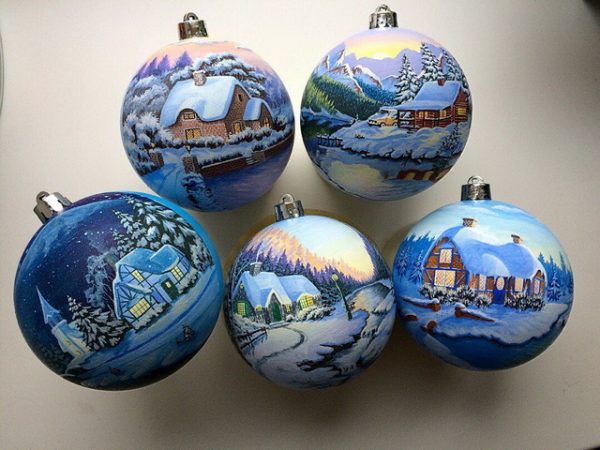
Snowflakes and other thematic pictures look very beautiful. For the New Year, bullfinches, Santa Claus, Snow Maiden, Christmas trees are ideal, but such drawings are performed as skills are acquired. A hut in the snow, fairy-tale characters, New Year's angels are well suited. Even summer motifs - flowers, plants, landscapes - will look no worse.
Other possible drawings, patterns:
- loose elements;
- large parts in combination with small ones;
- dividing the ball into slices;
- large single fragment;
- 2 identical drawings from different sides.
Comment! Spot painting should be done only with high-quality paints that will not flow, will hold firmly until the painted ball completely dries.
To begin with, they outline the outline of large elements of the pattern - stripes, curls, icicles, the bases of snowflakes. This is done when applying the template. After removing the template, draw the details with a pencil. For example, blowing snow, snow is drawn from below the ball, icicles - from above, stars - over the entire surface of the ball. You can make a uniform ornament on the product, starting from the center line.
to contents ↑Ways to apply paint
A painted ball can be obtained using various techniques for applying acrylic paint. Here are the basic ways to make a drawing:
- Durable brush. The tips of the bristles are dipped in paint, make strokes, pushing the brush apart. You can draw in this technique on top of the main picture in gold, silver.
- With your fingers. After dripping paint, it is gently smeared, performing curls, patterns. After drying, repeat the pattern in the next section.
- Sponge. A stencil is made from an ordinary kitchen sponge, dipped in paint, put a “seal”, repeating the pattern around the ball. A combination of several colors will look interesting.
- Volumetric paste. On top of the decor or solid ball produce a drawing, applying a voluminous paste. This helps to create 3-D patterns, which are then complemented by decorating with a regular brush.
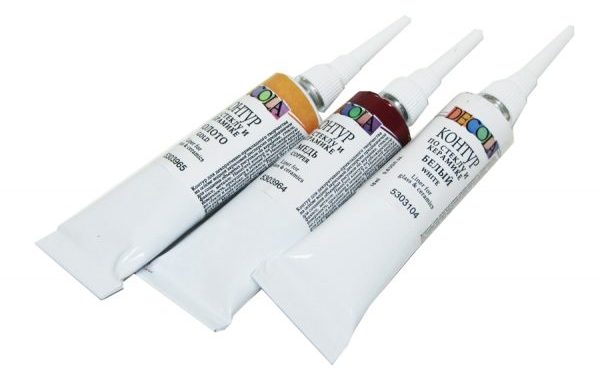
- The contours. For this purpose, ordinary acrylic paint or special acrylic contours (in tubes) are suitable. Usually they are used to make beautiful inscriptions.
Additional decor
As a decoration for toys, completely different materials and techniques are used. They are needed to enhance the effect, create an original decoration, provide greater shine, New Year's focus. For decoration, the following methods are used:
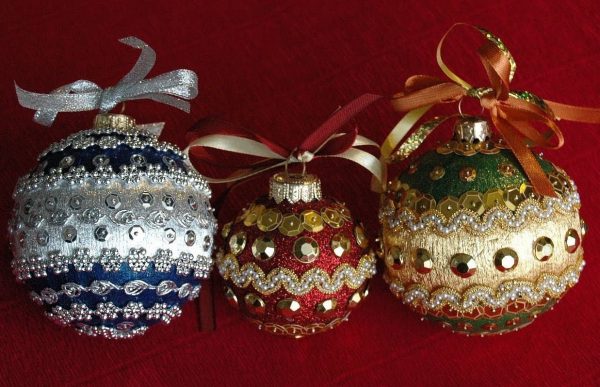
- filling inside the transparent balls of beads, sequins, beads, rhinestones;
- drawing a picture with silver, gold, other metallic;
- gluing a bright satin ribbon, sequin ribbon, a beautiful cord, lace ribbons;
- application of imitation of stone, snow, ice floes;
- complementing the picture with decoupage technique;
- gluing rhinestones, beads, glass beads on top;
- the use of relief paste modeling gel;
- mesh craquelure cracks.
Sprinkling with golden pollen will look good. To do this, you need PVA glue, a finished ball, gold powder (manicure), fluffy Christmas garland. A thin layer of glue is carefully applied to the painted ball, sprinkled with gold over the paper, left for an hour. Some instead of sprinkling use dyed semolina. If you leave it white, you get an imitation of snow. You can simply grease the entire ball, then dip it into the bugle.
The “lace collar” of the ball looks interesting - the lace is pre-sewn, then glued over the top or bottom of the toy. Mirror mosaics look even more original when fragments of CDs are glued to the ball.
to contents ↑Ball painting workshop
After preparing the sketch on paper, draw the contours directly on the product with a pencil. You can draw them on cellophane with a felt-tip pen, then attach them tightly to the toy, having received an imprint. After they act like this:
- Reveal the necessary paints, if necessary, mix them until the desired shade is obtained.
- Start drawing right on top of the sketch, overlapping the contours of the pencil.
- Make a drawing on only one side, gently holding the product with your hand.
- Ensure complete drying, only then proceed to decorate the second side of the ball.
- The finished product is varnished to fix the pattern.
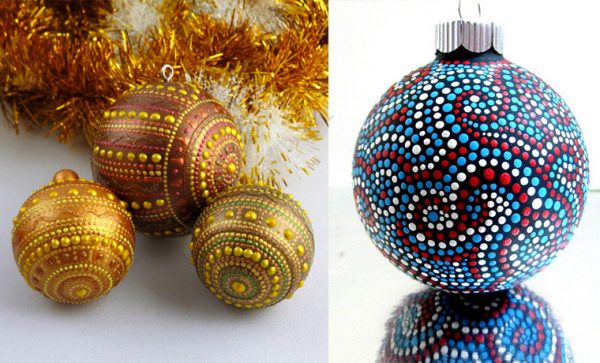
For spot painting, they act similarly, only the outline is drawn with a thin line with a simple pencil, then they are drawn along the lines with dots of the same size. Drawing can last a long time, because inaccurate points will have to be washed immediately with a cotton swab and acetone. Upon completion, you need to cover the product with varnish, it is best to do it from a cylinder. You can leave the finished ball at home or give it to loved ones - an original surprise will delight everyone!

