If your house has many items made of wood (floors, window frames, furniture), sooner or later they will need to update their appearance - painting. But the wood has such a feature that over time or due to mechanical stress, cracks, bumps and other defects appear, which the paint can even emphasize if you do not finish the surface with putty first.
- Varieties of wood putties
- Selection criteria for putty for painting
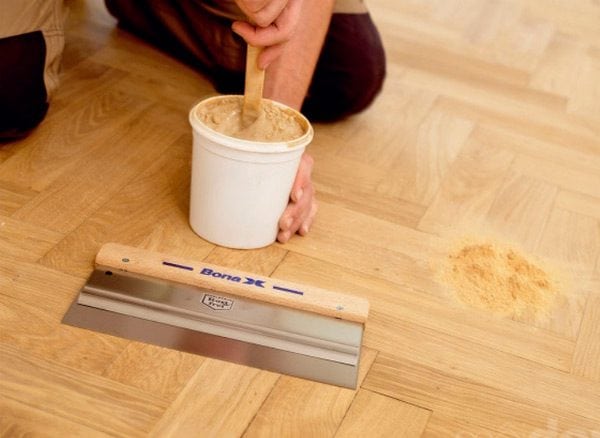
- Necessary tools
- Leveling Guidelines
- Plywood preparation
- Tree preparation
- Finishing putty before painting
It allows you to achieve evenness, filling the smallest holes in the product, and provides long-term preservation of the paint layer. We will figure out how to choose the right material for preparing a wooden surface for painting.
to contents ↑Varieties of wood putties
There are various types of decorative putty, and it is necessary to clearly determine whether you need putty to preserve the wood pattern when the wooden product is varnished on top, or if you intend to tint with paint. The first varieties of products are almost invisible on the surface and copy the shade of wood. The second - more often made in white.
There are such types of putties:
- Oil based. Due to the presence of drying oils, such materials protect the surface from moisture. And its high resistance to changing weather conditions makes this putty an excellent choice for applying to wooden windows, for processing facades of houses and other objects located on the street.
- Acrylic Polymeric compositions with acrylic are environmentally friendly, they are able to withstand heavy loads and get along well with a humid environment (they do not allow moisture to penetrate deep into the tree).
- Water based. Do not contain harmful chemicals, do not carry liquids. Such putty is able to protect the tree from fire, but it dries for a long time.
If you are interested in the natural color of wood, then oil or water based samples will be the most suitable.
to contents ↑Selection criteria for putty for painting
Depending on the conditions where the wooden object will be used, the most suitable type of coating material should be selected. Carrying out repair work in the open air, an important parameter for choosing a composition for puttying is resistance to heating, cooling and high humidity.
Therefore, for processing the walls of wooden houses, fences and other attributes of architecture, oil putty will be the best choice. It can be used after processing wooden components with insect repellents and rotting compounds, but before the final painting.
Acrylic compounds are the most versatile, they are suitable for wooden products indoors and outdoors, because it has a high level of strength and durability.It should be borne in mind that such putties are white, therefore they are designed specifically to apply paint on top, not varnish.
For parquet floors, furniture and other items that a person comes into contact with, you need to choose safe materials, so you can use harmless water compounds. Their characteristics are largely similar to acrylic putty mixtures, but their price is cheaper.
to contents ↑Necessary tools
The process of designing wooden products has several stages: first, the surface must be properly prepared, then it can be putty and paint. But depending on the type of materials that will be painted, the technology is slightly different. The general list of necessary tools for painting includes:
- paint of the desired color and composition;
- brushes;
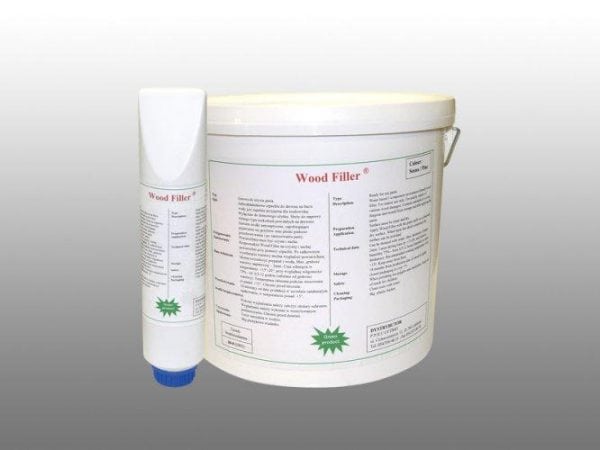
- putty and primer;
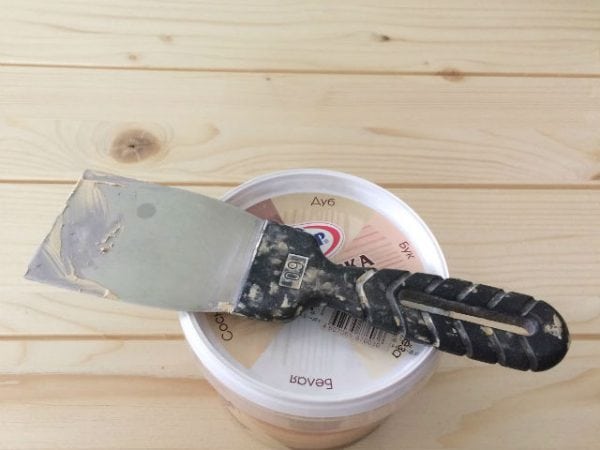
- putty knife;
- "Skin" (sandpaper);
- building hair dryer or cleaning agent.
We will need a hairdryer or cleaning agent to remove the old paint layer from the product.
to contents ↑You should be very careful, because the temperature of heating with a hairdryer is quite high, which can adversely affect your wooden subject. Therefore, if you are going to repair an antique thing, it is better to use chemical cleaners.
Leveling Guidelines
Puttying allows to solve a number of problems:
- closes artificial holes in a tree, for example, holes from nails;
- fills the natural pores of a wooden surface for leveling (if there are porous types of wood, such as oak) and to protect against damage;
- forms a uniform layer on which it is easy to lay down paint.
To get the processed section “according to the rules”, use several recommendations:
- If you work with putty on the street, choose the day when the air temperature is above +5. Otherwise, the composition will thicken and fill slots poorly.
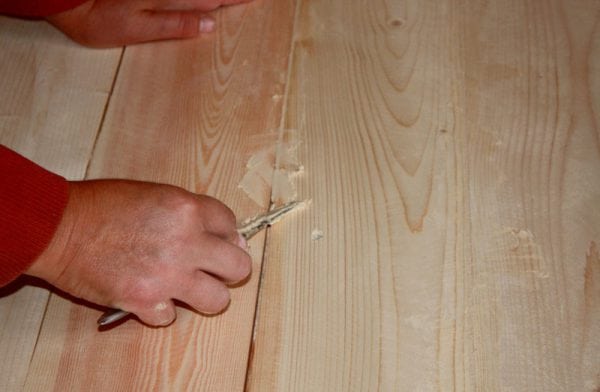
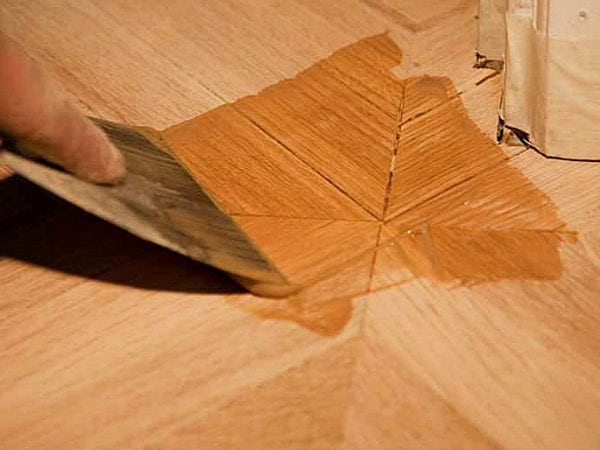
- If there are voids on the surface, they must first be filled with putty, after which they are passed with sandpaper, the “sand” that has appeared is removed and the wood is fully processed with putty, and after drying it can be painted.
- The best material for a spatula is stainless steel.
- Deep holes (more than a centimeter) on the tree are filled with putty in several layers, allowing everyone to dry out. Application thickness - 2-3 mm.
Plywood preparation
It is difficult to call a plywood sheet a full-fledged tree, since this material is obtained from veneer, but it is often used in the construction industry. With the help of plywood, you can make a lot of home decoration, as well as use it for wall decoration, creating partitions, etc. Due to the flat surface, plywood is easy to paint, but first you need to putty.
There are sheets of plywood of various sizes on sale, besides it is not difficult to cut, but to cover a large area, as a rule, you can not do with one sheet - they install several pieces, close to each other. As a result of this action, joints are formed that must be repaired, otherwise cracks in the paint may appear.
To hide the seams, they are covered with putty: apply the composition across the joint, creating a dense layer. It is more convenient to work with a 10-centimeter spatula, periodically wetting with water, because acrylic compounds dry quickly and lumps can form. After puttying, the surface must be leveled with a grinder. When the layer dries, repeat the action, but already covering the entire surface, and not just the seams.
to contents ↑Tree preparation
Wooden products often retain bumps on the surface, and also have places where resin may appear - these points must be eliminated before applying the leveling compound.Knots should be cut with a chisel (about 3-5 mm deep), creating small indentations, which are then filled with putty. But before that, objects from wood that had not previously been varnished should be oiled - for this, heated drying oil is used.
When working with a product that bore traces of paint, varnish or other substances - the top layer should be completely cleaned. To do this, wipe the surface with a cleaner and wait until the soaked paint can be easily removed with a spatula.
Wash with plain water or vinegar to neutralize the alkaline environment. After that, go with sandpaper to raise the wood fibers.To improve the adhesion of the putty to the wooden surface, you can apply a primer, choosing with the same composition as the putty, for example, acrylic.
to contents ↑Finishing putty before painting
The process of processing wooden surfaces with putty is reduced to several actions:
- dilute the composition to a creamy appearance, whipping with a drill with a nozzle;
- do not mix a lot of putty at once, because it is able to dry quickly;
- start to process holes and cracks, creating a layer of 2 mm;
- when paving the first layer and waiting for drying, smooth with sandpaper;
- repeat the application of putty, reducing the thickness of the mixture to 1.5 mm;
- cover the surface with soil.
Now your wooden product is completely ready for painting, for which it is better to take coloring compositions with the same components that are present in the putty: acrylic paint, water-dispersed, oil, etc.
When working with putty on wood or other material, remember that indoor air humidity cannot be higher than 50, and in the street it can exceed 75%. In the room, the ideal temperature for quick drying of putty is 20-25 degrees.



Great article! I reviewed enough videos and information, but what I needed was never found. In the same article, I found what I need! Thanks!
Thank you for an excellent article. I’m just doing restoration of the old table and I couldn’t find any information about the technology for performing the work, and everything was described clearly and in detail in the article. thanks
Thanks for the information. Spent a lot of time. But I did not find the described information so accessible. And only here I understood everything. Very useful for those who repair wooden products. Thanks a lot.