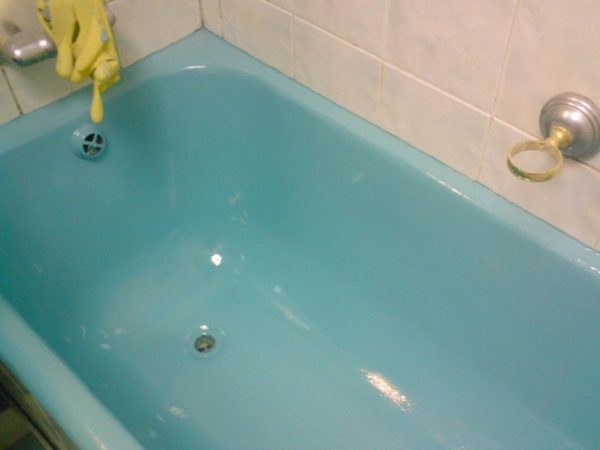
Thanks to modern technology, there are a variety of techniques for coating bathtubs. However, enameling baths still does not lose relevance. The reason for the popularity of enameling is the many advantages that can be achieved with this simple operation.
- Advantages and disadvantages of enameling
- Enamel Choice
- Hardener color
- Application Method
- Enamel Tint
- Equipment
- Popular compositions
- Preparatory work
- Room preparation
- Surface preparation
- Abrasive treatment
- Final cleaning
- Preparation of the composition
- Coating
Advantages and disadvantages of enameling
The advantages of enameling are as follows:
- The desire to save. Most often, a complete replacement of the bath with breakaway enamel is not needed. After all, if the option of replacing the bathroom is selected, in addition to the purchase, dismantling, transportation of the old bath and connection of a new one are ahead. In this regard, it is much easier and cheaper to carry out repair work.
- Replacing a bath is most often not possible when it comes to a rented apartment. If the bath is in poor condition and you have to live here for a long time, restoring the enamel of the bath is the best way out.
- Restoration work can be carried out as many times as necessary.
- Enamel coating can be created under the general color background of the bathroom.
- Restoration takes less time compared to a complete bath replacement.
- When dismantling a bath, tile most often suffers. The application of enamel does not pose any threat to the tile.
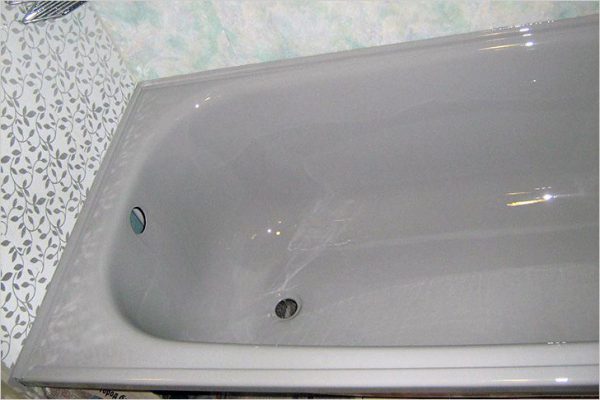
Note! The result of the repair is a shiny white bathtub that looks like new. Attractive appearance will last for a period of 12 to 36 months.
Enameling also has disadvantages:
- After repairs with a brush, traces and fragments of hairs may remain on the coating (especially in cases when a new tool was used to apply enamel).
- The service life of the coating, even with the most careful care, does not exceed 5-6 years.
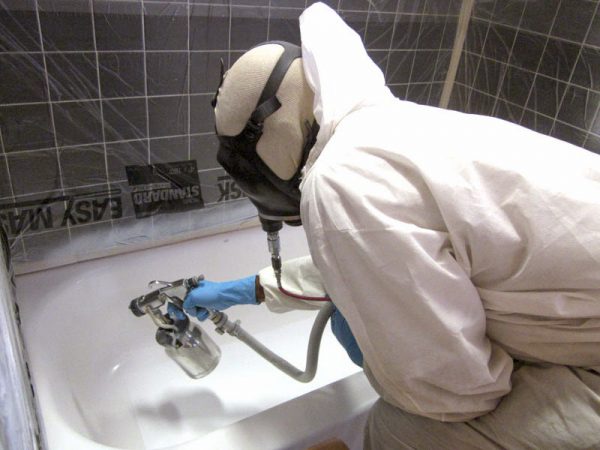
to contents ↑Note! Compared to traditional enamel application, spraying is a method that provides a better coating.
Enamel Choice
The quality of the selected composition determines the durability and appearance of the coating. When choosing enamel, it is recommended to pay attention to its functionality.
Enameling is carried out using one of two types of materials:
- Epoxy resin Often used in the construction industry. For the treatment of baths used the last two decades. With proper application, the coating will last for many years. However, the composition of the epoxy resin is not so easy to prepare.
- Acrylic composition. It was first used in the zero years and is now at the peak of popularity. Acrylic resins enthusiastically respond home craftsmen. Acrylates allow you to create a strong and durable coating.
You can compare the means for enameling, based on individual factors:
- Financial expenses. An epoxy based composition is cheaper. At the same time, the acrylic coating will last much longer. However, this advantage is relevant only for long-term plans. If you need to save money, enamel is a more suitable option.
- Security.From a safety point of view, acrylic is preferable, since it is not the cause of allergic reactions, is odorless and toxic. When working with acrylates, there is no need for any personal protective equipment. But with materials based on epoxy resins, special care must be taken, since they differ in a pungent and pungent odor. Therefore, you need a respirator.
- Life time. Enamel and acrylic after application give an equally beautiful surface. It is white, glossy and smooth. However, gradually microscopic pores in the surface of the epoxy resin become contaminated, and therefore very often after a year the surface loses its whiteness. Acrylic coatings last longer and at the same time retain their attractive appearance. If you follow the rules of use, carry out timely cleaning, the acrylic surface will serve for 12-15 years.
- Decorativeness. Epoxy enamel gives few opportunities for experimentation with shades. But acrylic compositions allow you to use your favorite colors. As a result, you can get not only a functional, but also a decorative coating.
- Drying speed. Acrylates dry quickly - within 48 hours, the coating becomes ready to use. Enamels dry out no earlier than 7 days.
- Hygiene In terms of hygiene, acrylic is also the best choice. The reason is a smooth surface with no pores. The epoxy-based coating has pores in which bacteria settle. Moreover, porosity only increases over time, since aggressive cleaners are needed to maintain cleanliness. For acrylic coating, cleaning with a soap solution is sufficient.
to contents ↑Note! It will be easier for beginners to work with acrylic composition, and experienced craftsmen will also cope with epoxy enamel.
Hardener color
Compositions for restoration are most often produced in a two-component form. Sometimes there are three-component compositions. As the main element using a hardener, which is placed in a solution. Not every hardener will be suitable for application to the bath. For example, brown, dark red or dark yellow hardeners after mixing with the solution give not the most attractive color.
Application Method
The prepared solution is applied using a brush, roller or spray. For spraying use an aerosol spray can. It gives a high quality coating, but this method is not the best choice when it comes to significant surface area. By spraying it is rarely possible to achieve uniformity, as a result of which the color of the coating will not be uniform. At the same time, it is not difficult to eliminate minor defects with the help of a spray gun.
to contents ↑Advice! For a bath of cast iron, it is recommended to use a brush.
Enamel Tint
Acrylic compounds can be tinted in any color - at the request of the master. The procedure is performed using special pasty formulations. They are offered together with enamel or sold separately.
to contents ↑Note! The color perception of the coating is largely determined by the level of illumination of the bathroom. In this regard, it is desirable to choose enamel in the same room where the object to be enameled is installed.
Equipment
In addition to the means of two- or three-component enameling composition, the kit may include a means for preparing the thicket for restoration work.
Popular compositions
On sale there is a huge selection of compositions for enameling. However, the following are most popular among them:
- "Epoxin-51" and "Epoxin-51C." They are two-component compositions of increased density. The only possible method of application is with a brush. The thick consistency leads to a very smooth smooth surface in the absence of sagging. The density of the solution allows you to fill everything - even small defects in the surface of the bath. Material hardens within 48 hours. The manufacturer promises a 9-year service life of the coating.
- "Random House." The company offers compositions "Svetlana" and "Fantasy".Differences between enamels are only in the configuration, but both of them are two-component. Enamel can be applied both with a brush and a roller. Products are popular among beginners, as easy to use. Professionals usually choose more serious solutions.
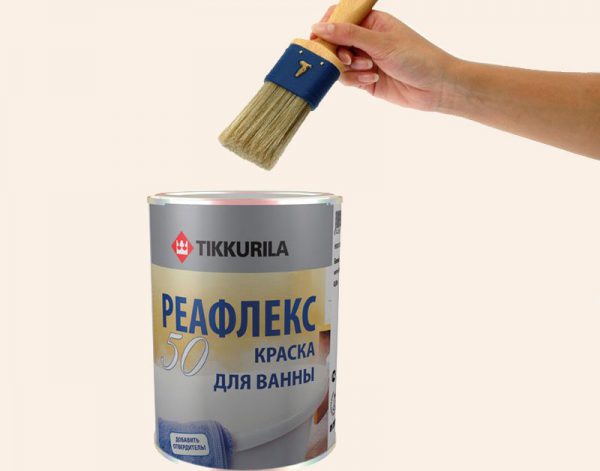
- "Reflex-50". Products are offered by the Finnish company Tikkurila. "Reflex-50" refers to professional teams. It is difficult to work with this two-component epoxy enamel, as it is characterized by increased density. To achieve high-quality coverage, you will need 4-5 layers of enamel. Moreover, each of them should dry completely before applying the next. As a result, a full reflex bathtub treatment takes 7-8 days. However, the end result is impressive - a very smooth and beautiful surface is obtained.
Preparatory work
Preparation consists of several stages, during which the room and the surface of the bath are prepared. The bowl itself is also prepared by sequentially performing a series of actions.
Room preparation
First of all, we remove everything from the bathroom, except for plumbing (sink, bathtub, toilet bowl). Firstly, excess objects will interfere, and secondly, the work is associated with a lot of dust.
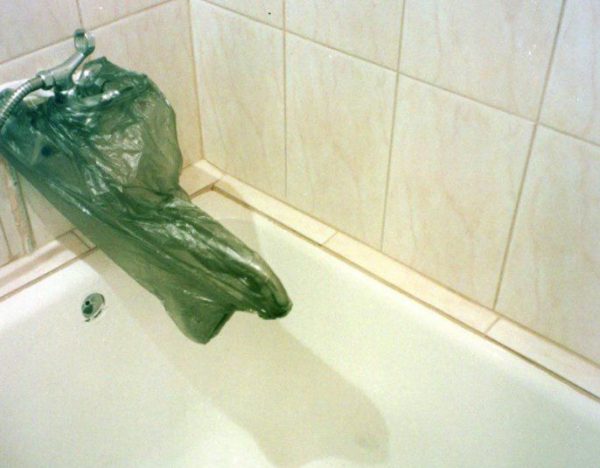
If the items are too heavy (for example, a washing machine), wrap them with plastic wrap. The same goes for plumbing and shelves for storing linen. If necessary, we fix the film with tape. We also remove the shower head with a hose and wrap these parts with foil.
Turn off the water supply. Disconnect all communications. If the overflow system is plastic, dismantle it. We leave the metal in place.
to contents ↑Surface preparation
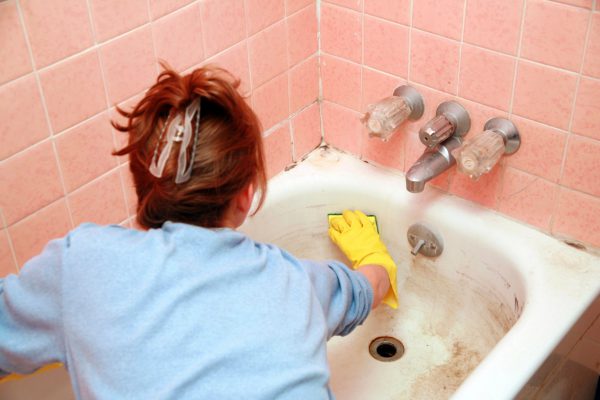
The main thing to do is to remove dust and grease from the surface of the bath. Oxalic acid or other active cleaning agents are suitable for this task.
Note! When performing surface cleaning, personal protective equipment should be used - rubber gloves and a respirator. Work can only be carried out in a well-ventilated room (with an open door to the bathroom, windows or working ventilation).
Pour a little cleaning agent onto the bottom of the bath and slightly moisten it. Next, using a sponge, rub the product through the bath to get a semi-liquid slurry. When the surface is completely treated with a cleaning agent, take a 15-minute break so that the chemical reacts with the dirt. Then we collect water in the bath and again wait 15 minutes.
We drain the water and dry the bath. Before working with abrasives, the surface must be completely dry.
to contents ↑Abrasive treatment
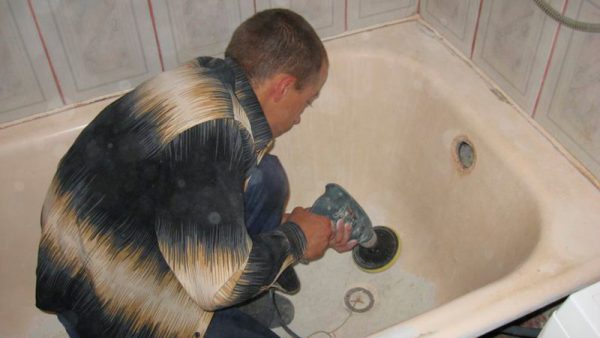
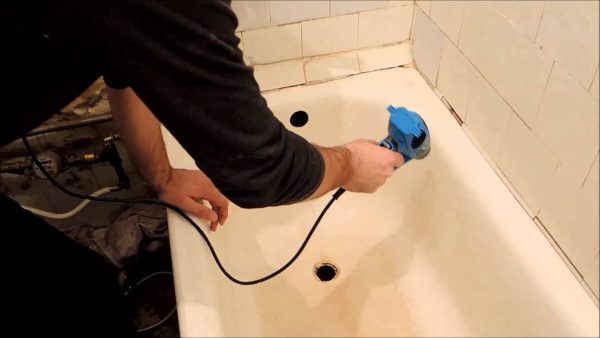
Using abrasive material, remove traces of corrosion and create a rough uneven surface. This will help improve the adhesive quality of the bath, and the enamel will hold on to it better.
Enamel removal is carried out using an electric drill. First we put a cord brush on the drill, and then we process the surface. For the period of this work, we close the door, because otherwise a huge amount of dust will spread throughout the house.
If the rust is too hard, we remove the enamel from the metal to completely replace the coating. In the case of a cast-iron bathtub rather than a tin bath, we work extremely carefully so as not to make a through hole in the material.
The cleaned surface should be free of dirt, matte. When illuminated by a flashlight on the surface, it should not give reflections.
to contents ↑Final cleaning
After surface treatment with abrasives, all dust must be removed. The easiest way to do this is with a vacuum cleaner. We pass rags near the drain.
To enamel correctly, apply an acid composition to the surface.“Sanox” or “Adrilan” will do. We distribute the substance using a brush. Leave for 45-60 minutes. Next, we collect a full bath of water and again take a one-hour break.
If the cleaning composition is working, the bowl heats up significantly. If the bath is only a little warm, add another 400-500 g of the product to the water. As soon as the solution begins to cool, drain the liquid. Repeat the procedure 3-4 more times.
Before enameling, dry the bowl with a household hair dryer. After that, remove the piping drain.
to contents ↑Preparation of the composition
Enamel should be bred at home right before use, when the surface preparation is already completed. Although the composition label usually indicates that enamel can be applied within an hour, it is recommended to do this no later than 40-45 minutes. If tightened with the application of the composition, it will harden and become unusable. In this regard, it is recommended to prepare the enamel in parts - as necessary.
Advice! For restoration, you can use ready-made repair kits for bathtubs.
In the process of cooking, mix the enamel well. Otherwise, it will be too viscous and unevenness will appear on the coating.
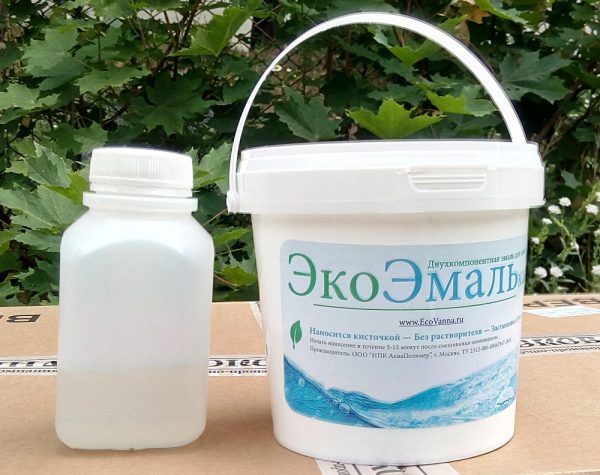
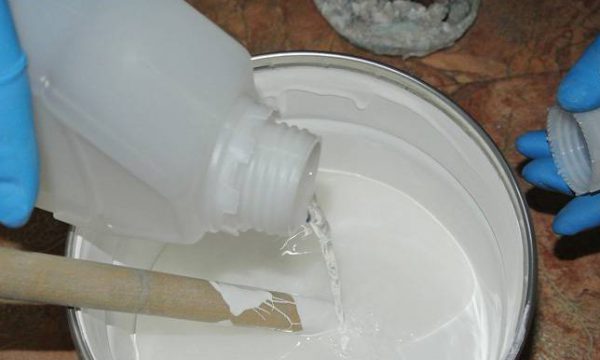
To prepare the composition, take the required amount of enamel and fill the container. Next, put the hardener in it and stir the solution for 10 minutes. It is important to achieve complete mixing of the components. The ratio of the main element and hardener is indicated in the instructions attached to the enamel.
If the composition is too viscous, add a solvent or a mixture of ethyl alcohol with acetone (1 to 1 ratio). The maximum proportion of added substance is 10% of the total weight of the solution.
Note! Not all solutions are subject to dilution. For example, Epoxin-51 can be diluted, but Epoxin-51C cannot.
Advice! If there is a desire to color the solution, you should approach the choice of shade with caution. Too saturated colors look attractive, but quickly bored. The best option is pastel colors.
We prepare subsequent portions in the same way as the first. Only no additives are required.
to contents ↑Coating
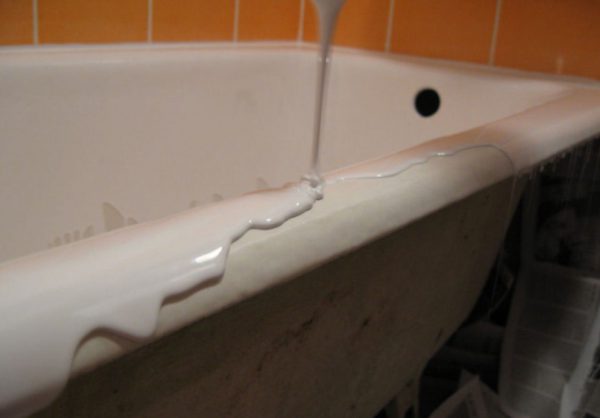
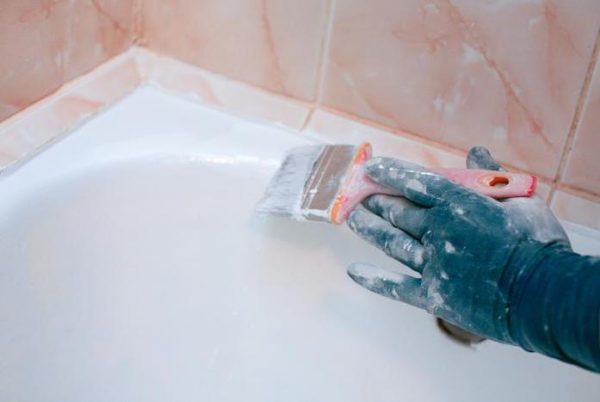
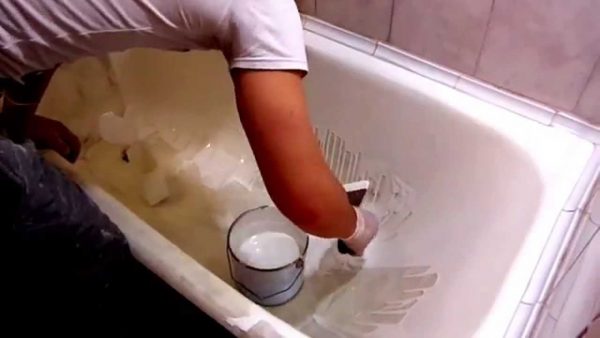
We proceed to enamel the bath with our own hands. Dip the brush in the solution and apply several stripes vertically. We rub the composition thoroughly - such actions will help create a smooth and shiny surface. Next, spread the composition in horizontal movements. Thus, we avoid streaks. If they nevertheless arose, we correct the situation with the help of a thin brush - upward movement.
A new brush often leaves marks on the surface in the form of separated hairs. If such a problem occurs, use a sewing needle to remove them.
Note! Some masters try to solve the problem of enameling using auto enamel in spray cans. However, experts do not recommend using them for bath processing. The surface painted by this method is quickly erased.
When applying enamel, we try to work so that the material lies in an even layer. The coating should have the same color, without spots or unpainted spots.
When using most epoxy enamels, you do not need to wait for the layer to dry (you can find out the details on the package). If it is possible to apply “wet”, proceed to the next layer. Do not forget to monitor the quality of painting.
After completing the work, leave the bathroom closed for 2-3 days. After this time, the bath is ready for use.

